
Learning to use thickened dye to paint your art is new to me.
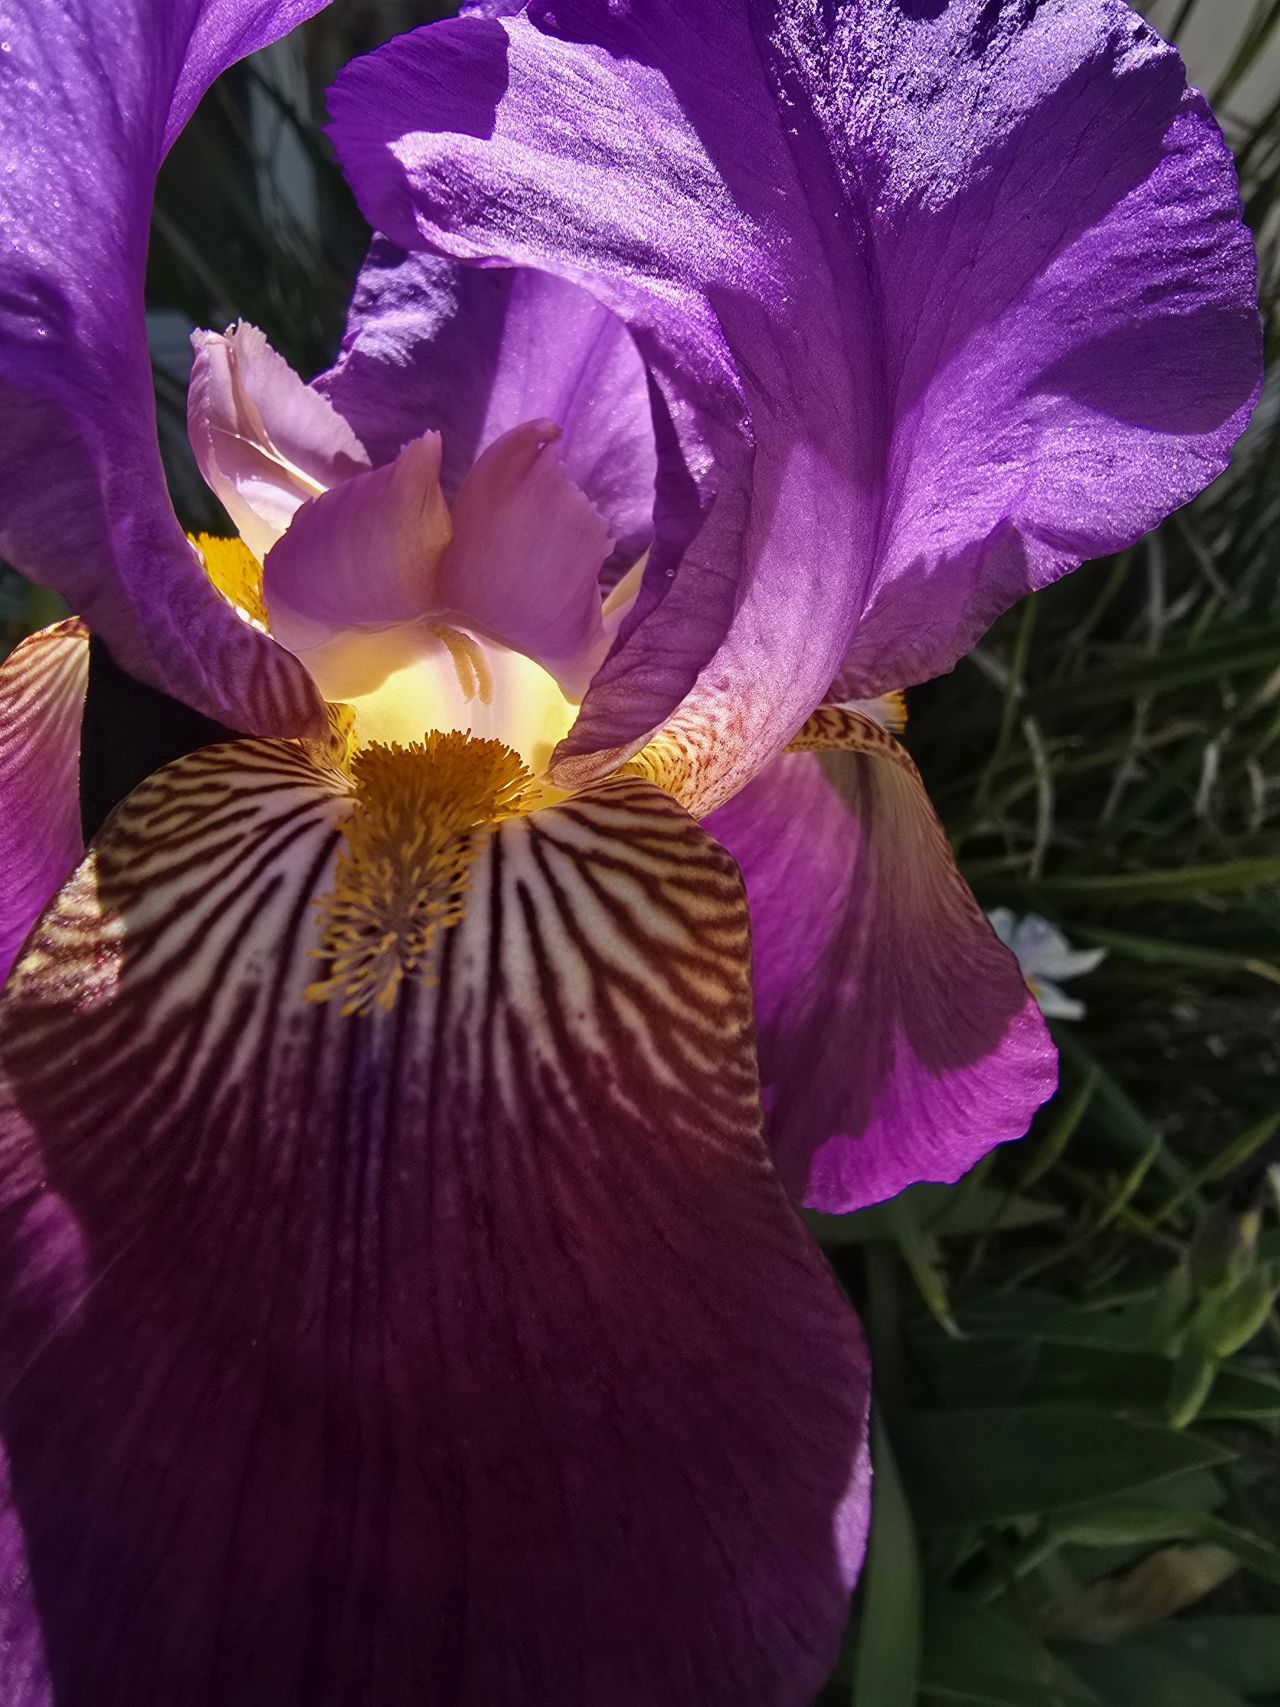
This beautiful iris grows in my garden every year.
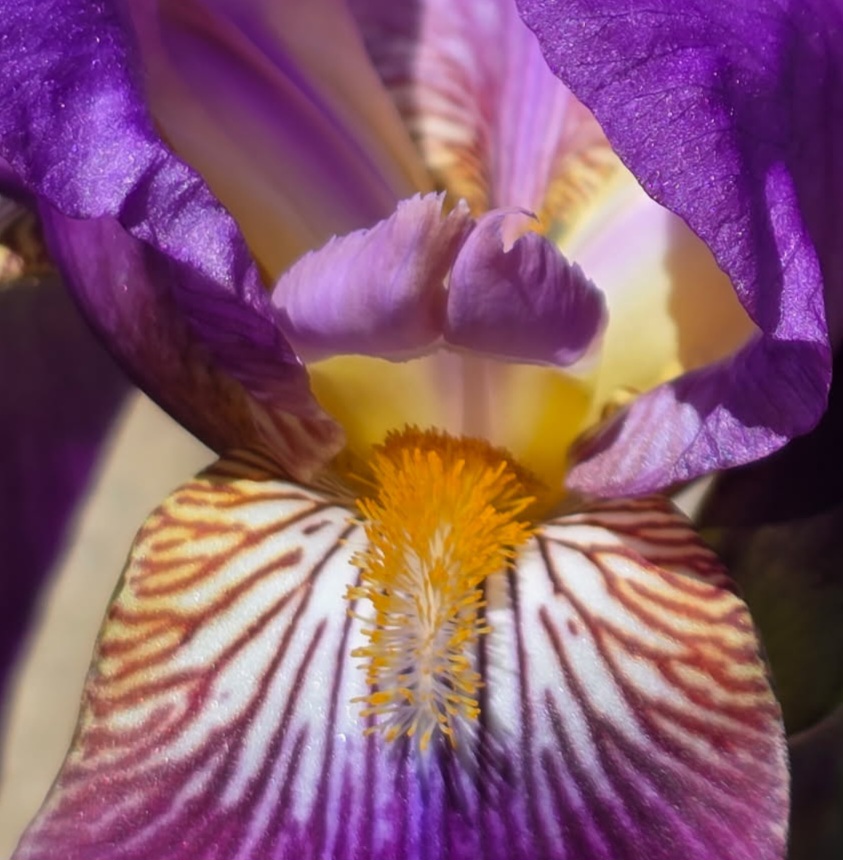
Taking a class from Hollis Chatelain was very helpful to learn this new method of painting. I had decided to learn thickened dye painting because I wanted to do a challenge for my Studio Art Quilt Associates, SAQA, regional show. You start with a picture of what you want to paint. Of course I picked something harder to do but this was my subject for the Artist 2 Artist challenge.
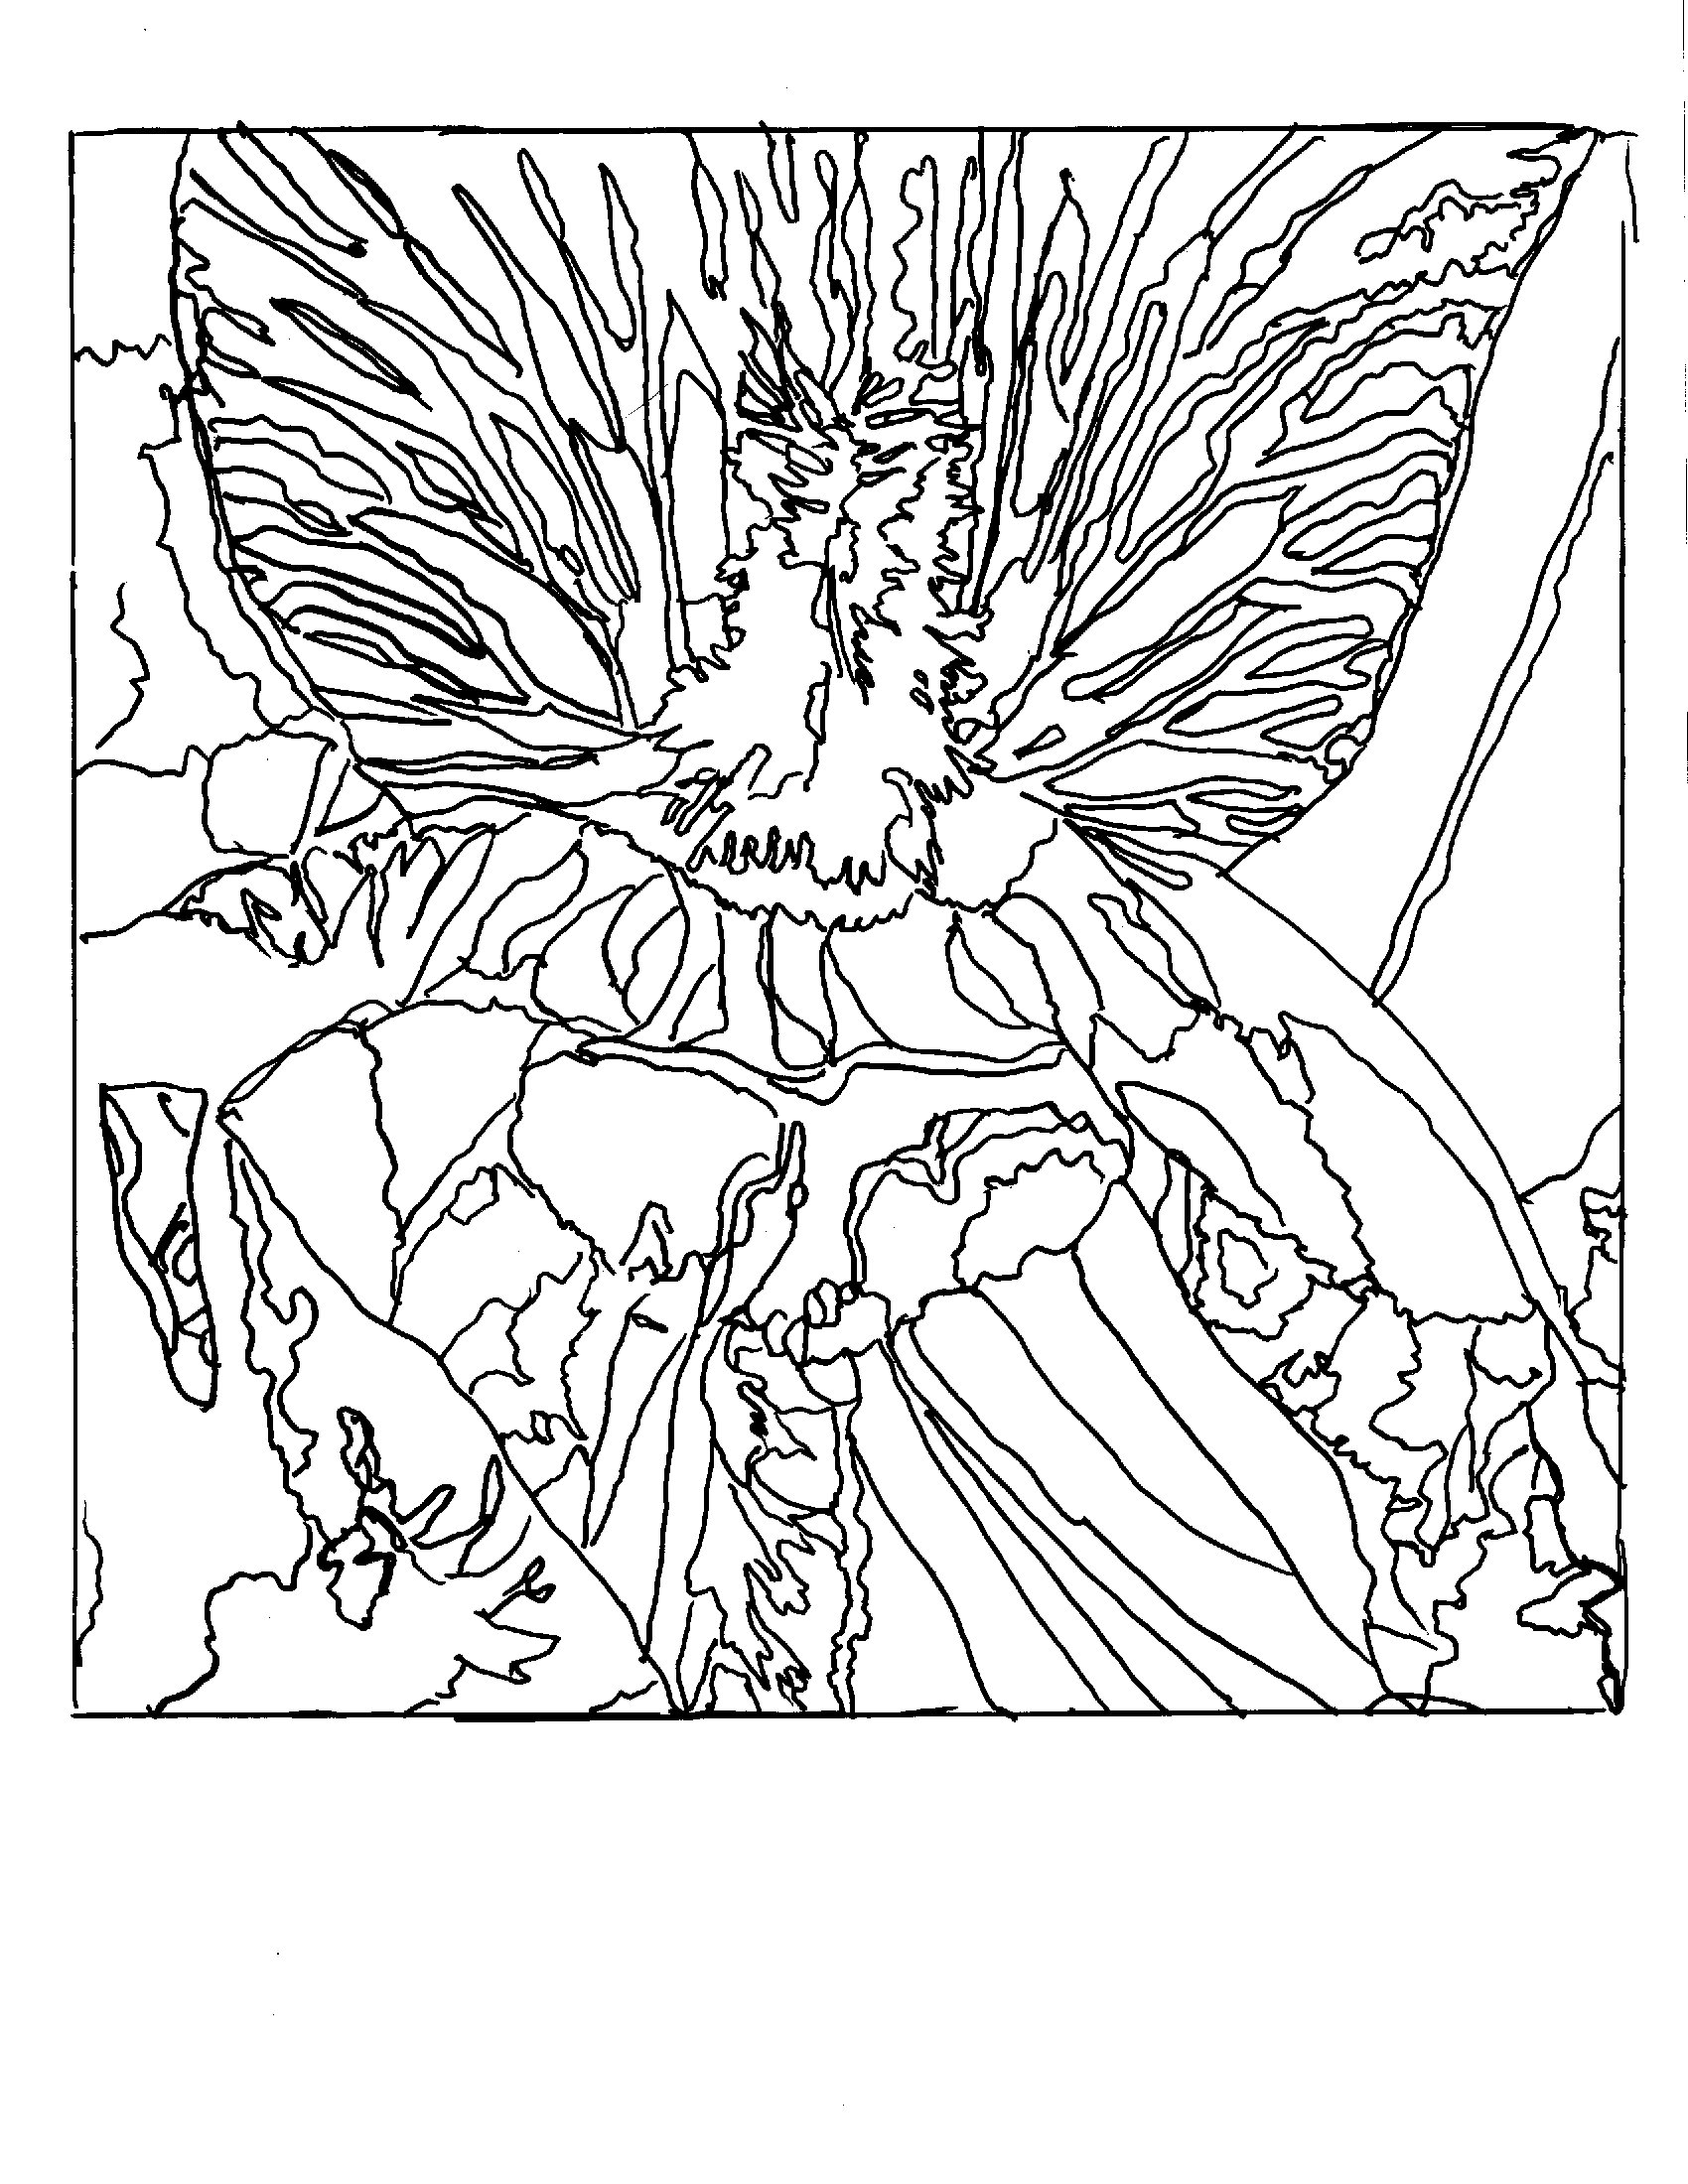
From you picture you make a line drawing from that. Then you make it into you pattern like the line drawing above. You transfer it onto your dye ready fabric so you are then able to dye it.
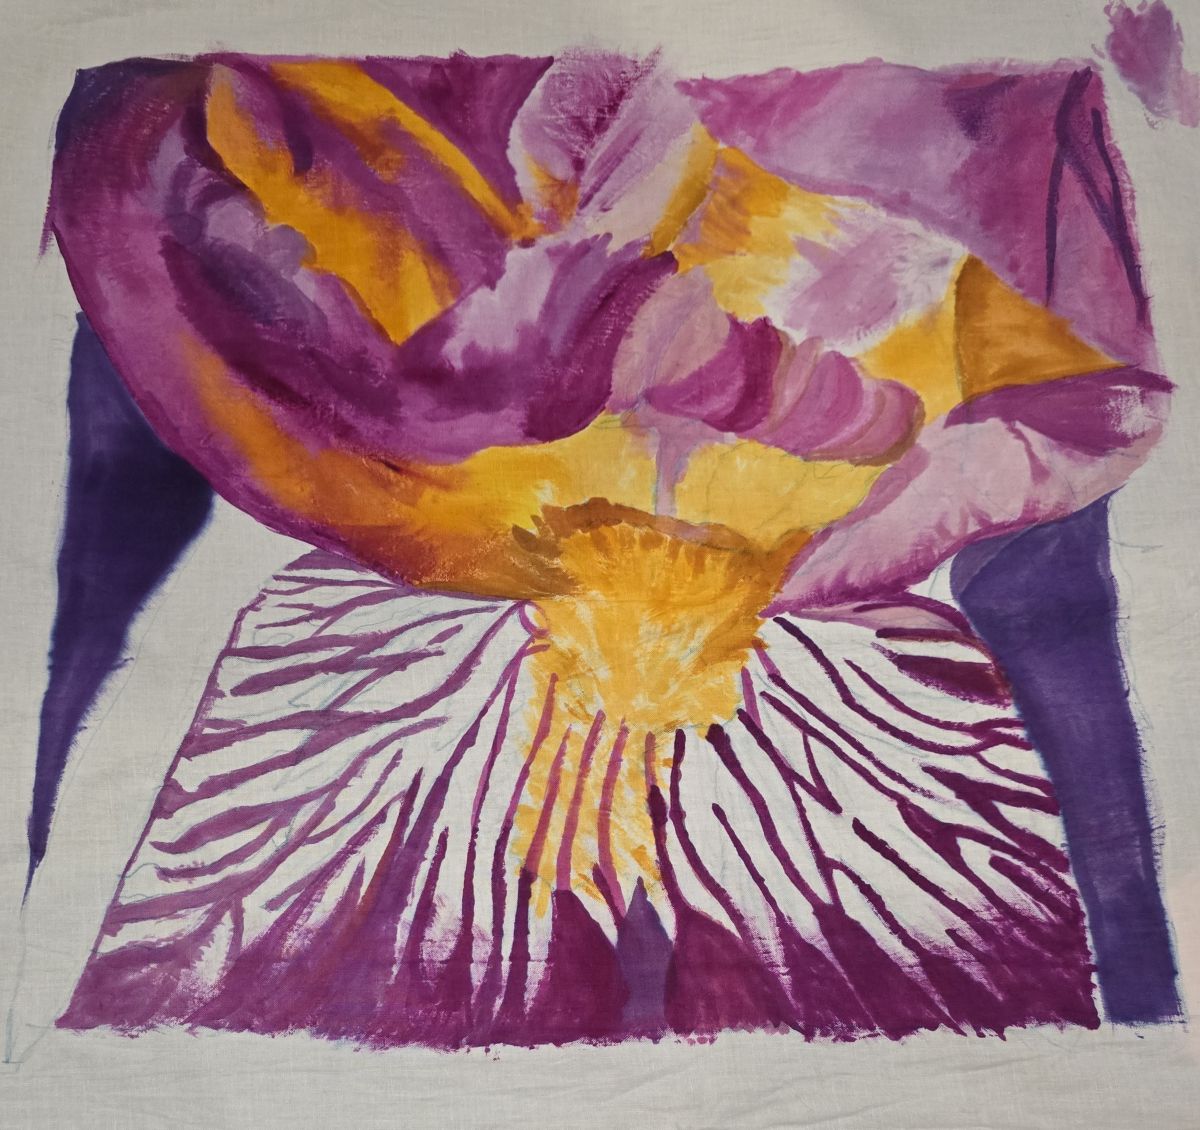
This being my class project I did not take in progress pictures but the finished one after is was thickened dye painted. Learning the gel consistency was very helpful. You even have to paint in the clear so your white stays white. See how much darker it is without washing it.
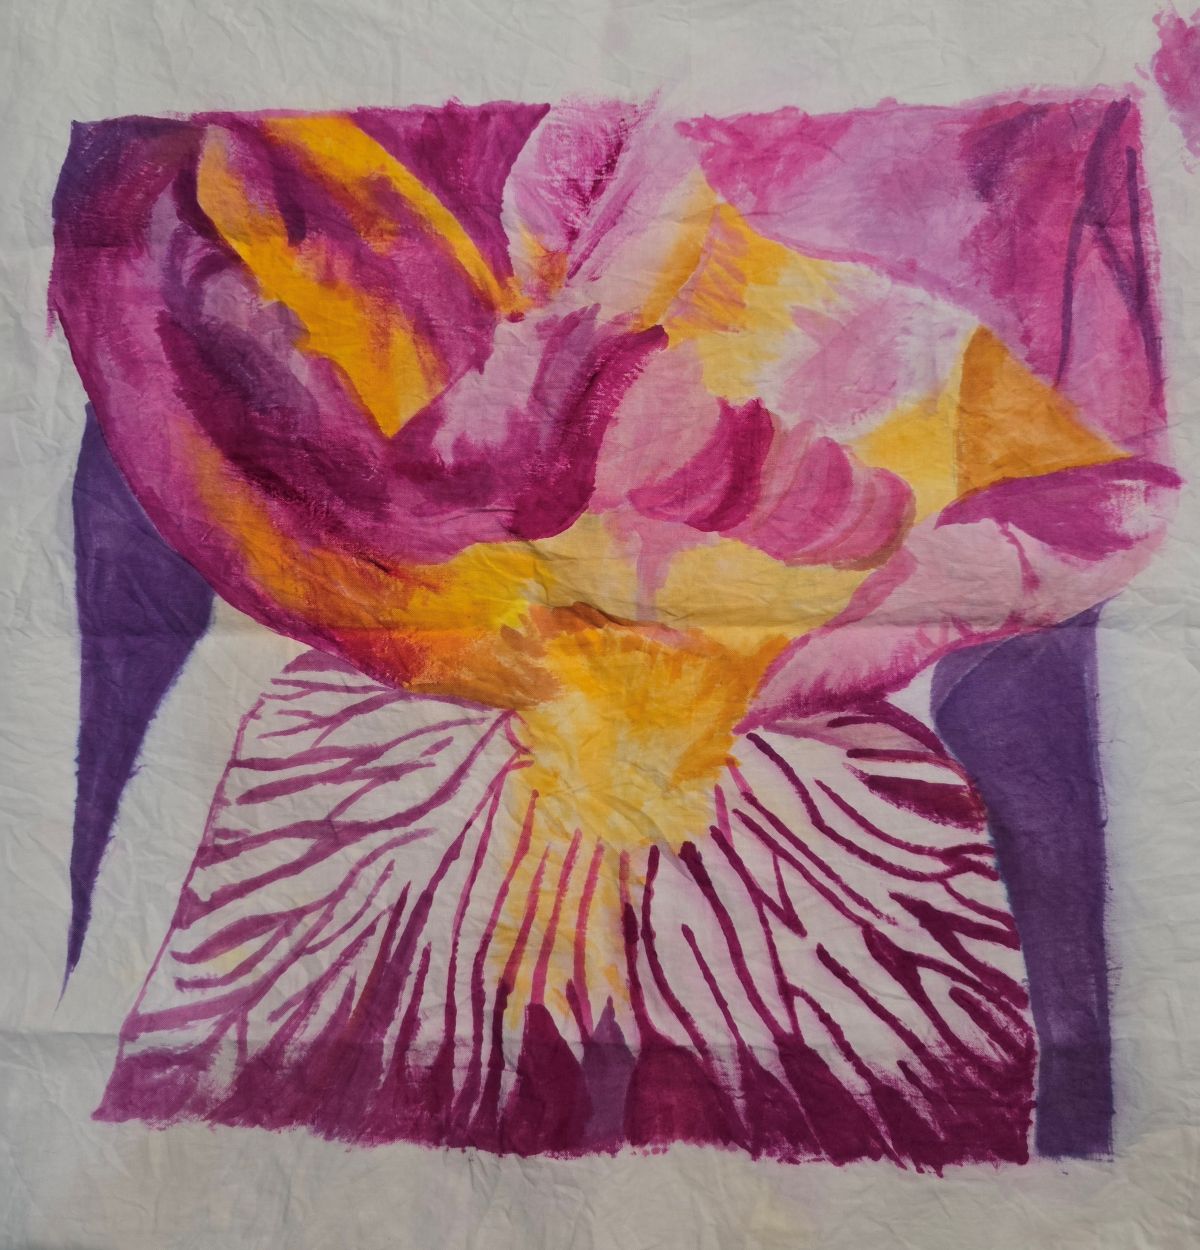
You then see the difference after it is washed out. Some of the areas are lighter than before. I liked how it came out.
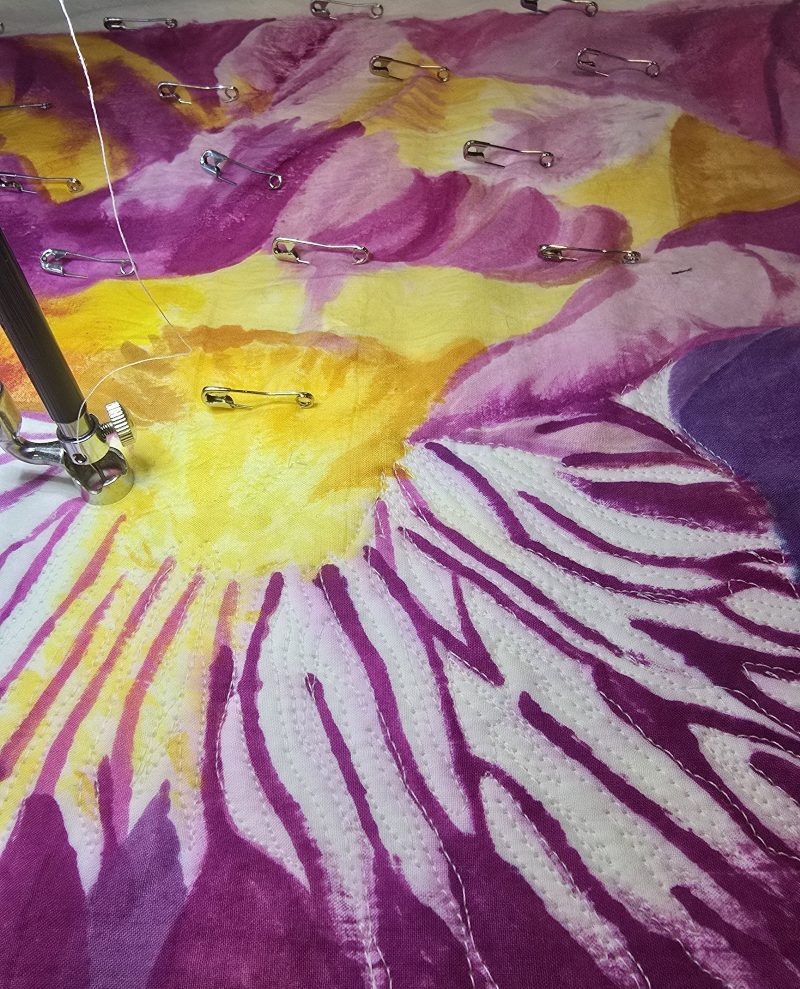
I am into the quilting here. You can see my safety pins, so I don't poke myself as I am quilting it. I used my Sweet Sixteen sit down quilting machine to do this. I am out of practice but I get into it after a while.
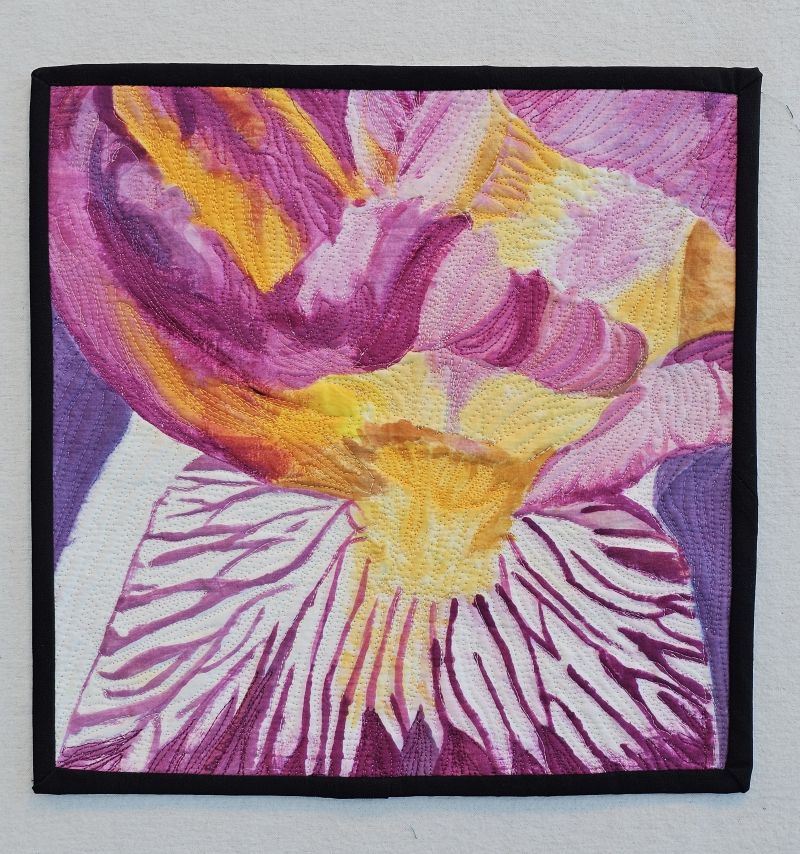
It is all finished and ready to show or sell!
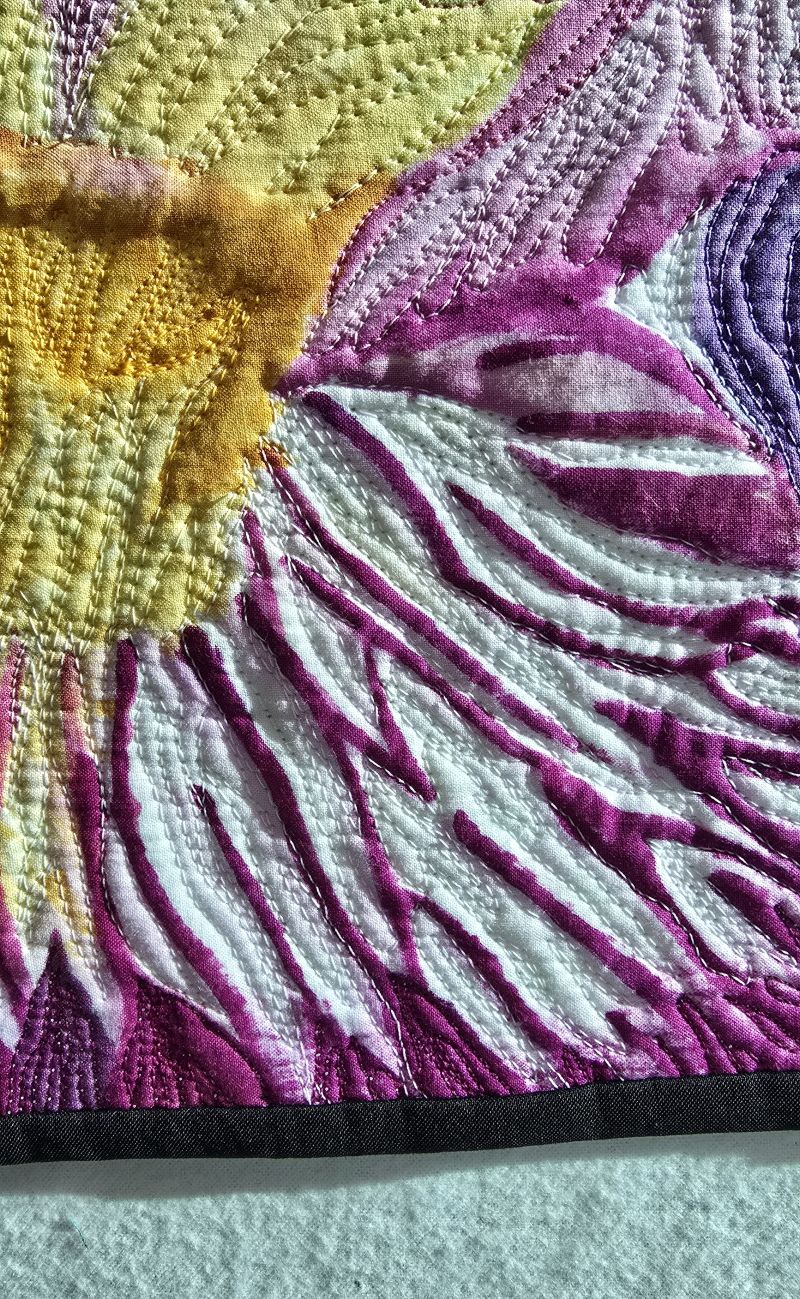
I love this close up picture that shows the 3D affect I got with not quilting the dark magenta areas.
I decided to go with more flower for the Artist 2 Artist project. I picked Georgia O'Keeffe as my inspiration artist. She made many close up flowers, even the iris in her career.
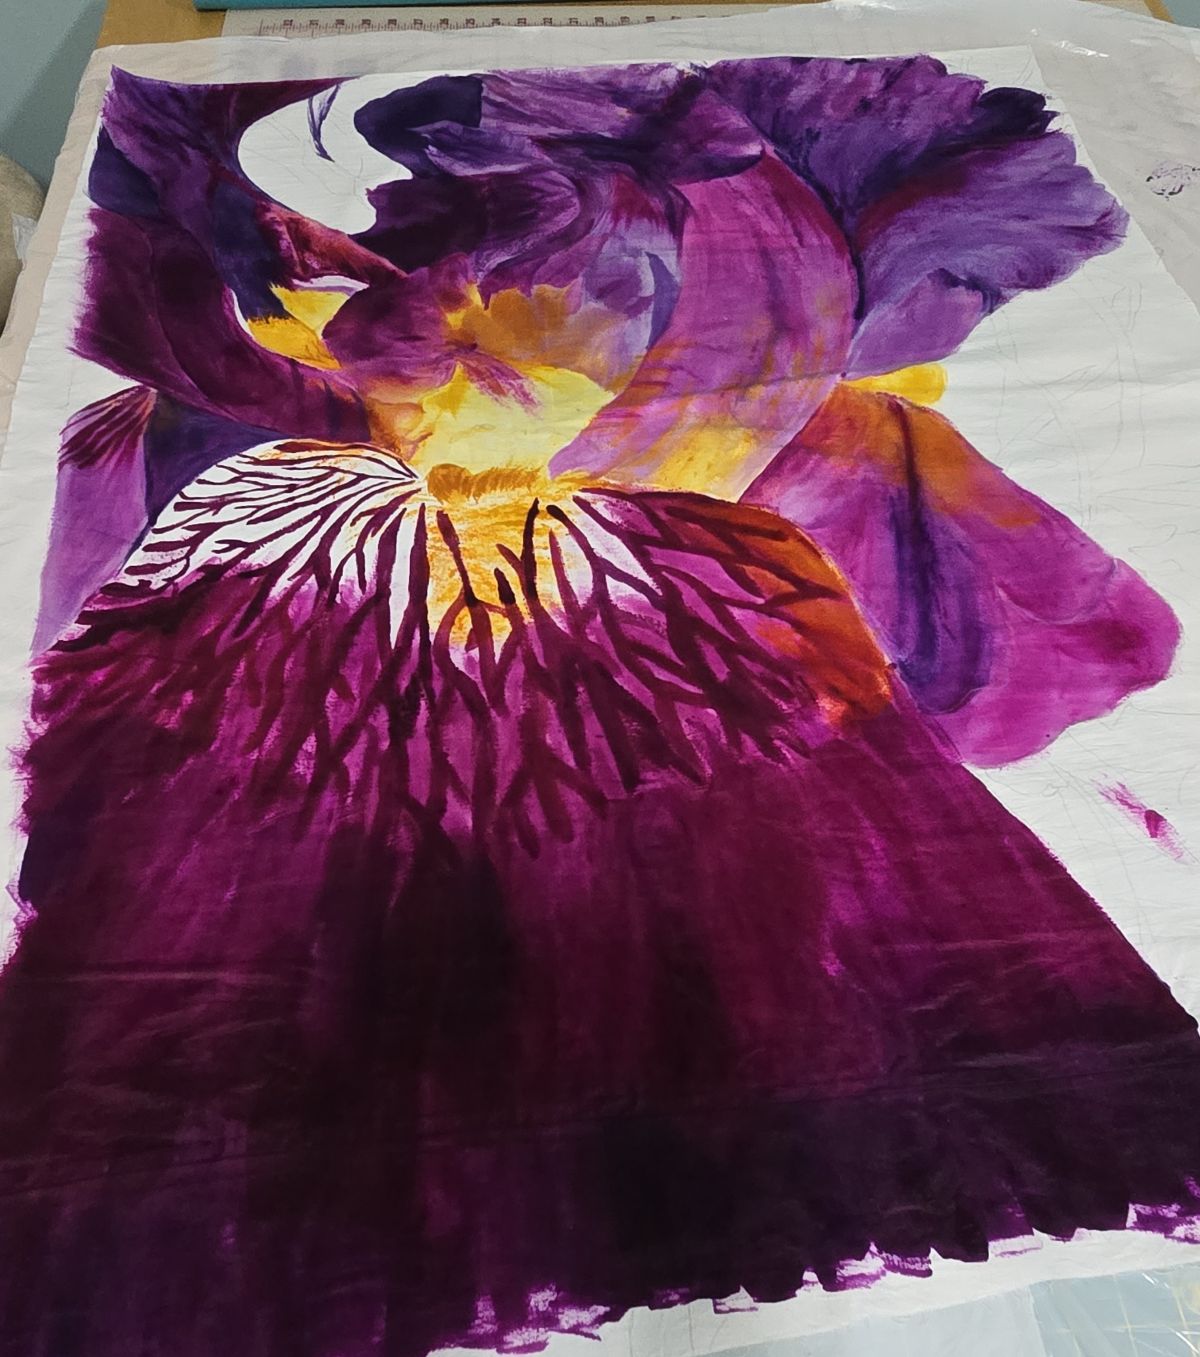
The above picture is of it in a wet form and seeing all of the deep colors I wanted is exciting. It is very hard for you to see the lightly drawn iris for my pattern of where to paint what color.
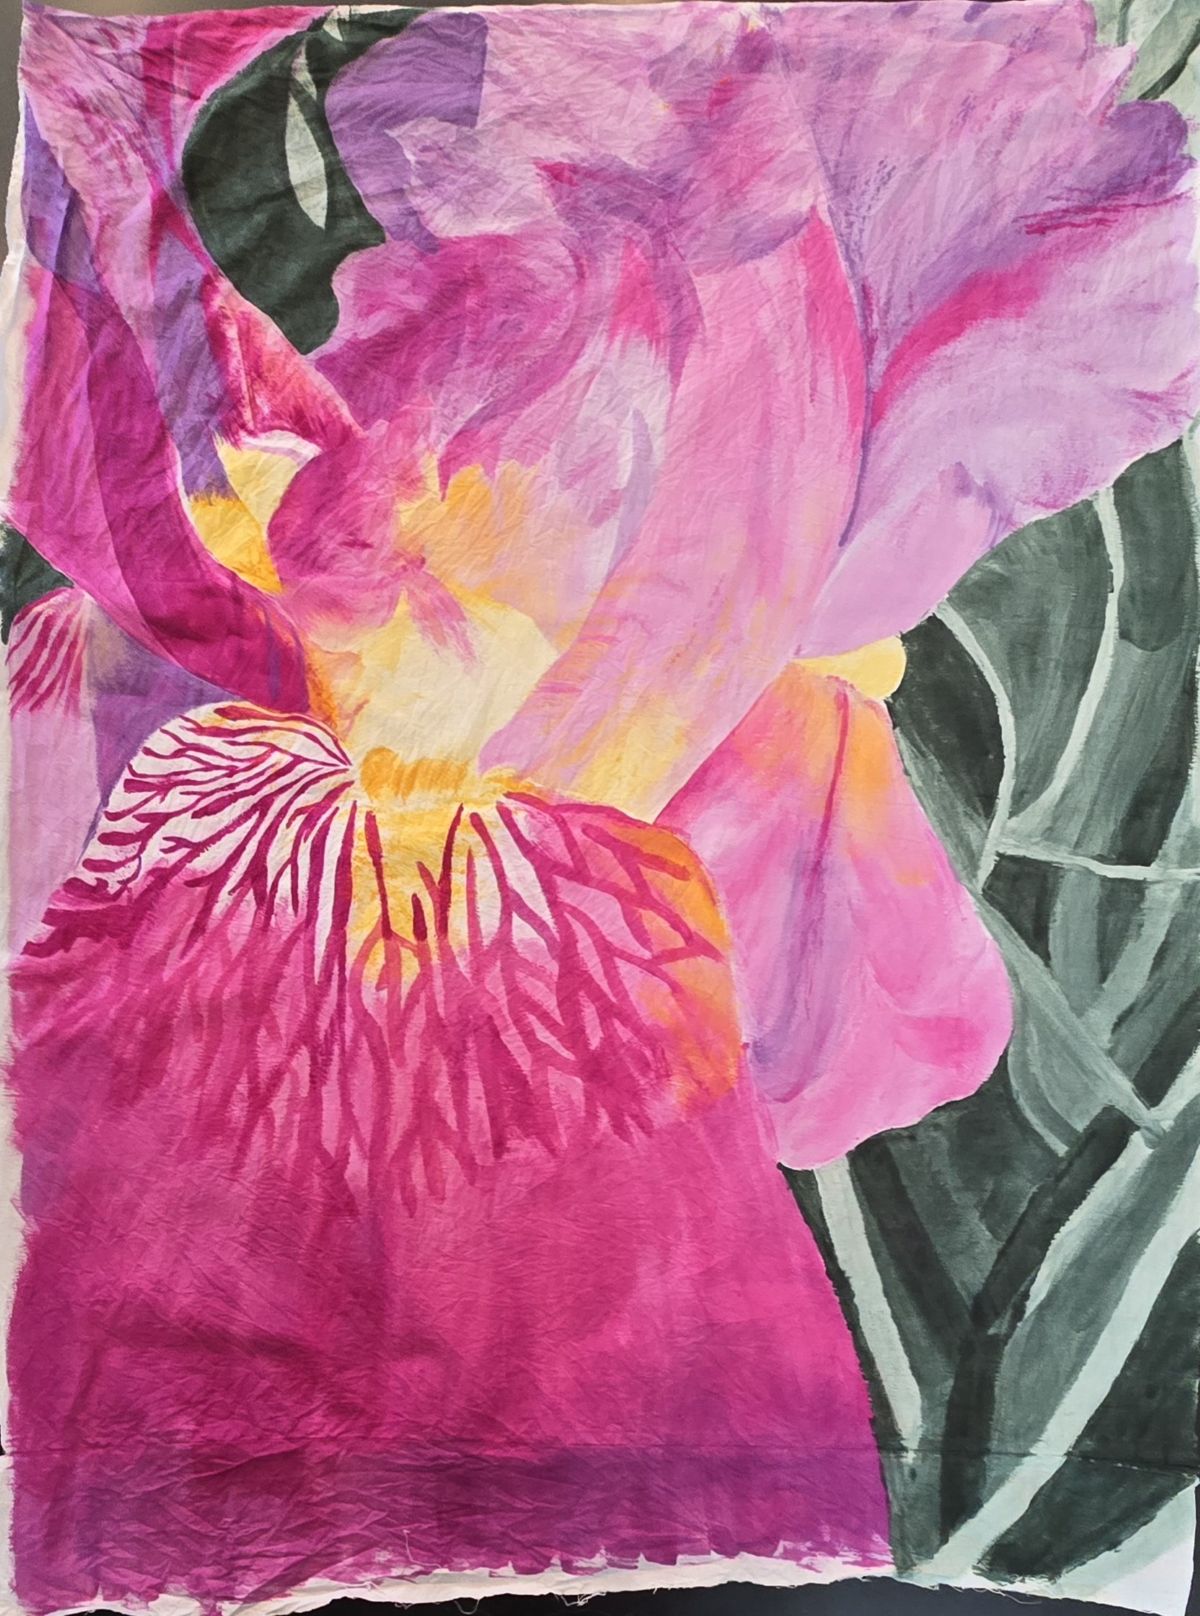
This is the piece after I washed out the dye. It changed the colors some. I really enjoyed the process of learning this new way to dye cloth.
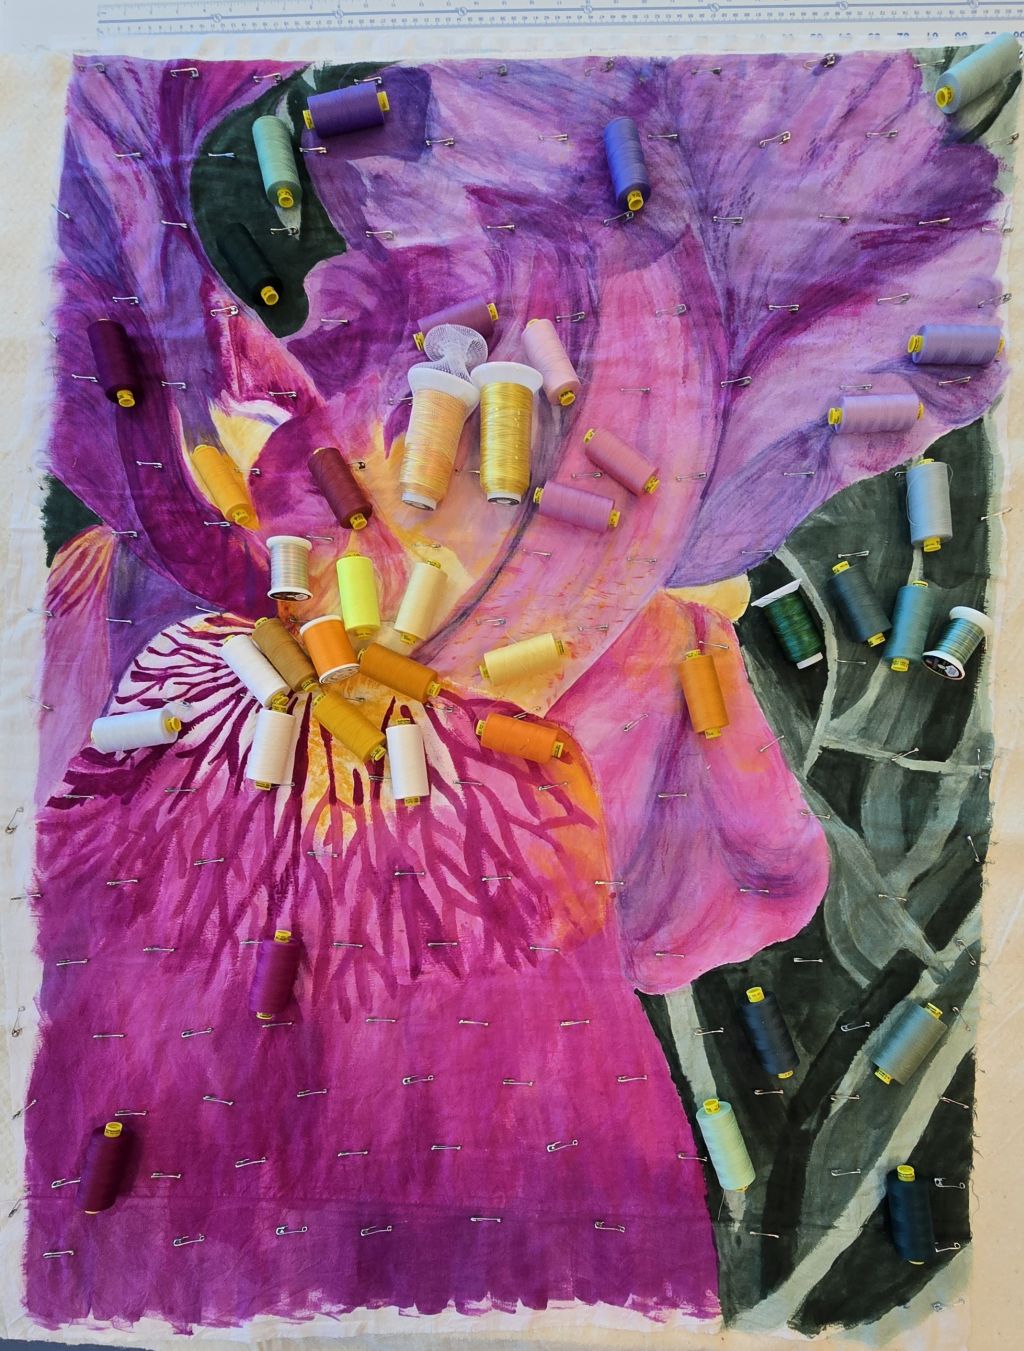
After I made my quilt sandwich of top, batting and backing it was time to pick the threads I was going to use.
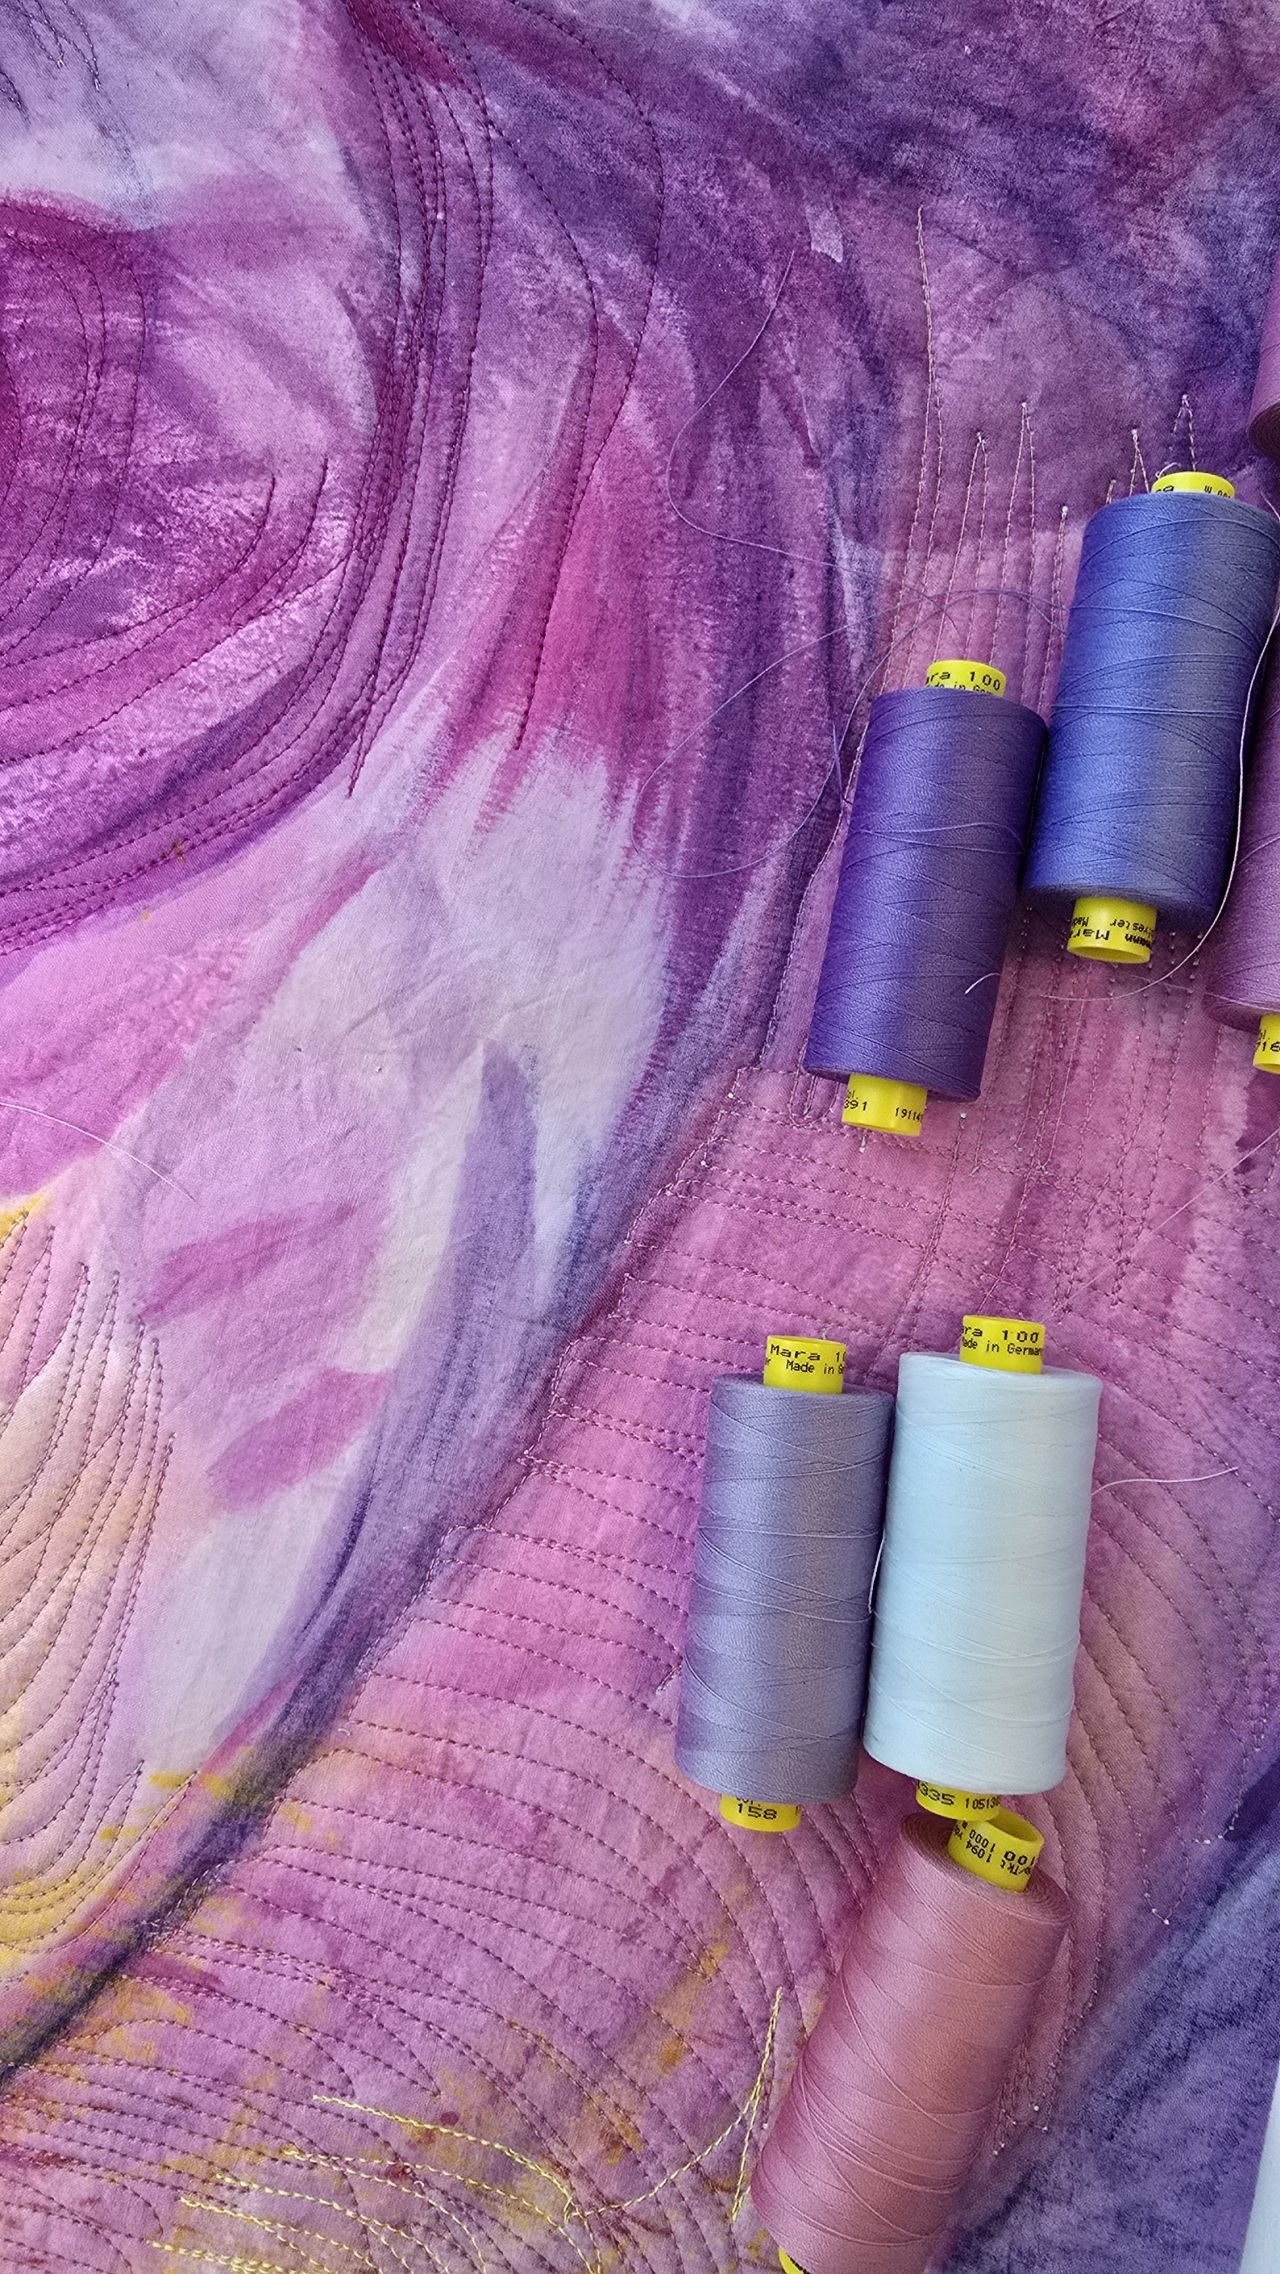
Here is close up of my quilt trying to make sure I had the right one to use again.
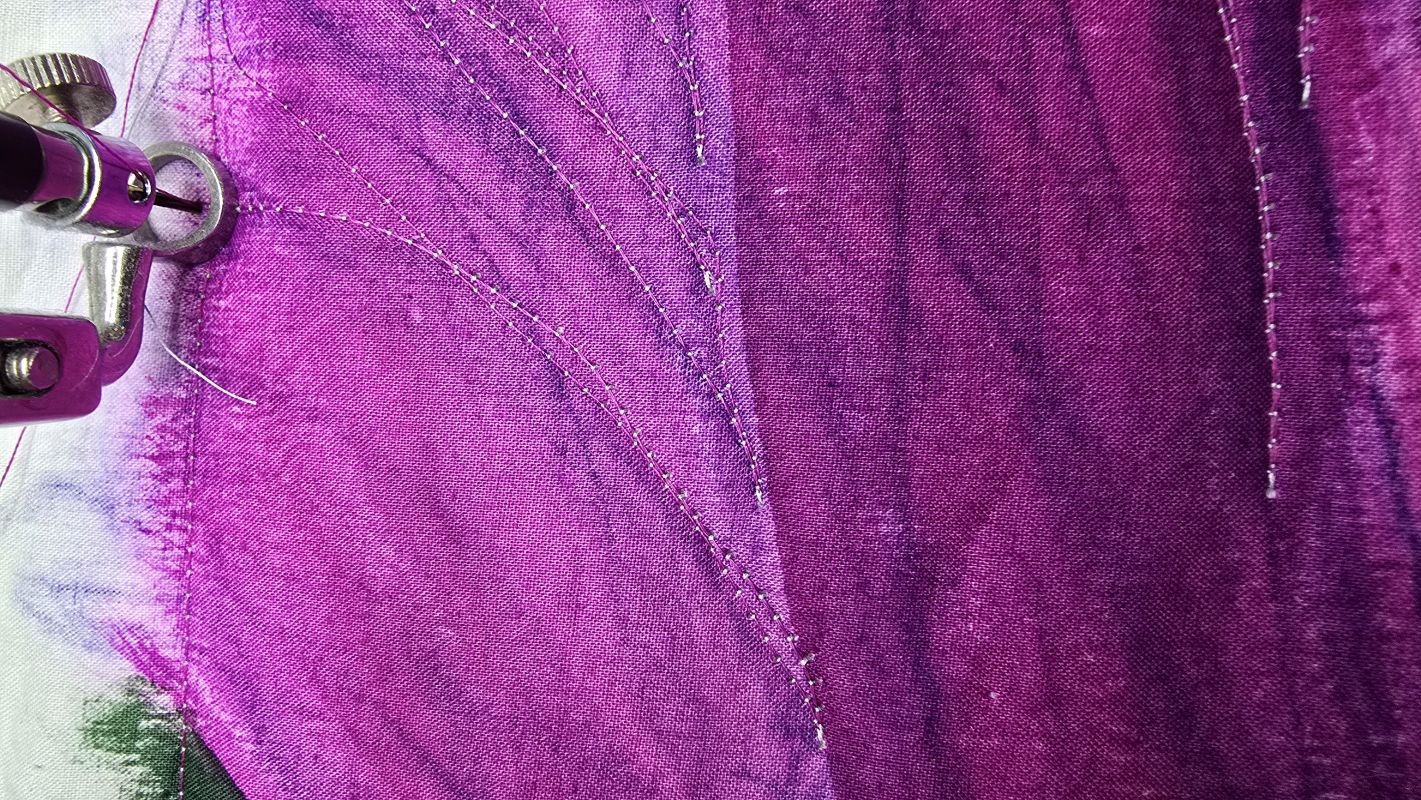
A close up of my stitches. I was having problems with my tension. I got it corrected but it made more time for me tobe very familiar with this piece.
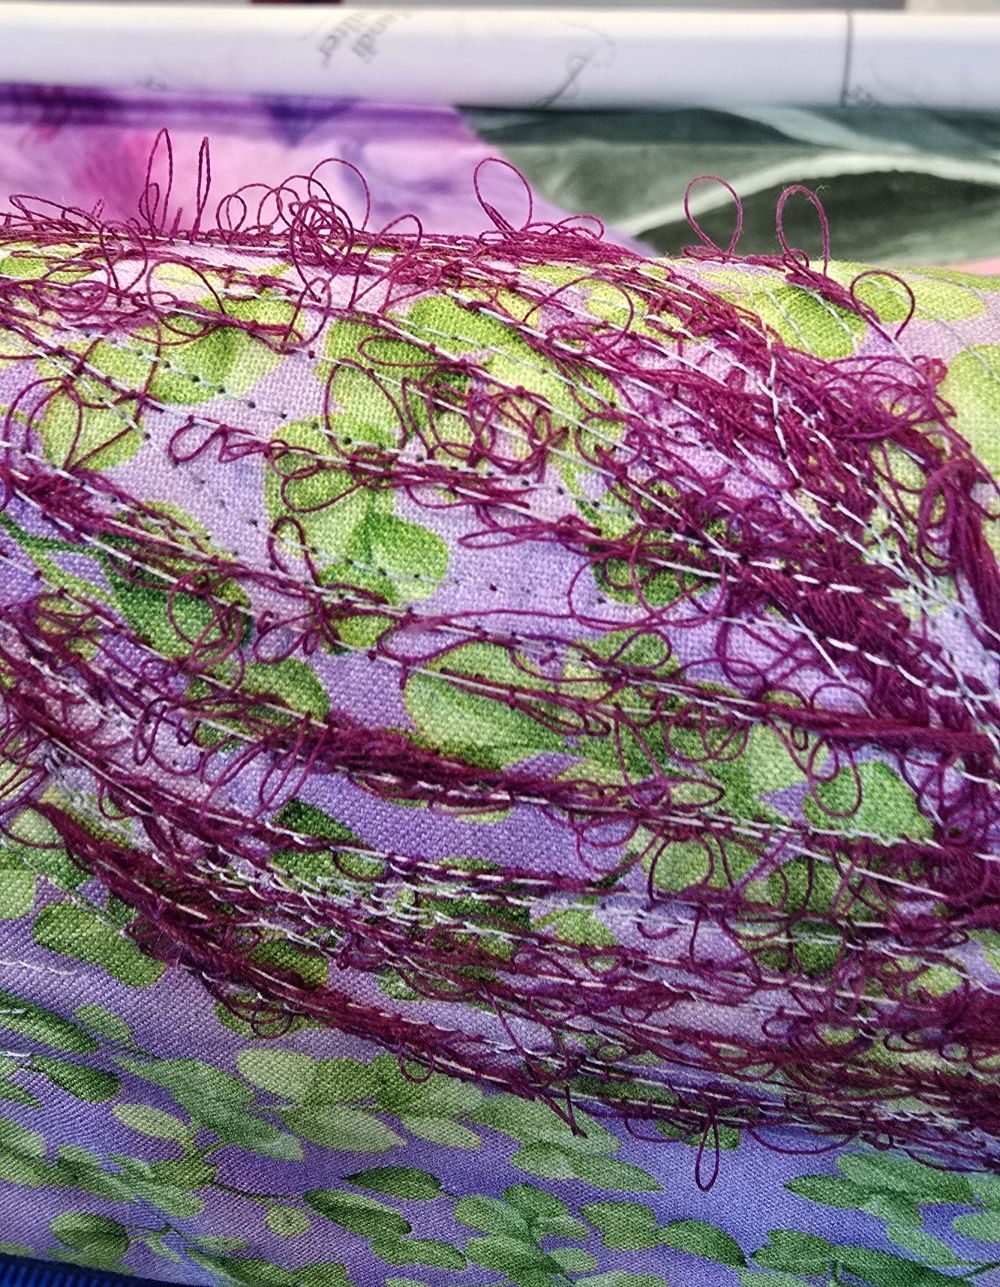
This is a photo of the back of it before I took all of it out. My machine sounded off and I touch the back of the quilt but didn't feel it far enough back evidently. I had quite a bit to take out.
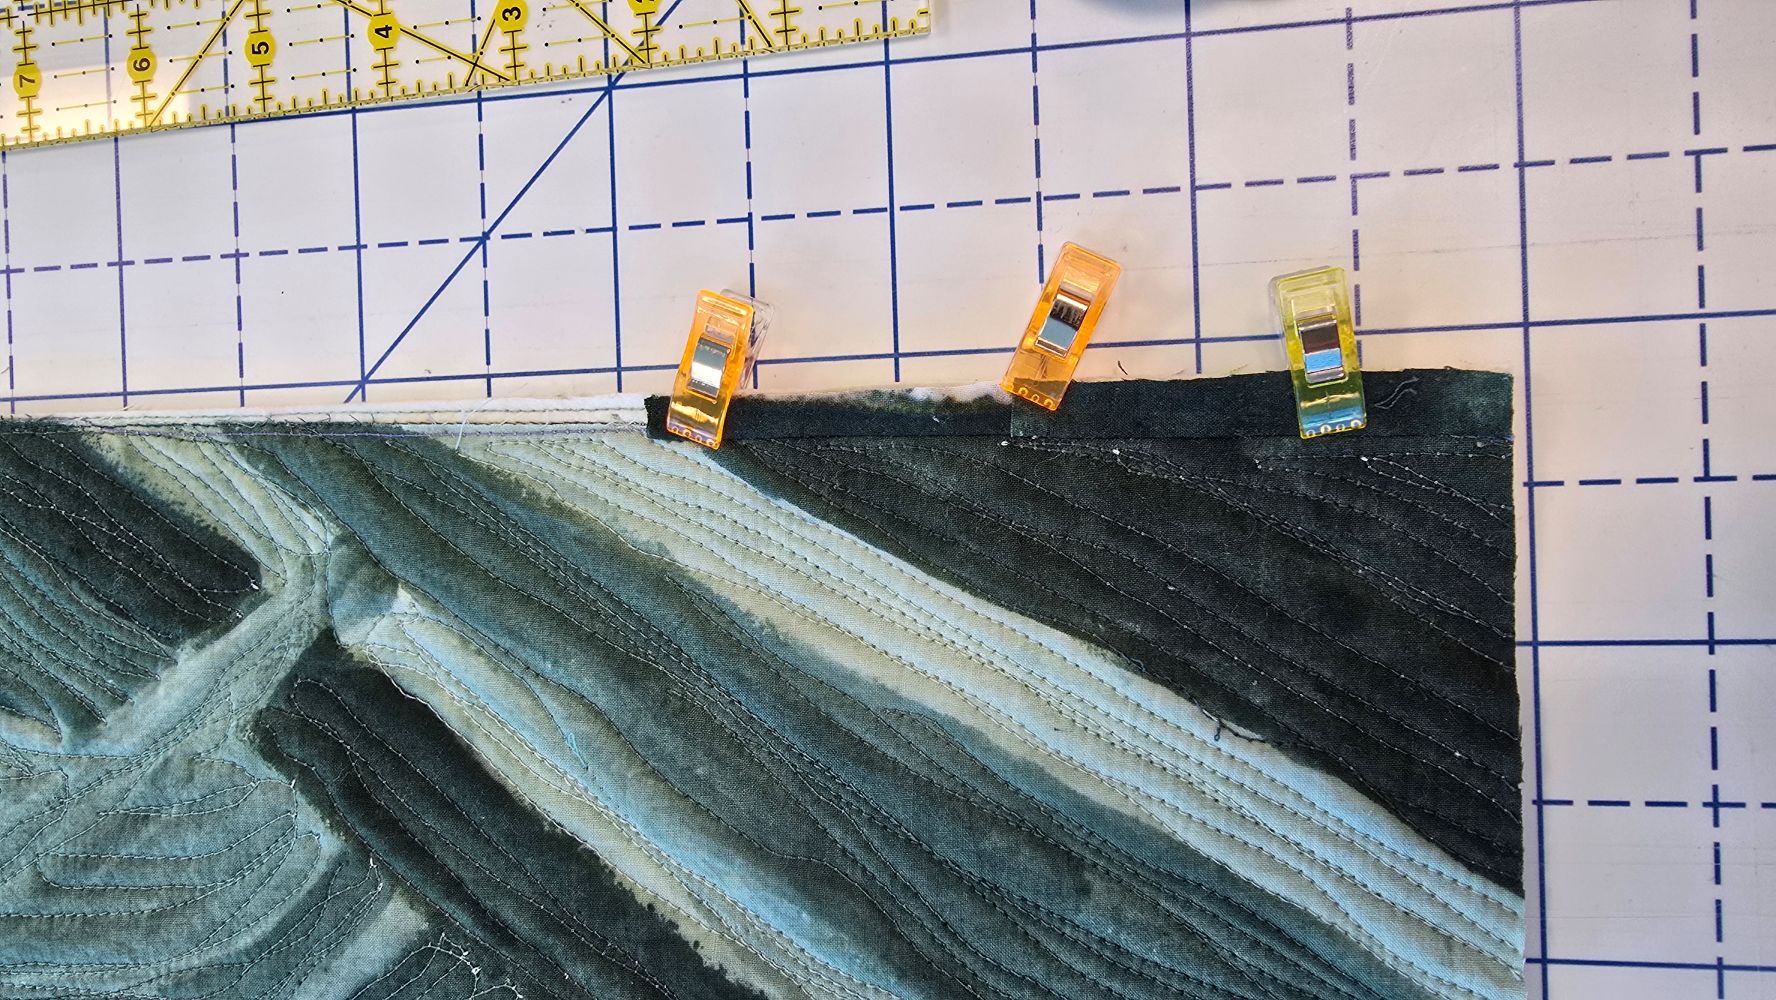
I was short just about an 1/8" on one corner of this piece. I took different part that I had cut off with the same green and you can't even see that I did this correction. There was a size requirement in this challenge.
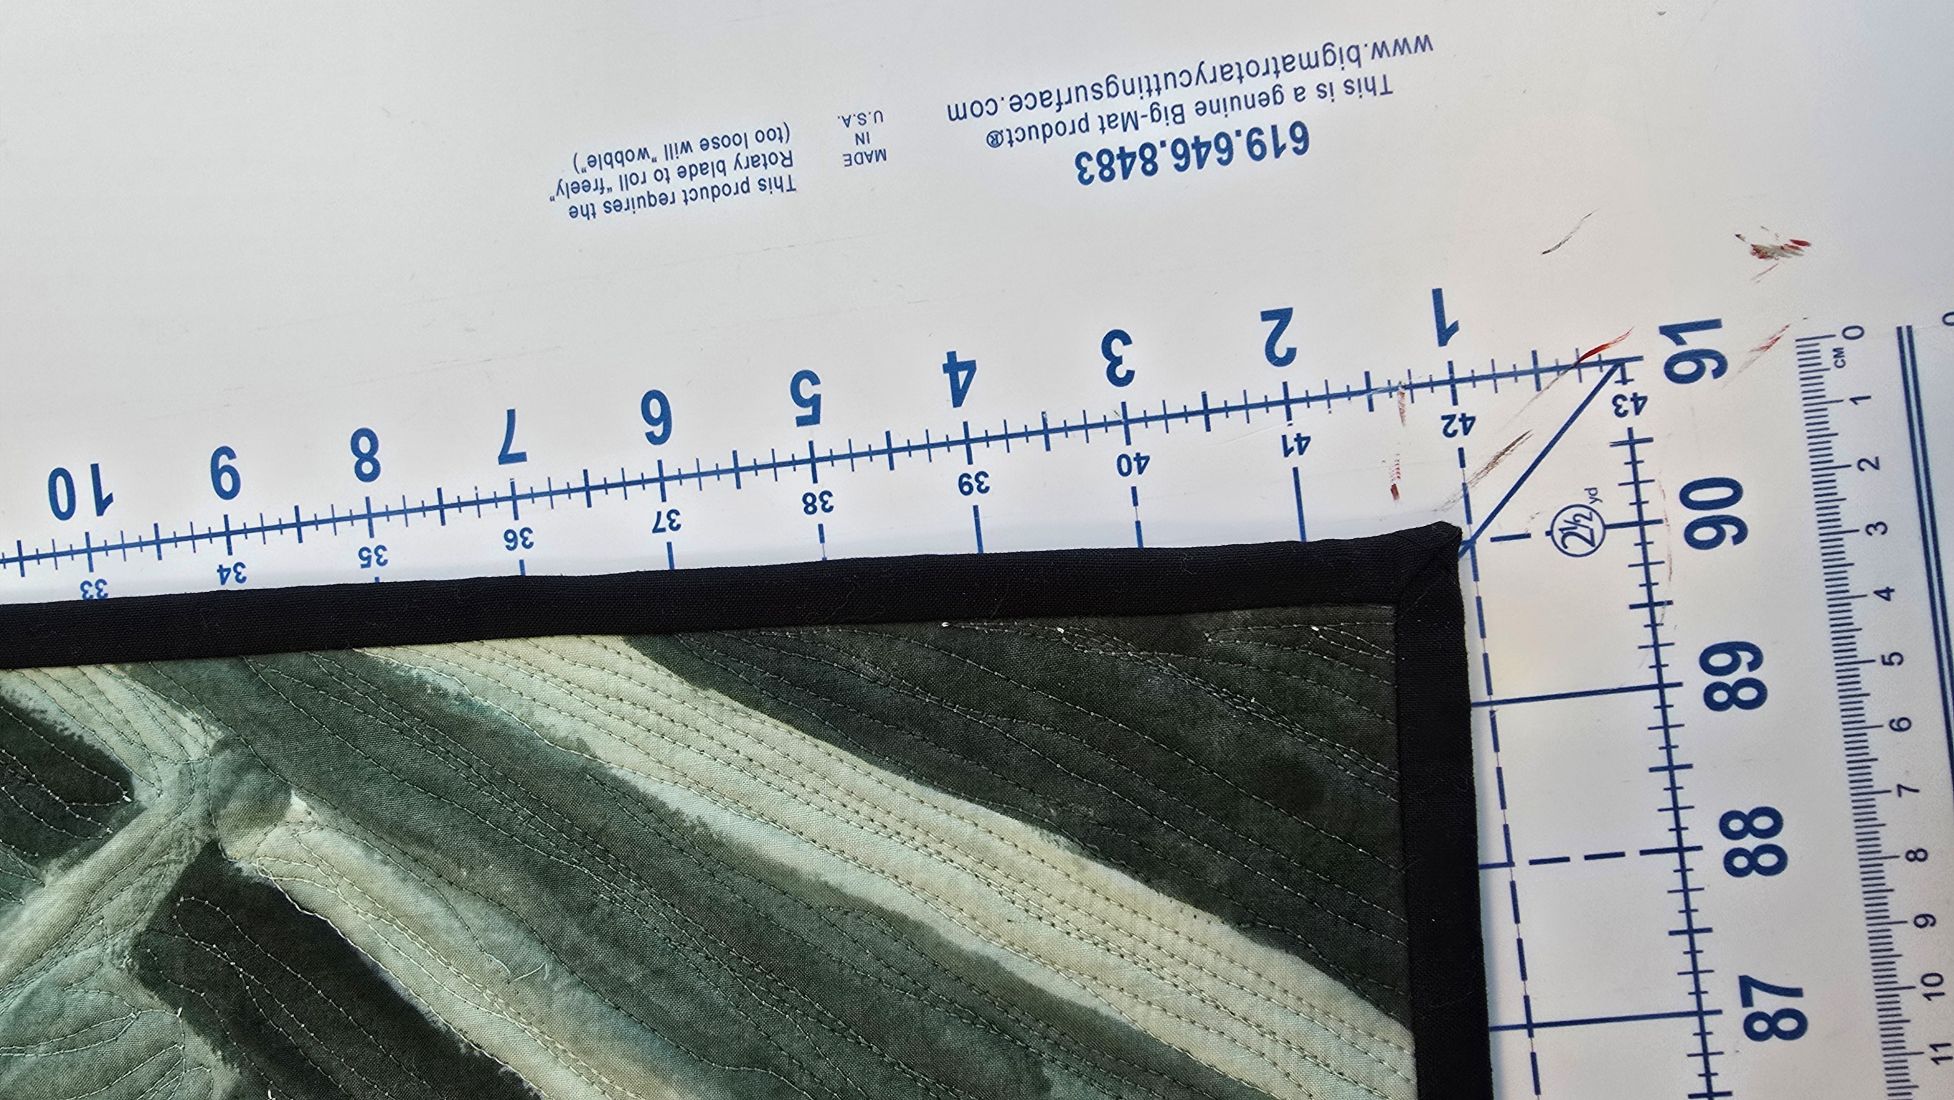
Here it is with the binding all finished and you would not know it is there unless I told you about it.
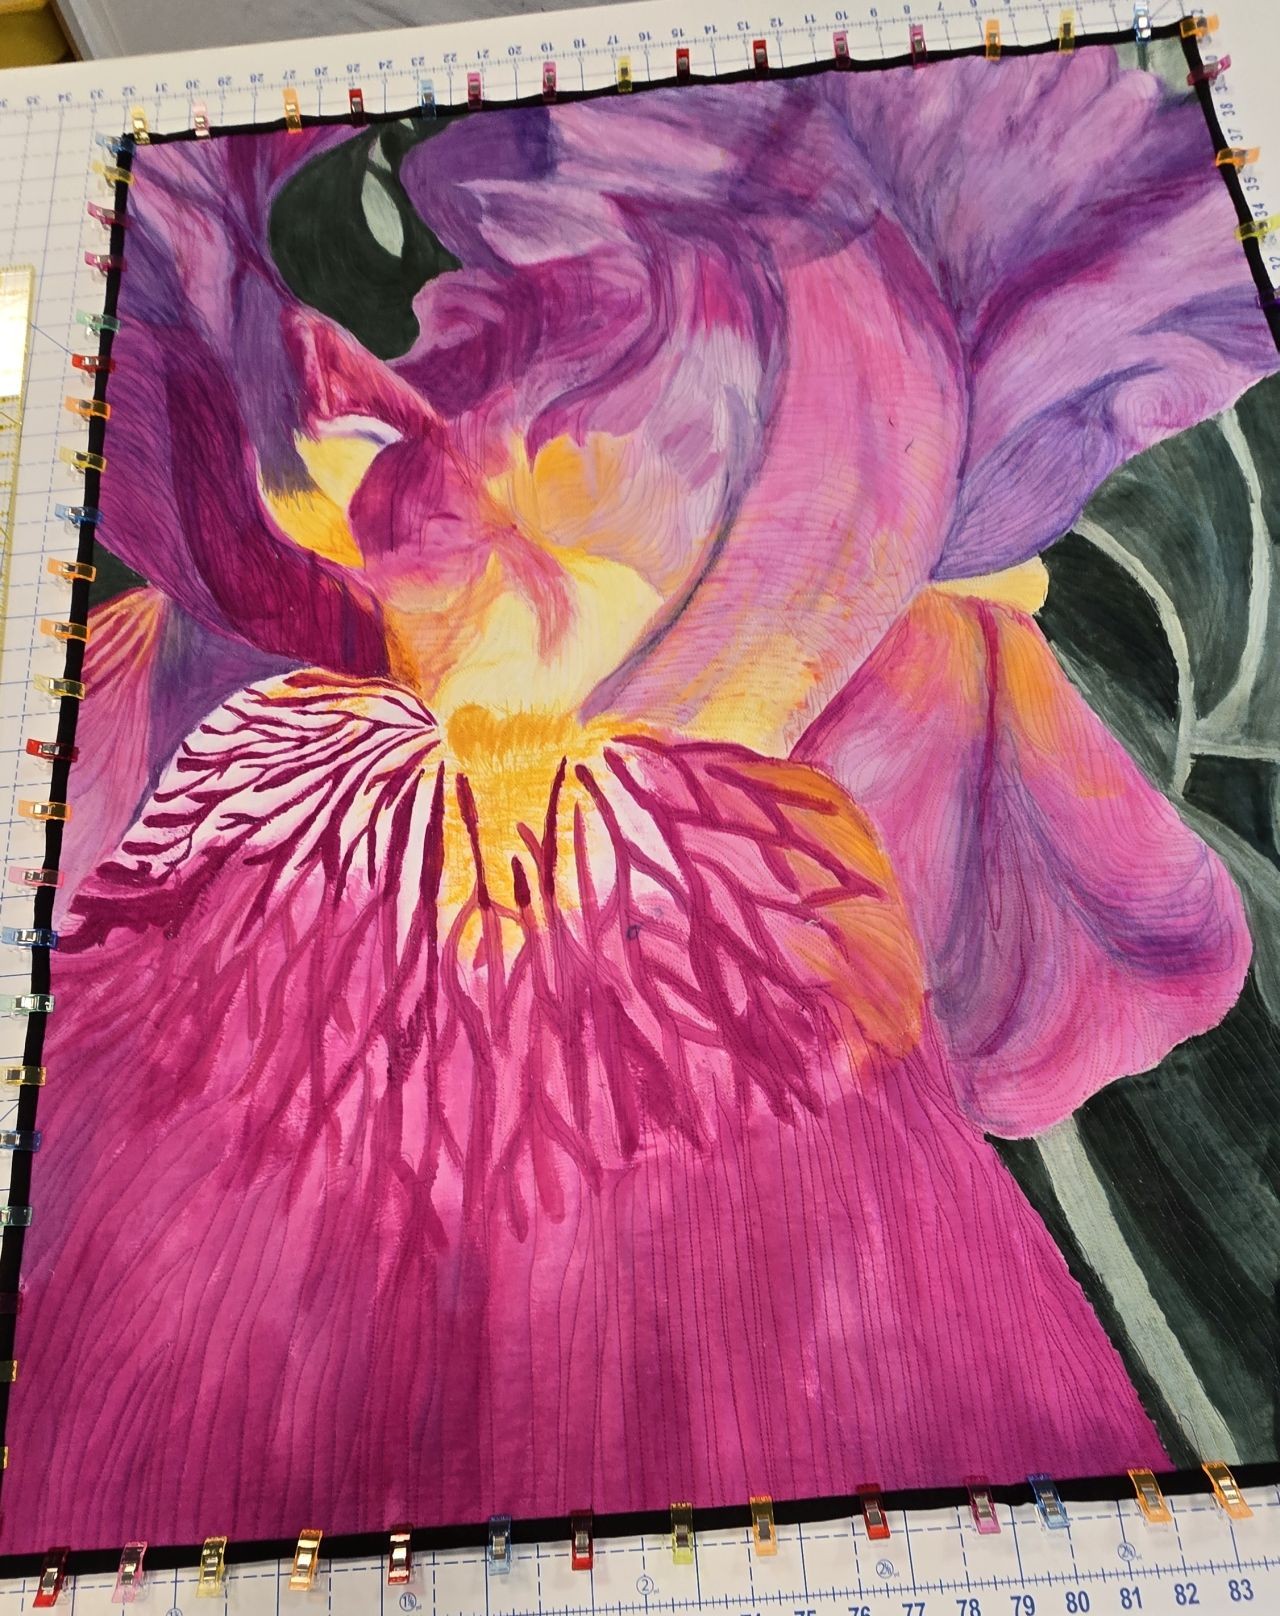
Putting the binding on the iris.
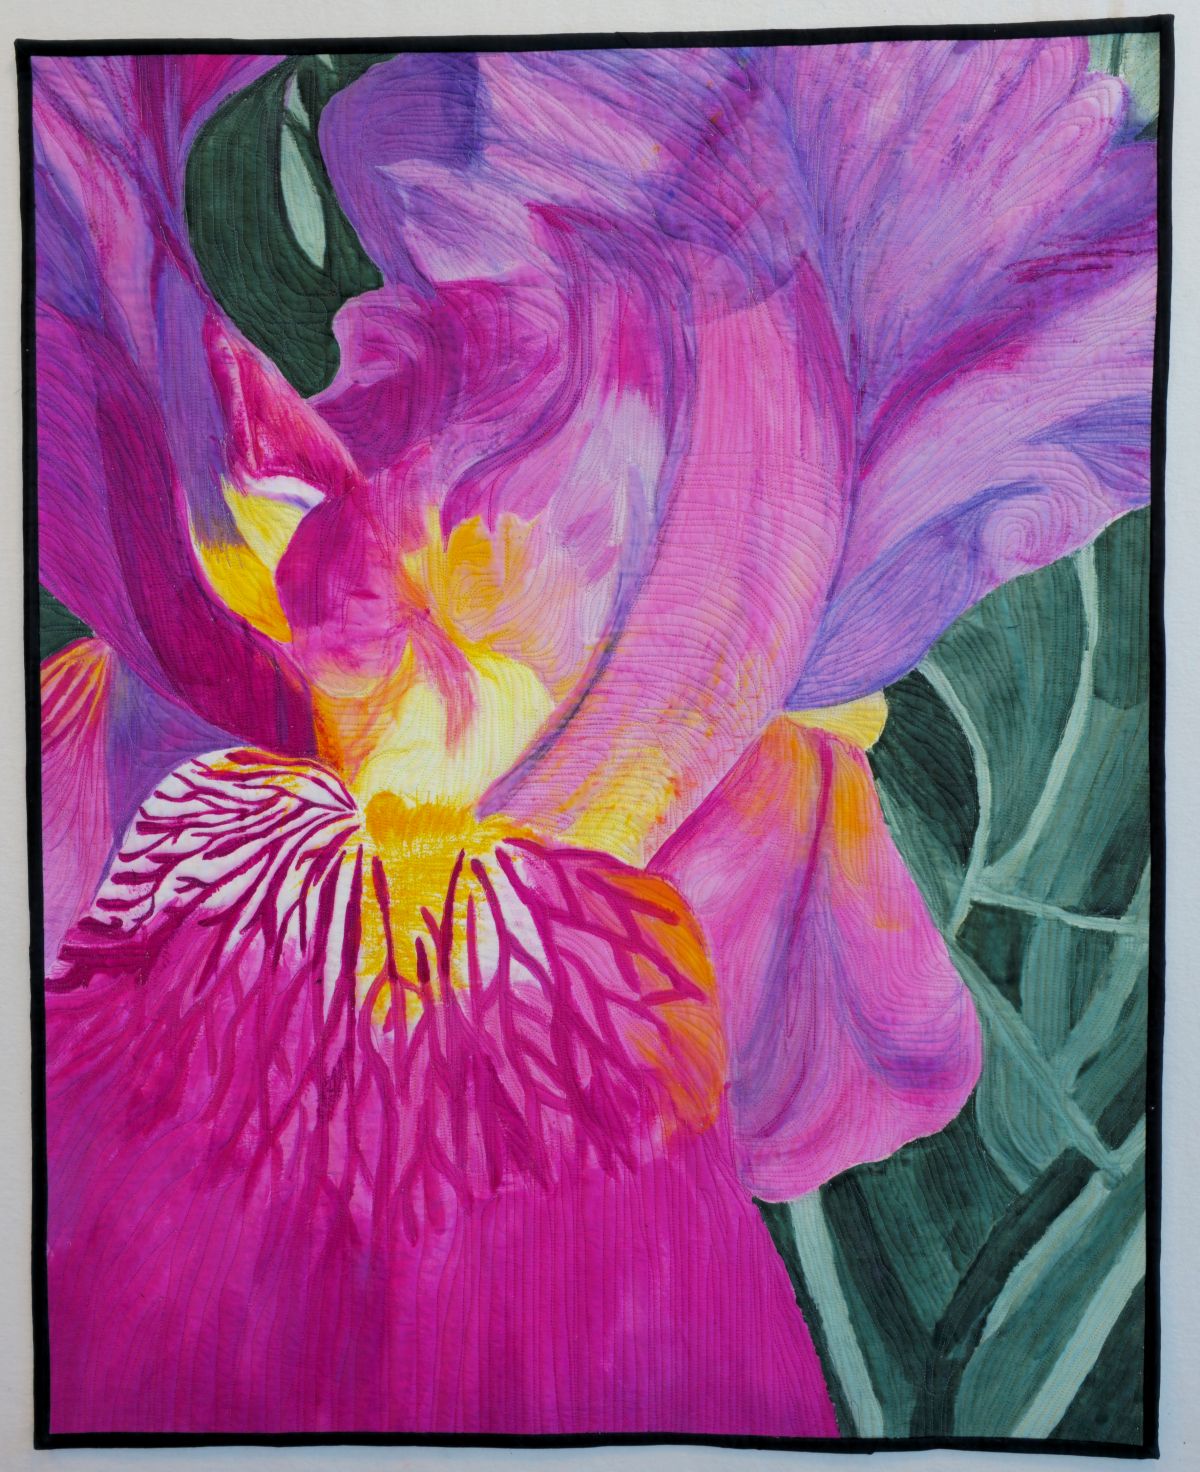
All finished! I really love how it came out. Now to figure out how I want to use this method on my next piece!
I would love to know what you think in the comment section below!
