
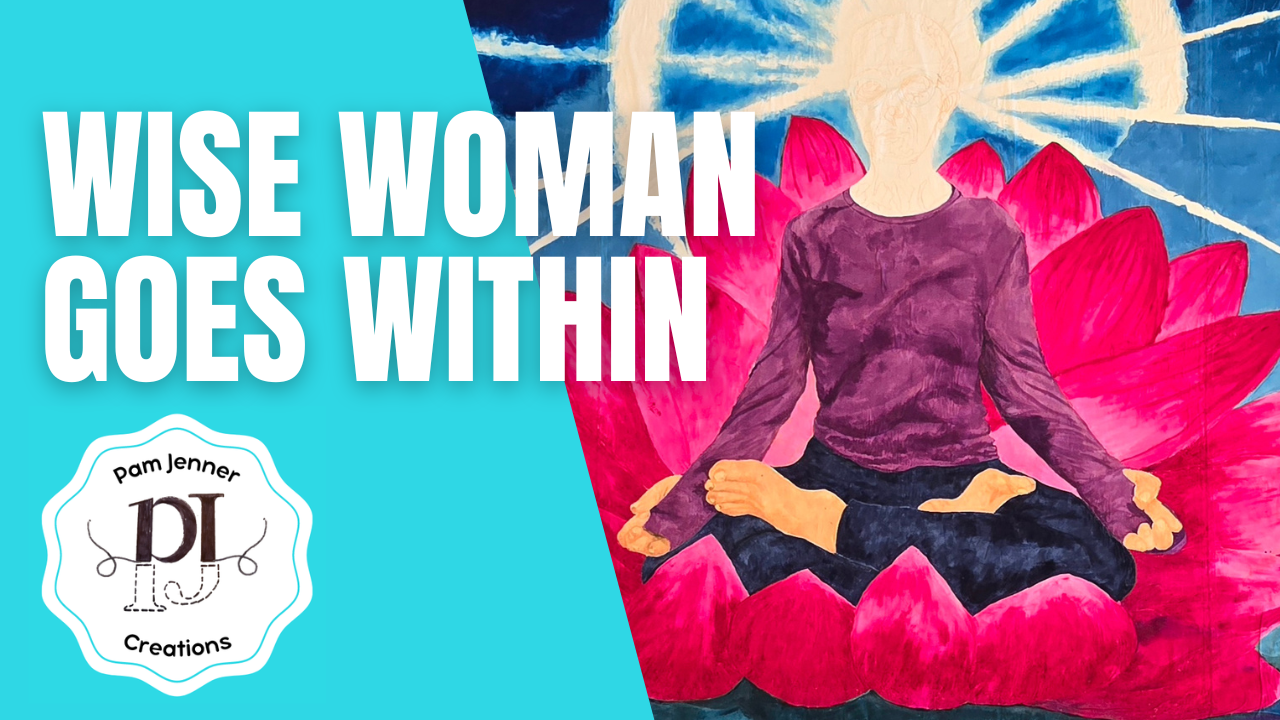
Introduction....
I had this idea that I wanted to have someone in a full Lotus position. My friend said that she could do it. With that she did it and had her husband take the pictures from all angles for me. I was originally going to change the head to someone else. It just had to be her. That was the beginning of this Wise woman becoming my art piece.
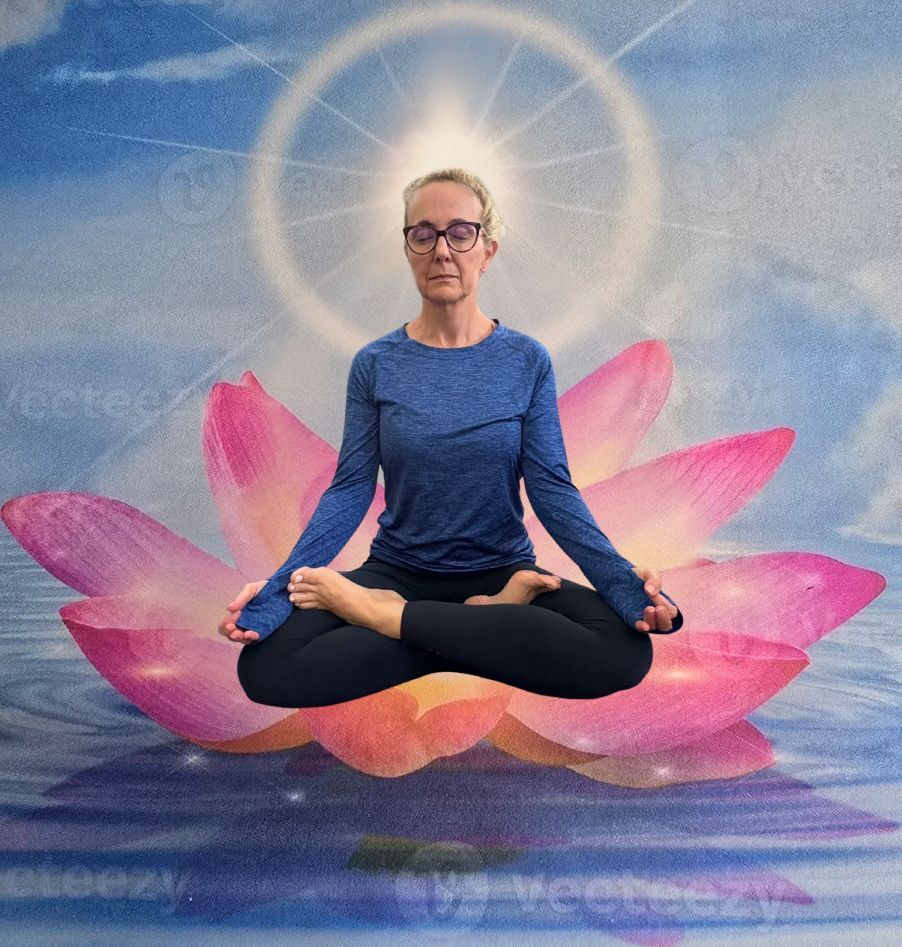
A different friend put Michele into a lotus blossomed into the image above. The glow was part of what I wanted to have happening when you go within for all of us.
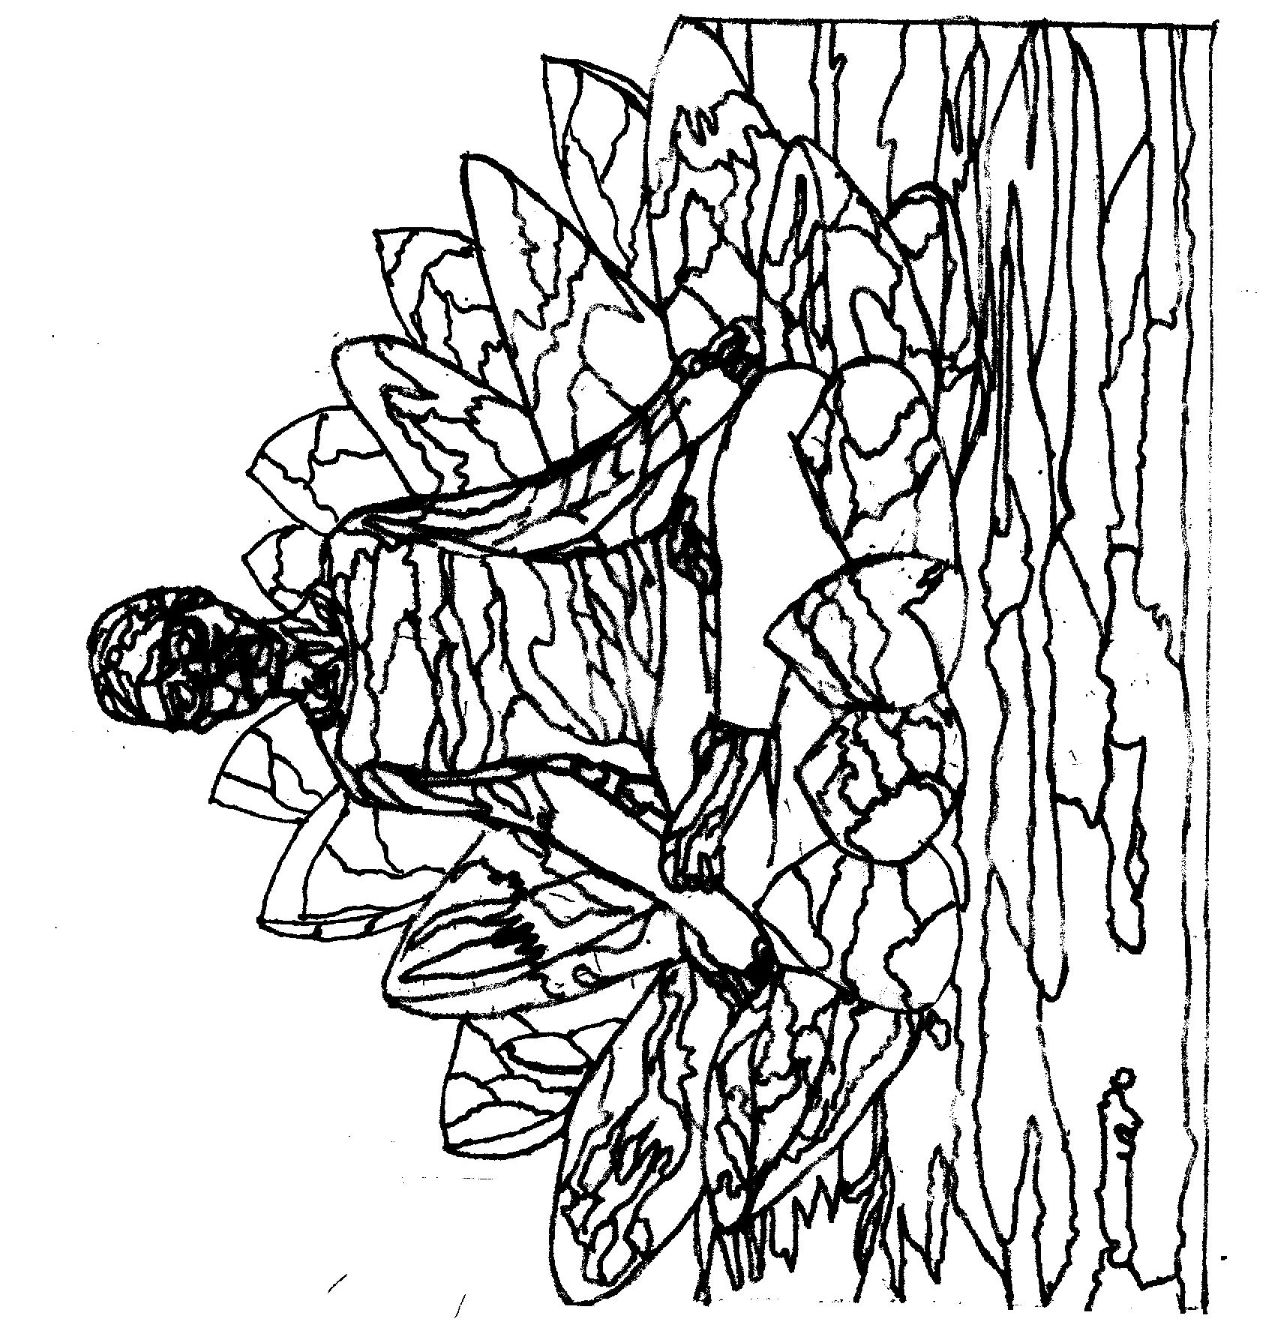
Taking that photo and printing it out with a light box under it and a tracing paper on top of the picture to make my design for the fabric. I than took the tracing and put it in my copy/printer and enlarged it many times over into tiles on paper and printed it out. Than I taped them together to have my pattern to put onto fabric.
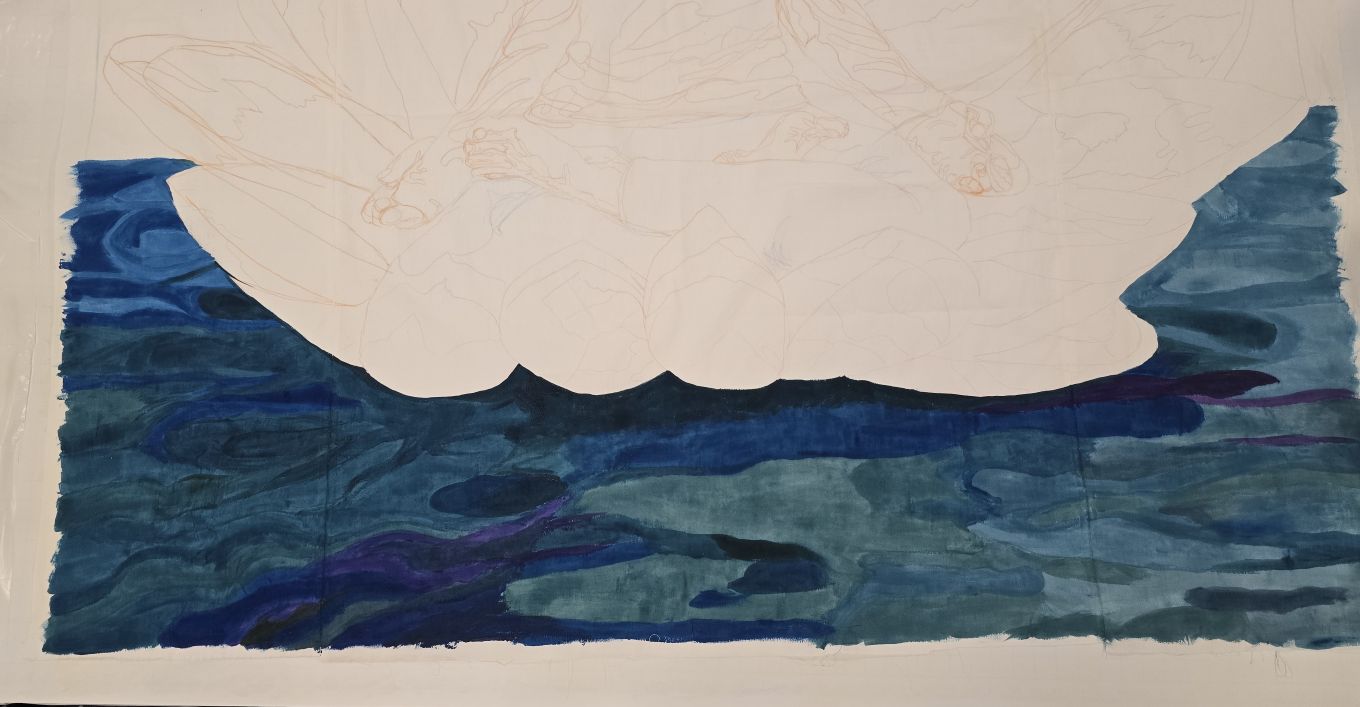
Having Hollis Chatelain as my teacher for this technique I was able to get guidance through it all. I started with the water because I was not worried about it at all.
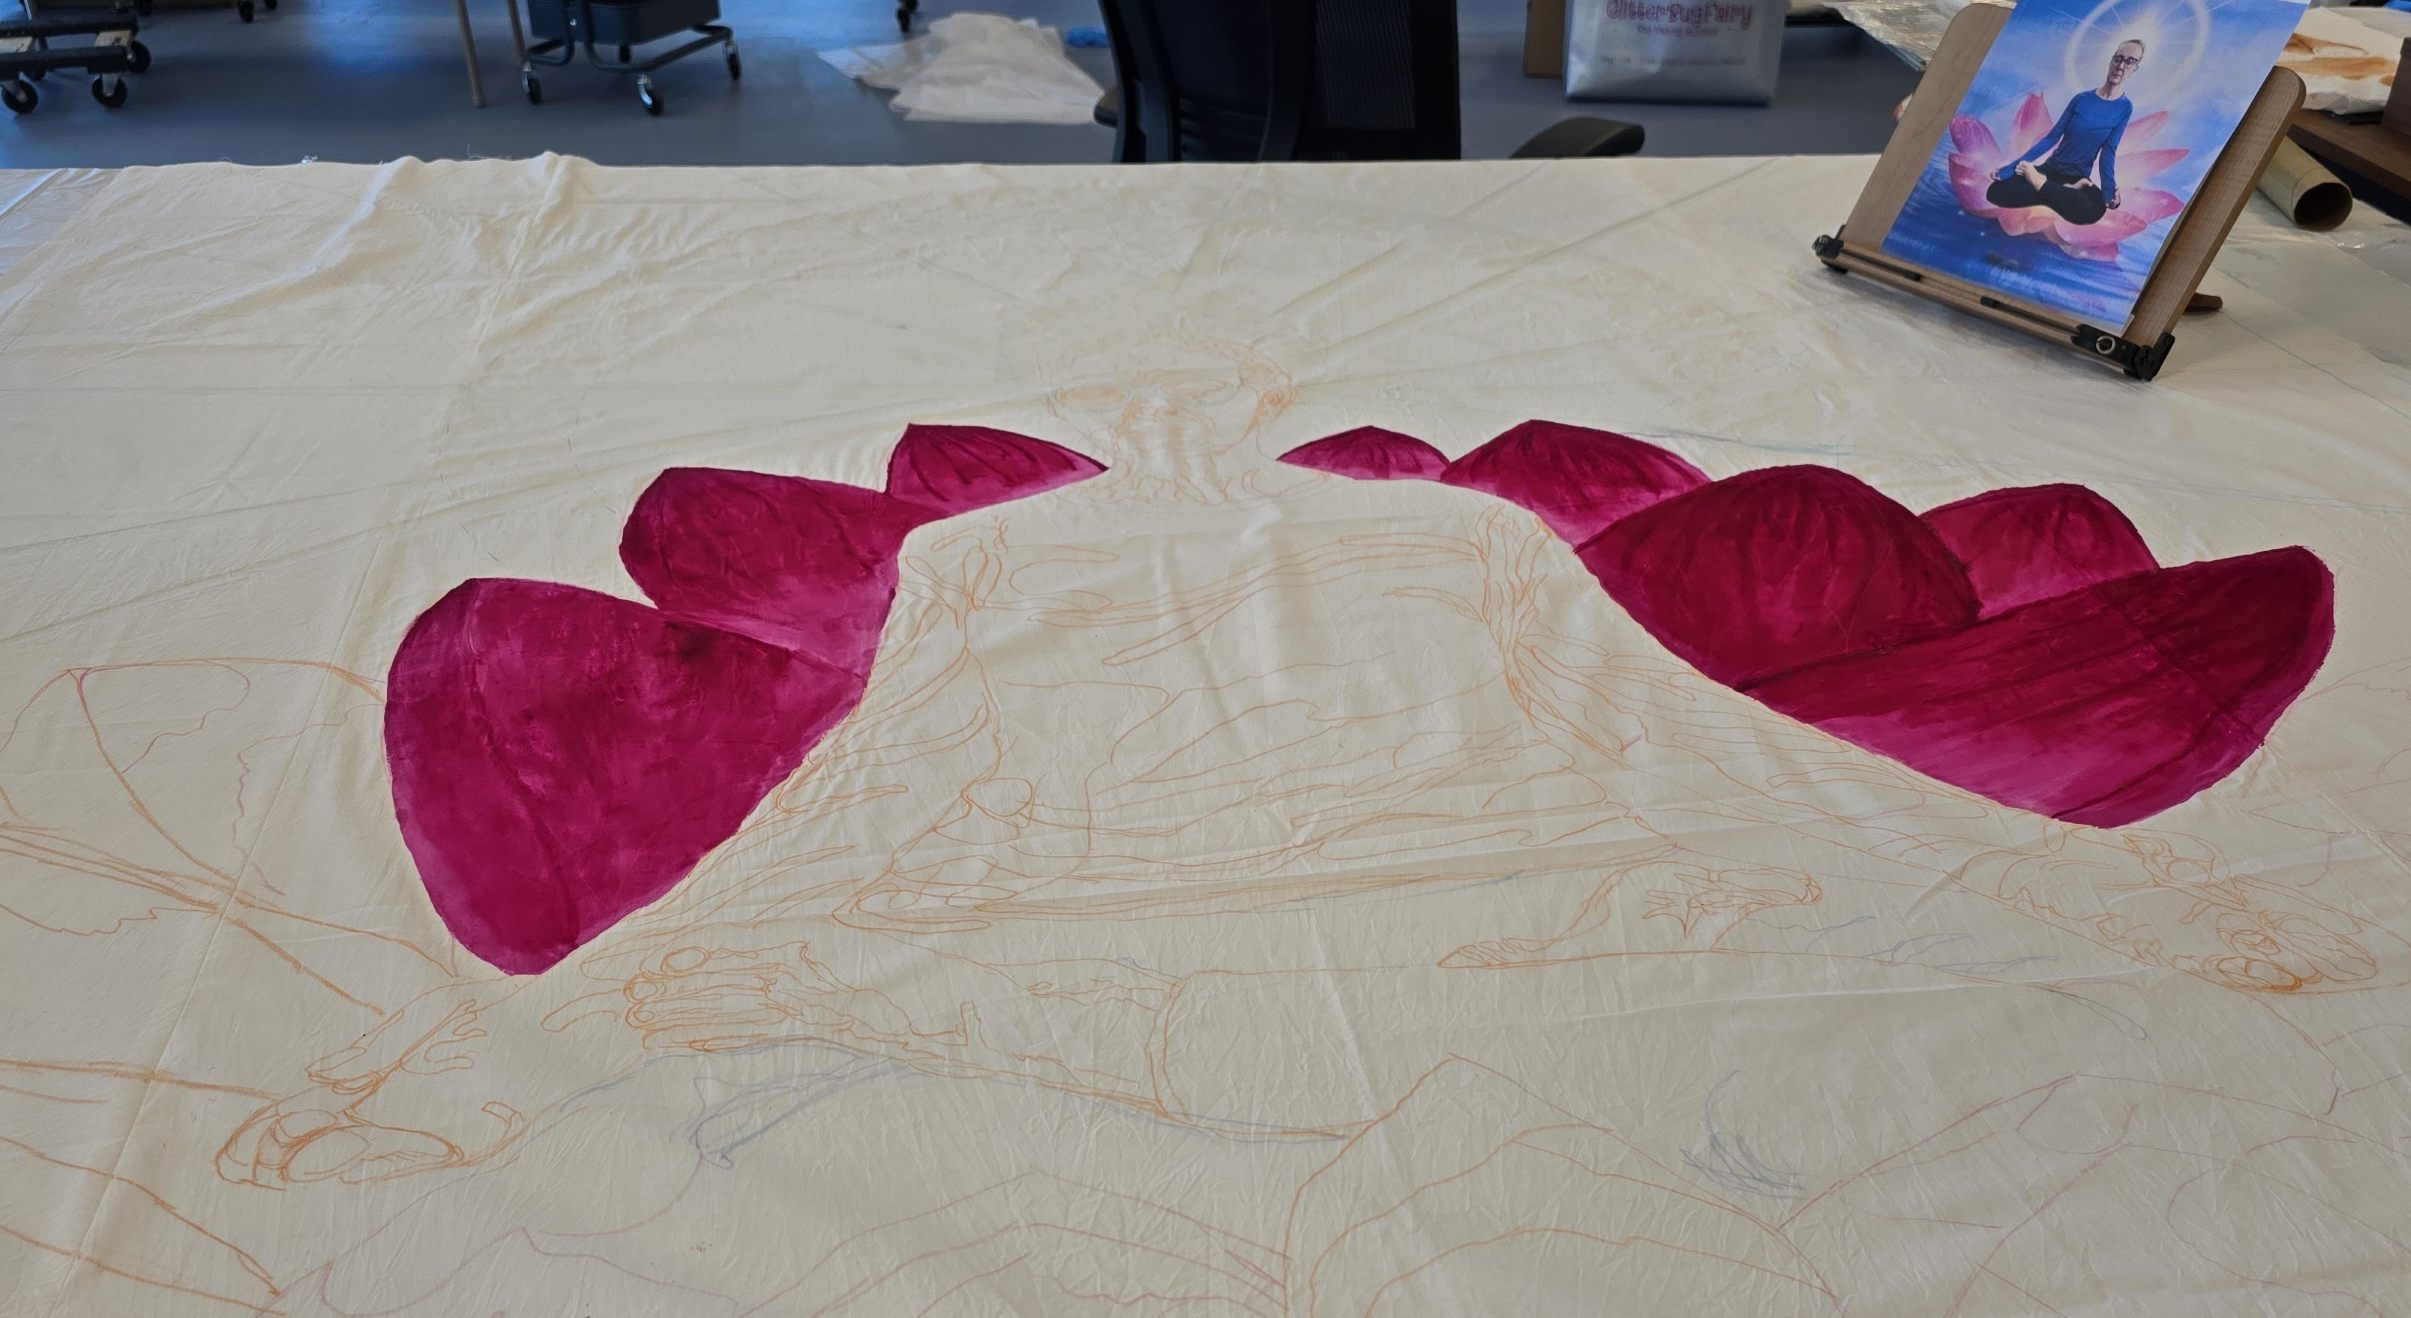
Than went to the petals of the lotus. Trying to see the difference between the colors was a challenge for me to see when it was all wet.
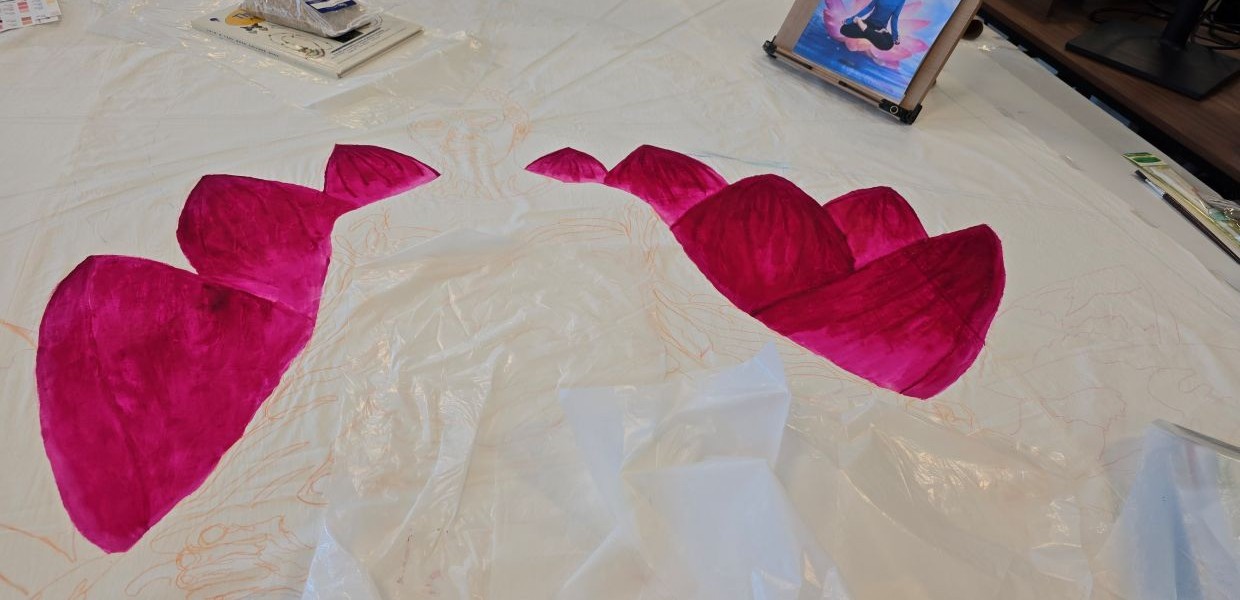
Keeping track of the gradations of the colors was all through this piece. There was at least 4 gradations of each color as I was working on this. When you ran out of one color you had to make sure you were starting with the right amount of print paste mix. This would make the color just the right color when you had to do more.
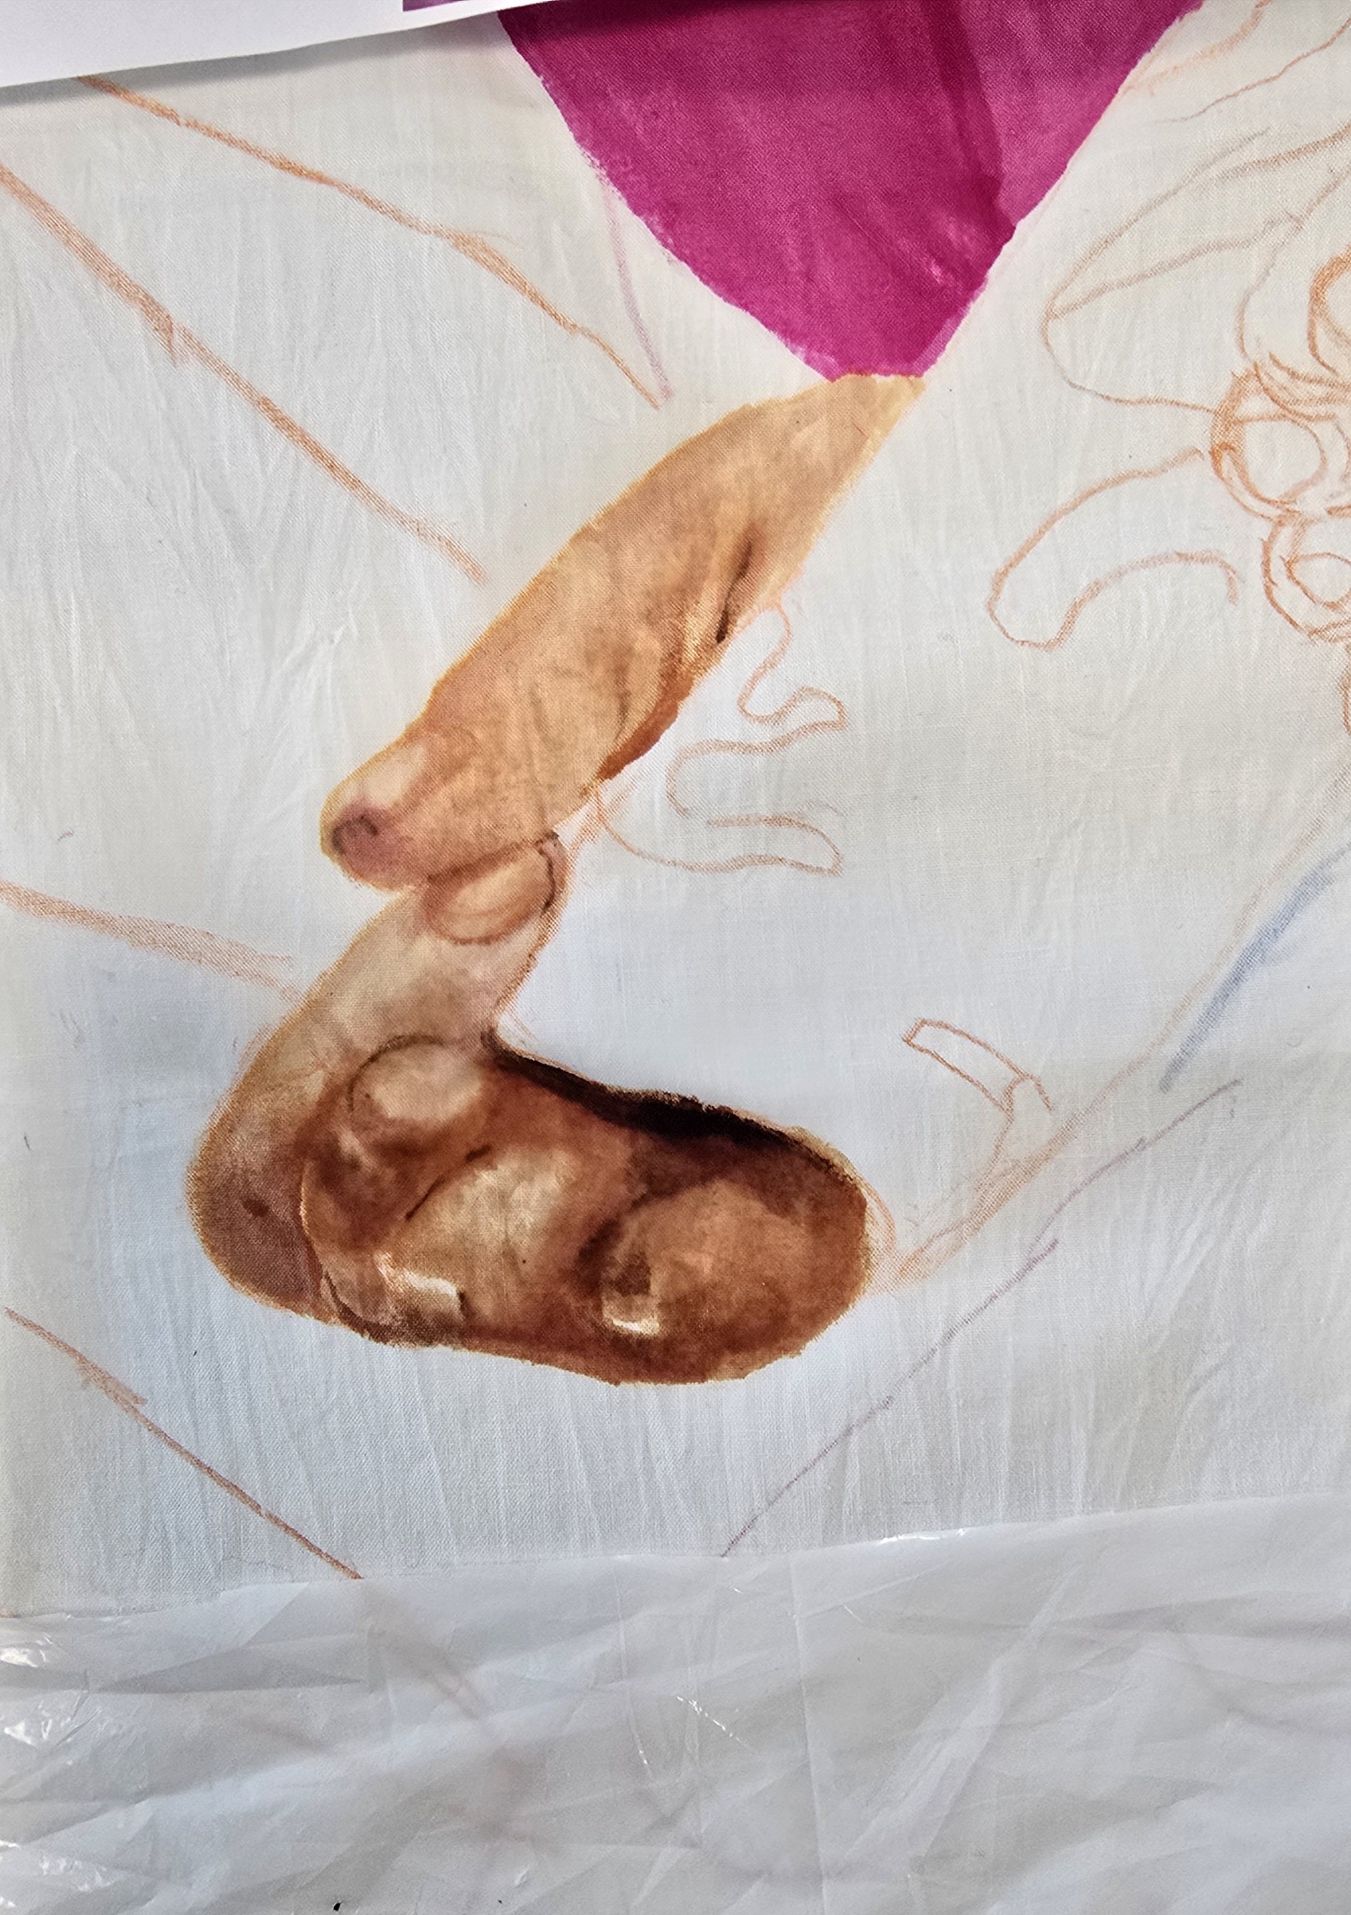
When you are working with thicken dye your have to have everything darker than you are comfortable with. After you wash it out it lightens up so you start dark and than you don't have to redo it.
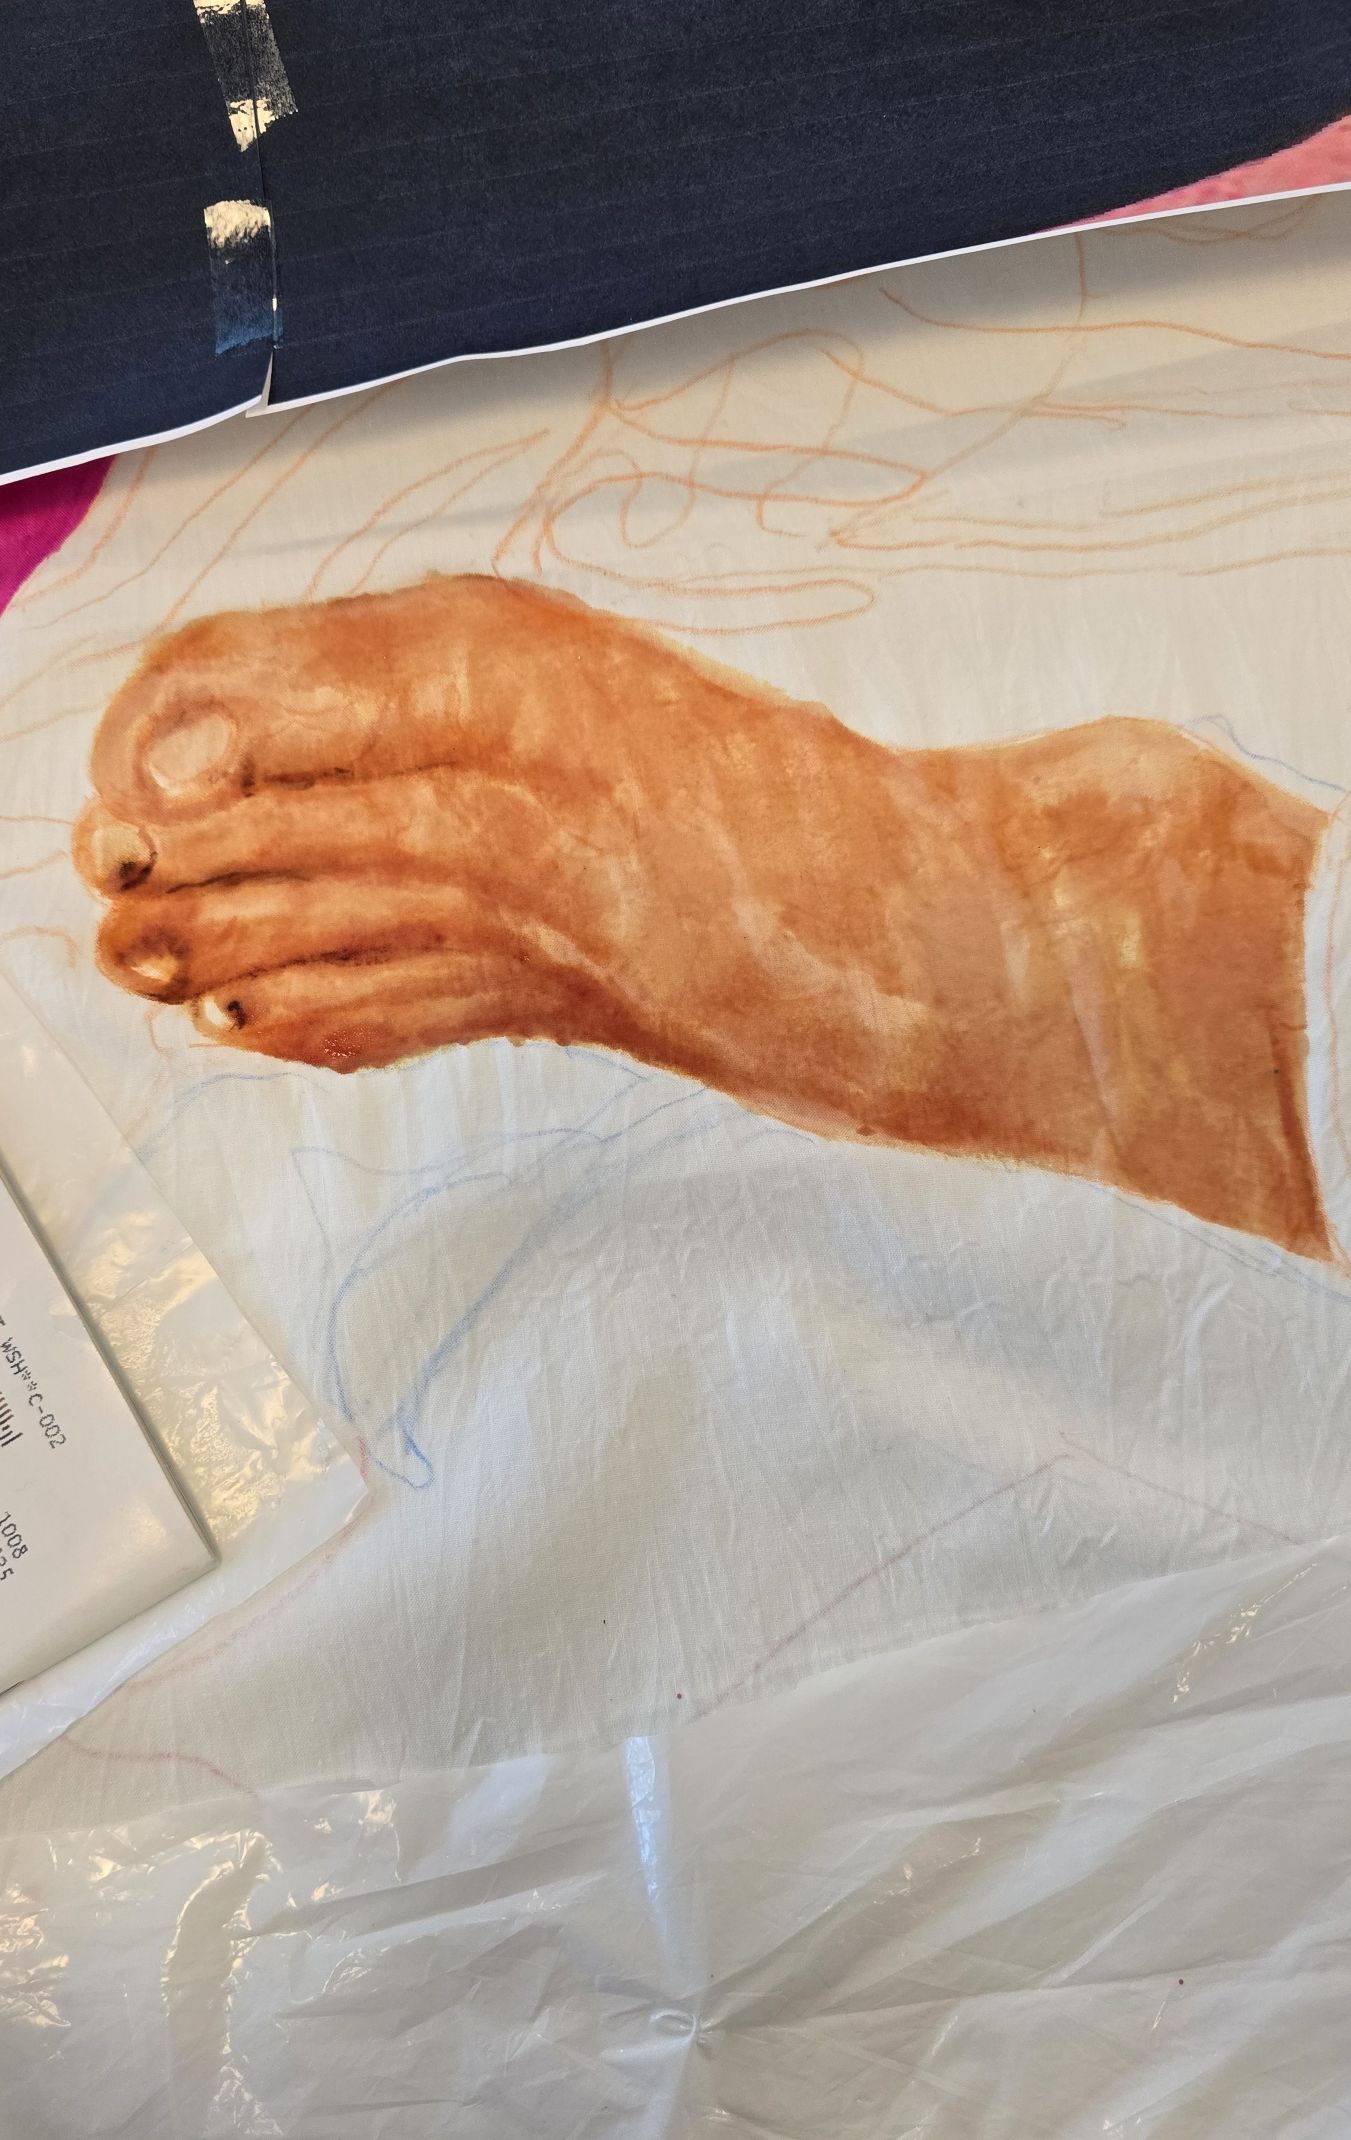
The skin tones were drying out so I had to go back over the hands and feet with water to blend them together and not have brush strokes.
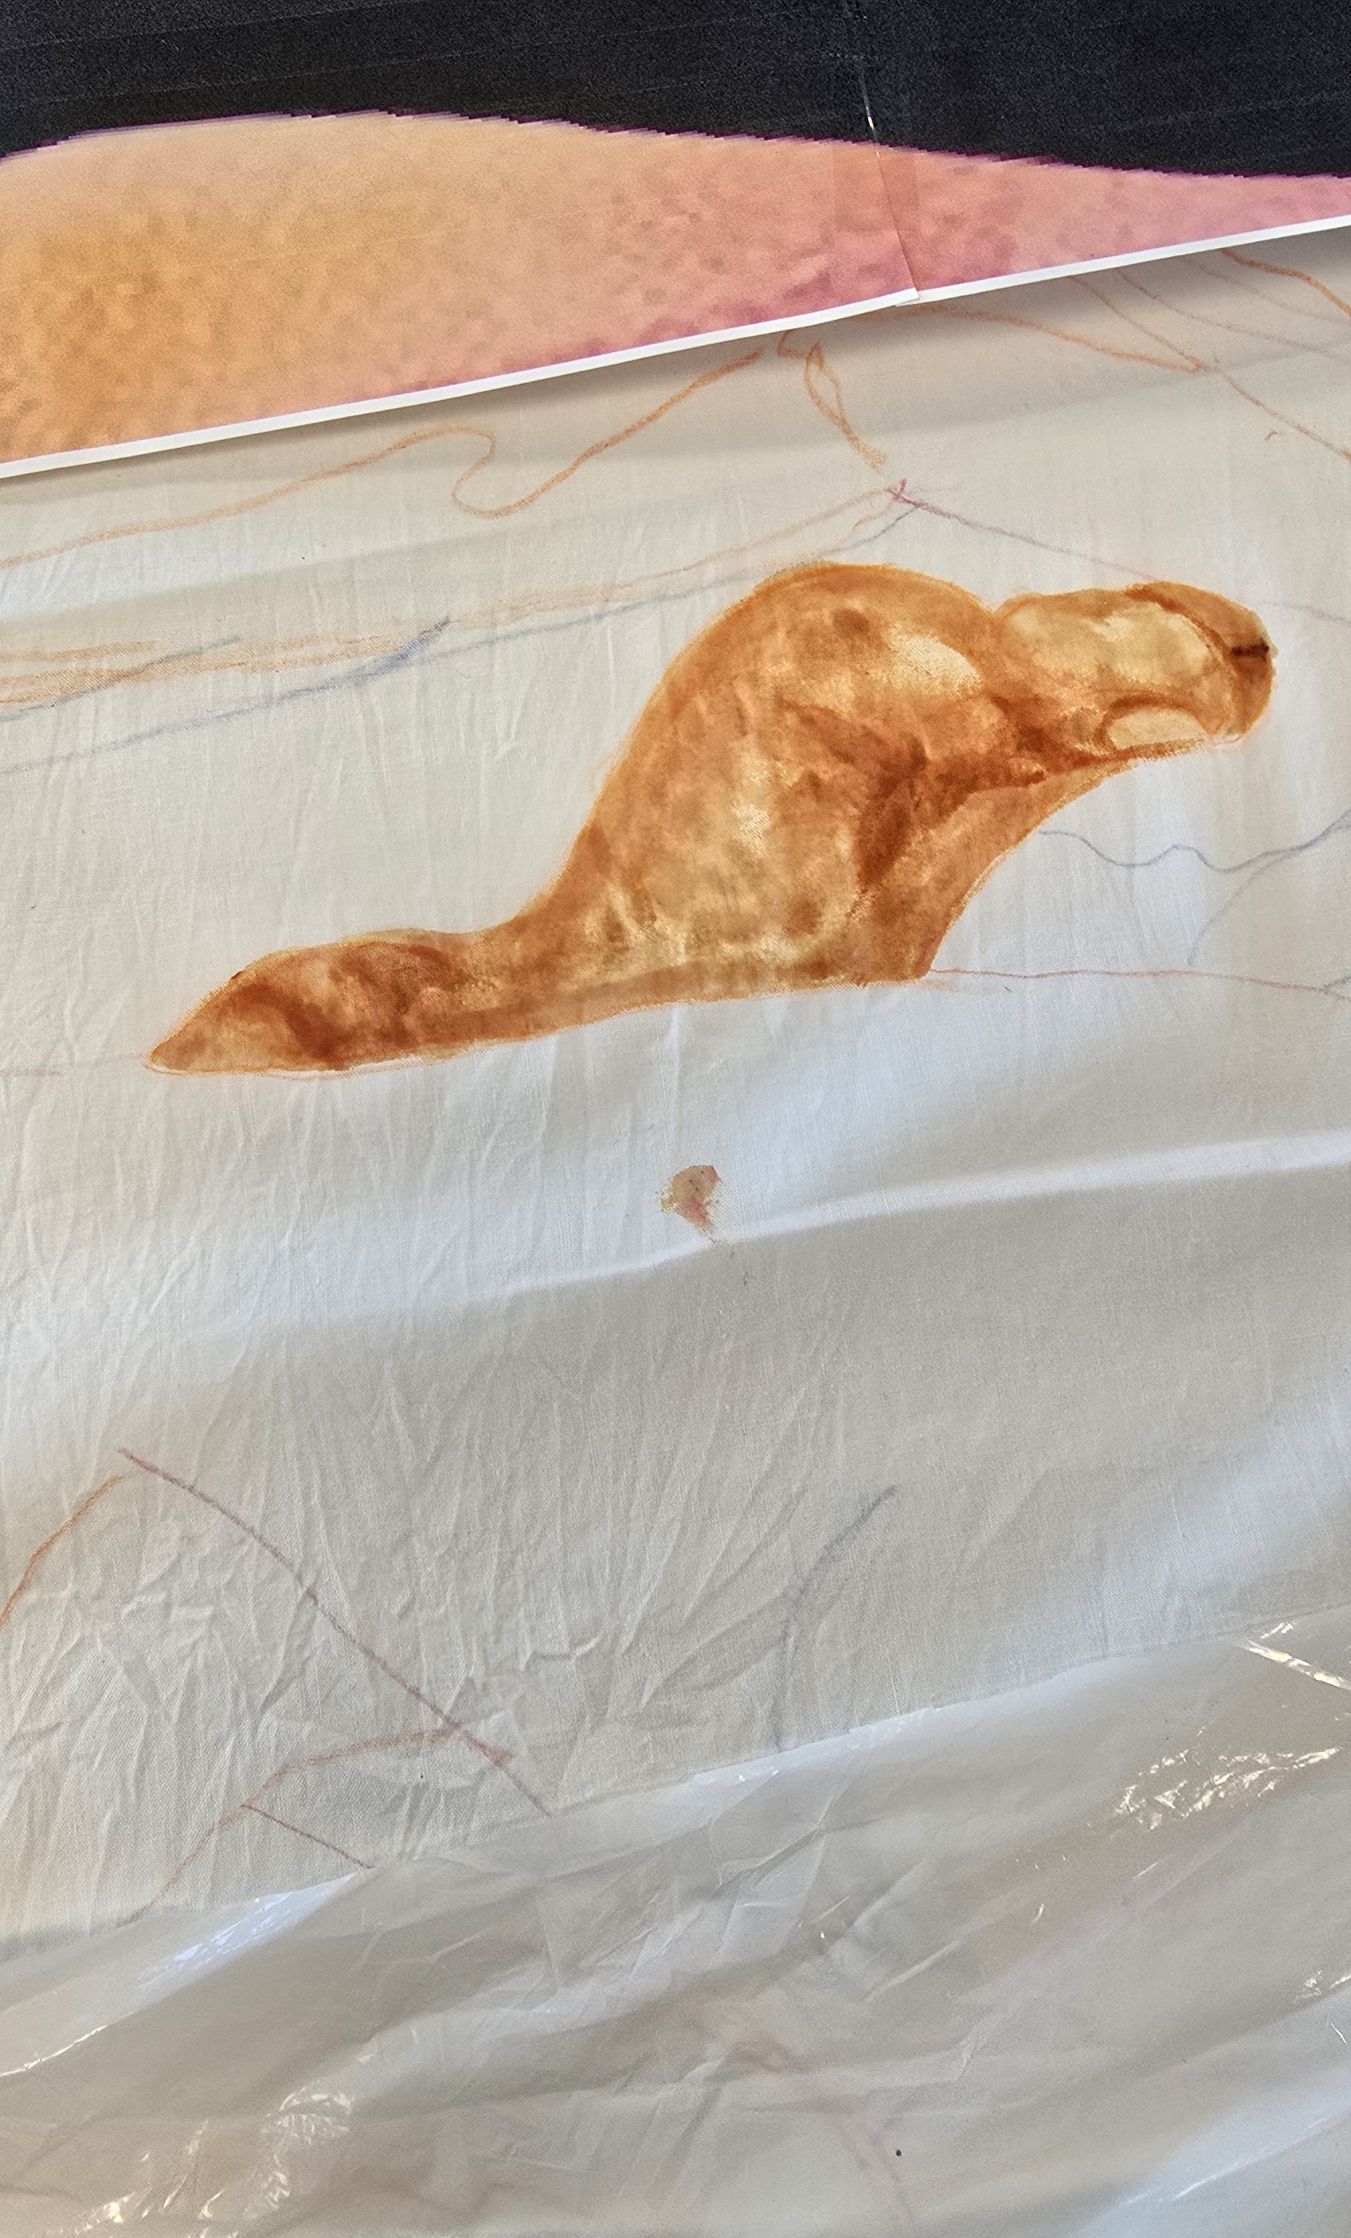
The plastic is the way to keep the dye from drying out to fast. If you put the plastic over it after you have dye painted it and put weight on the plastic it helps the dye cure for at least 24 hours the dye with stay in the fabric better.
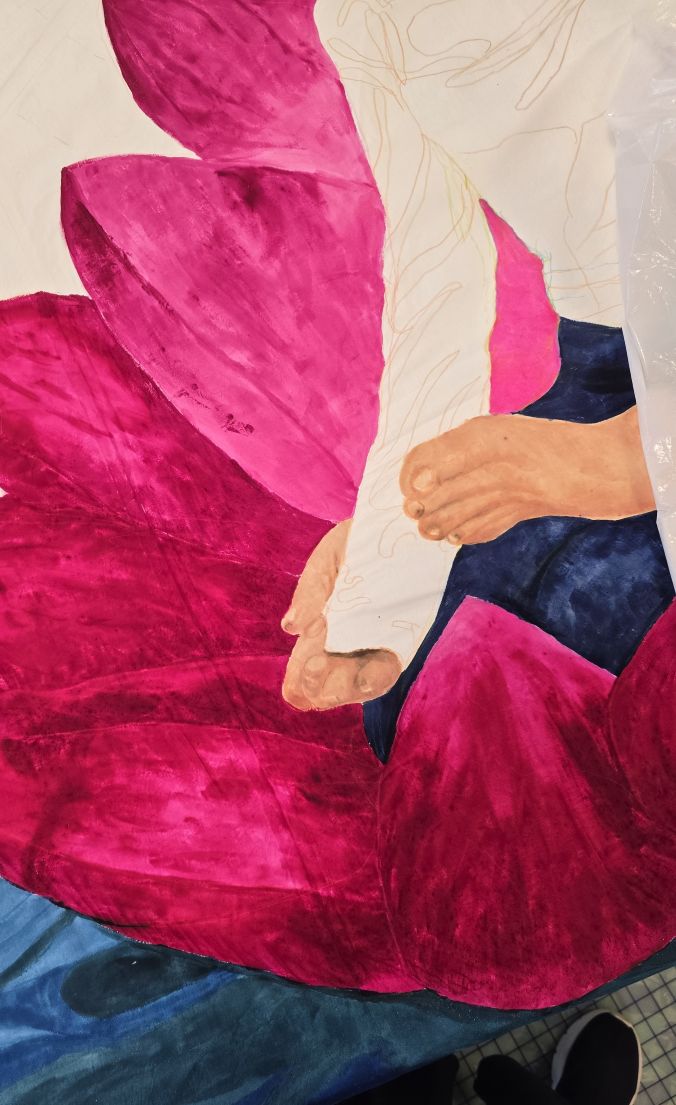
After the hands and feet I used full out navy for her yoga pants. See how much the skin dried lighter now that it is dry?
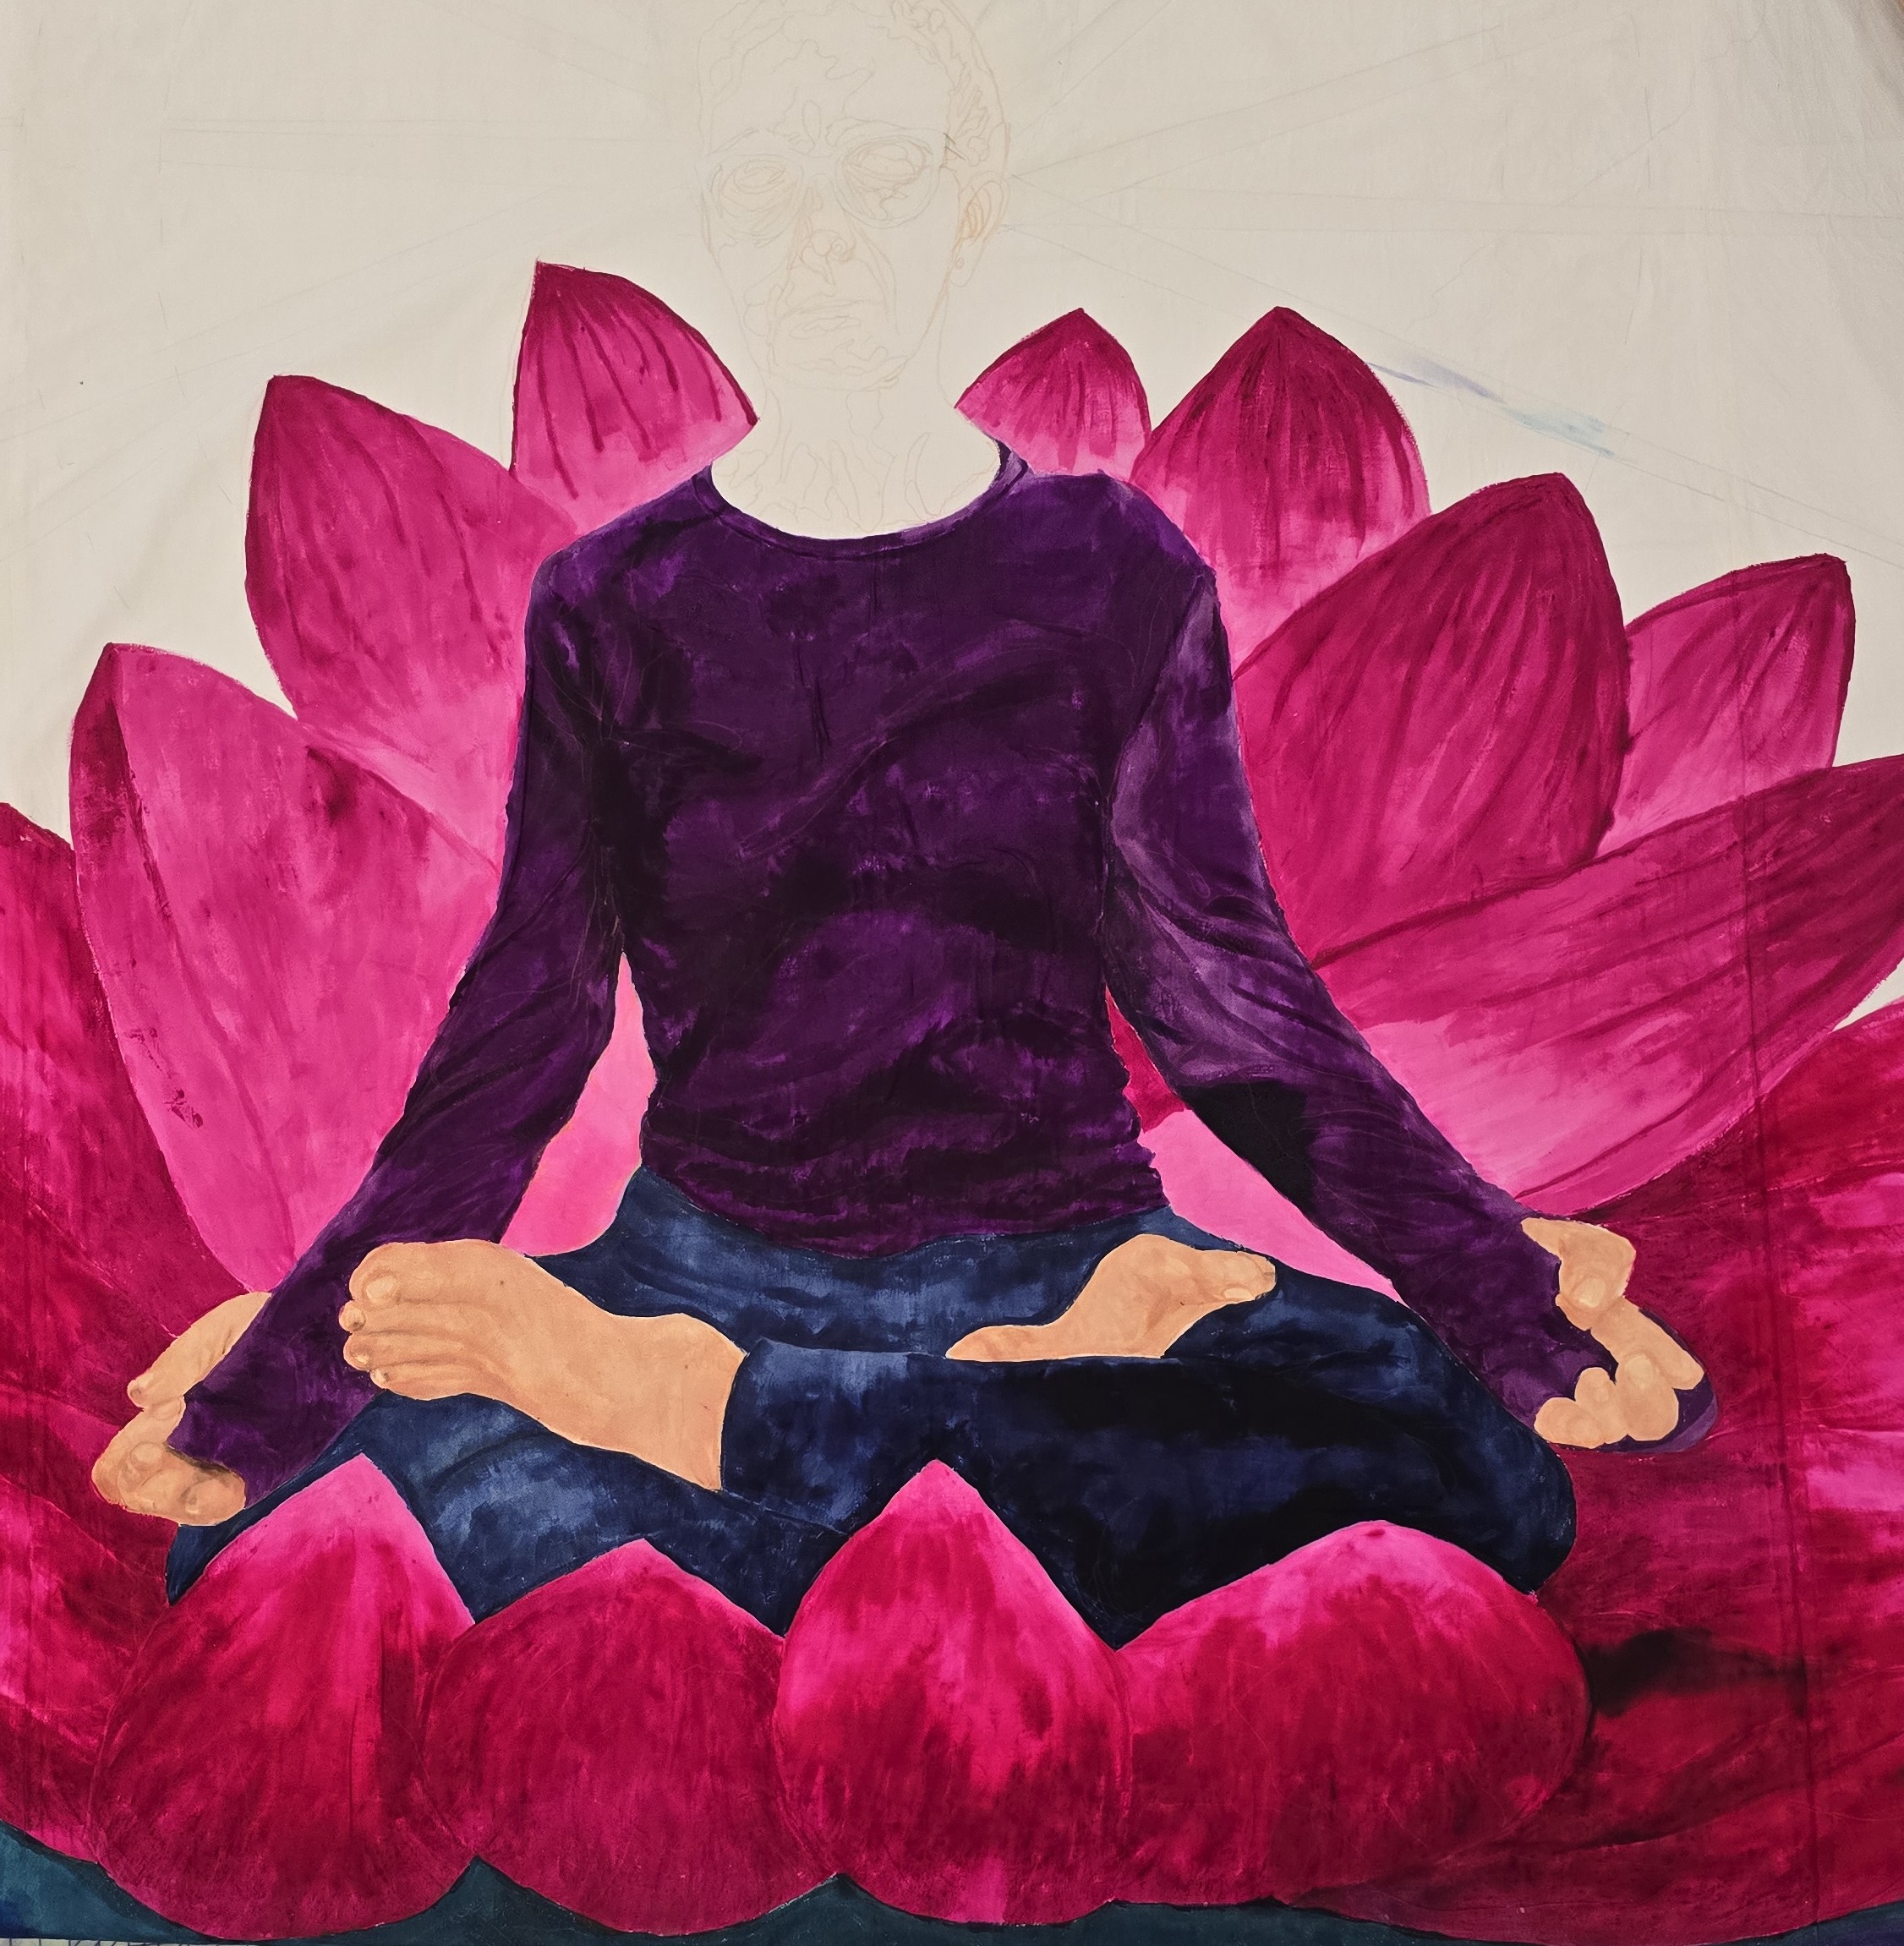
Her top was fun to do with the different shade of purple to show the wrinkles and folds of the cloth.
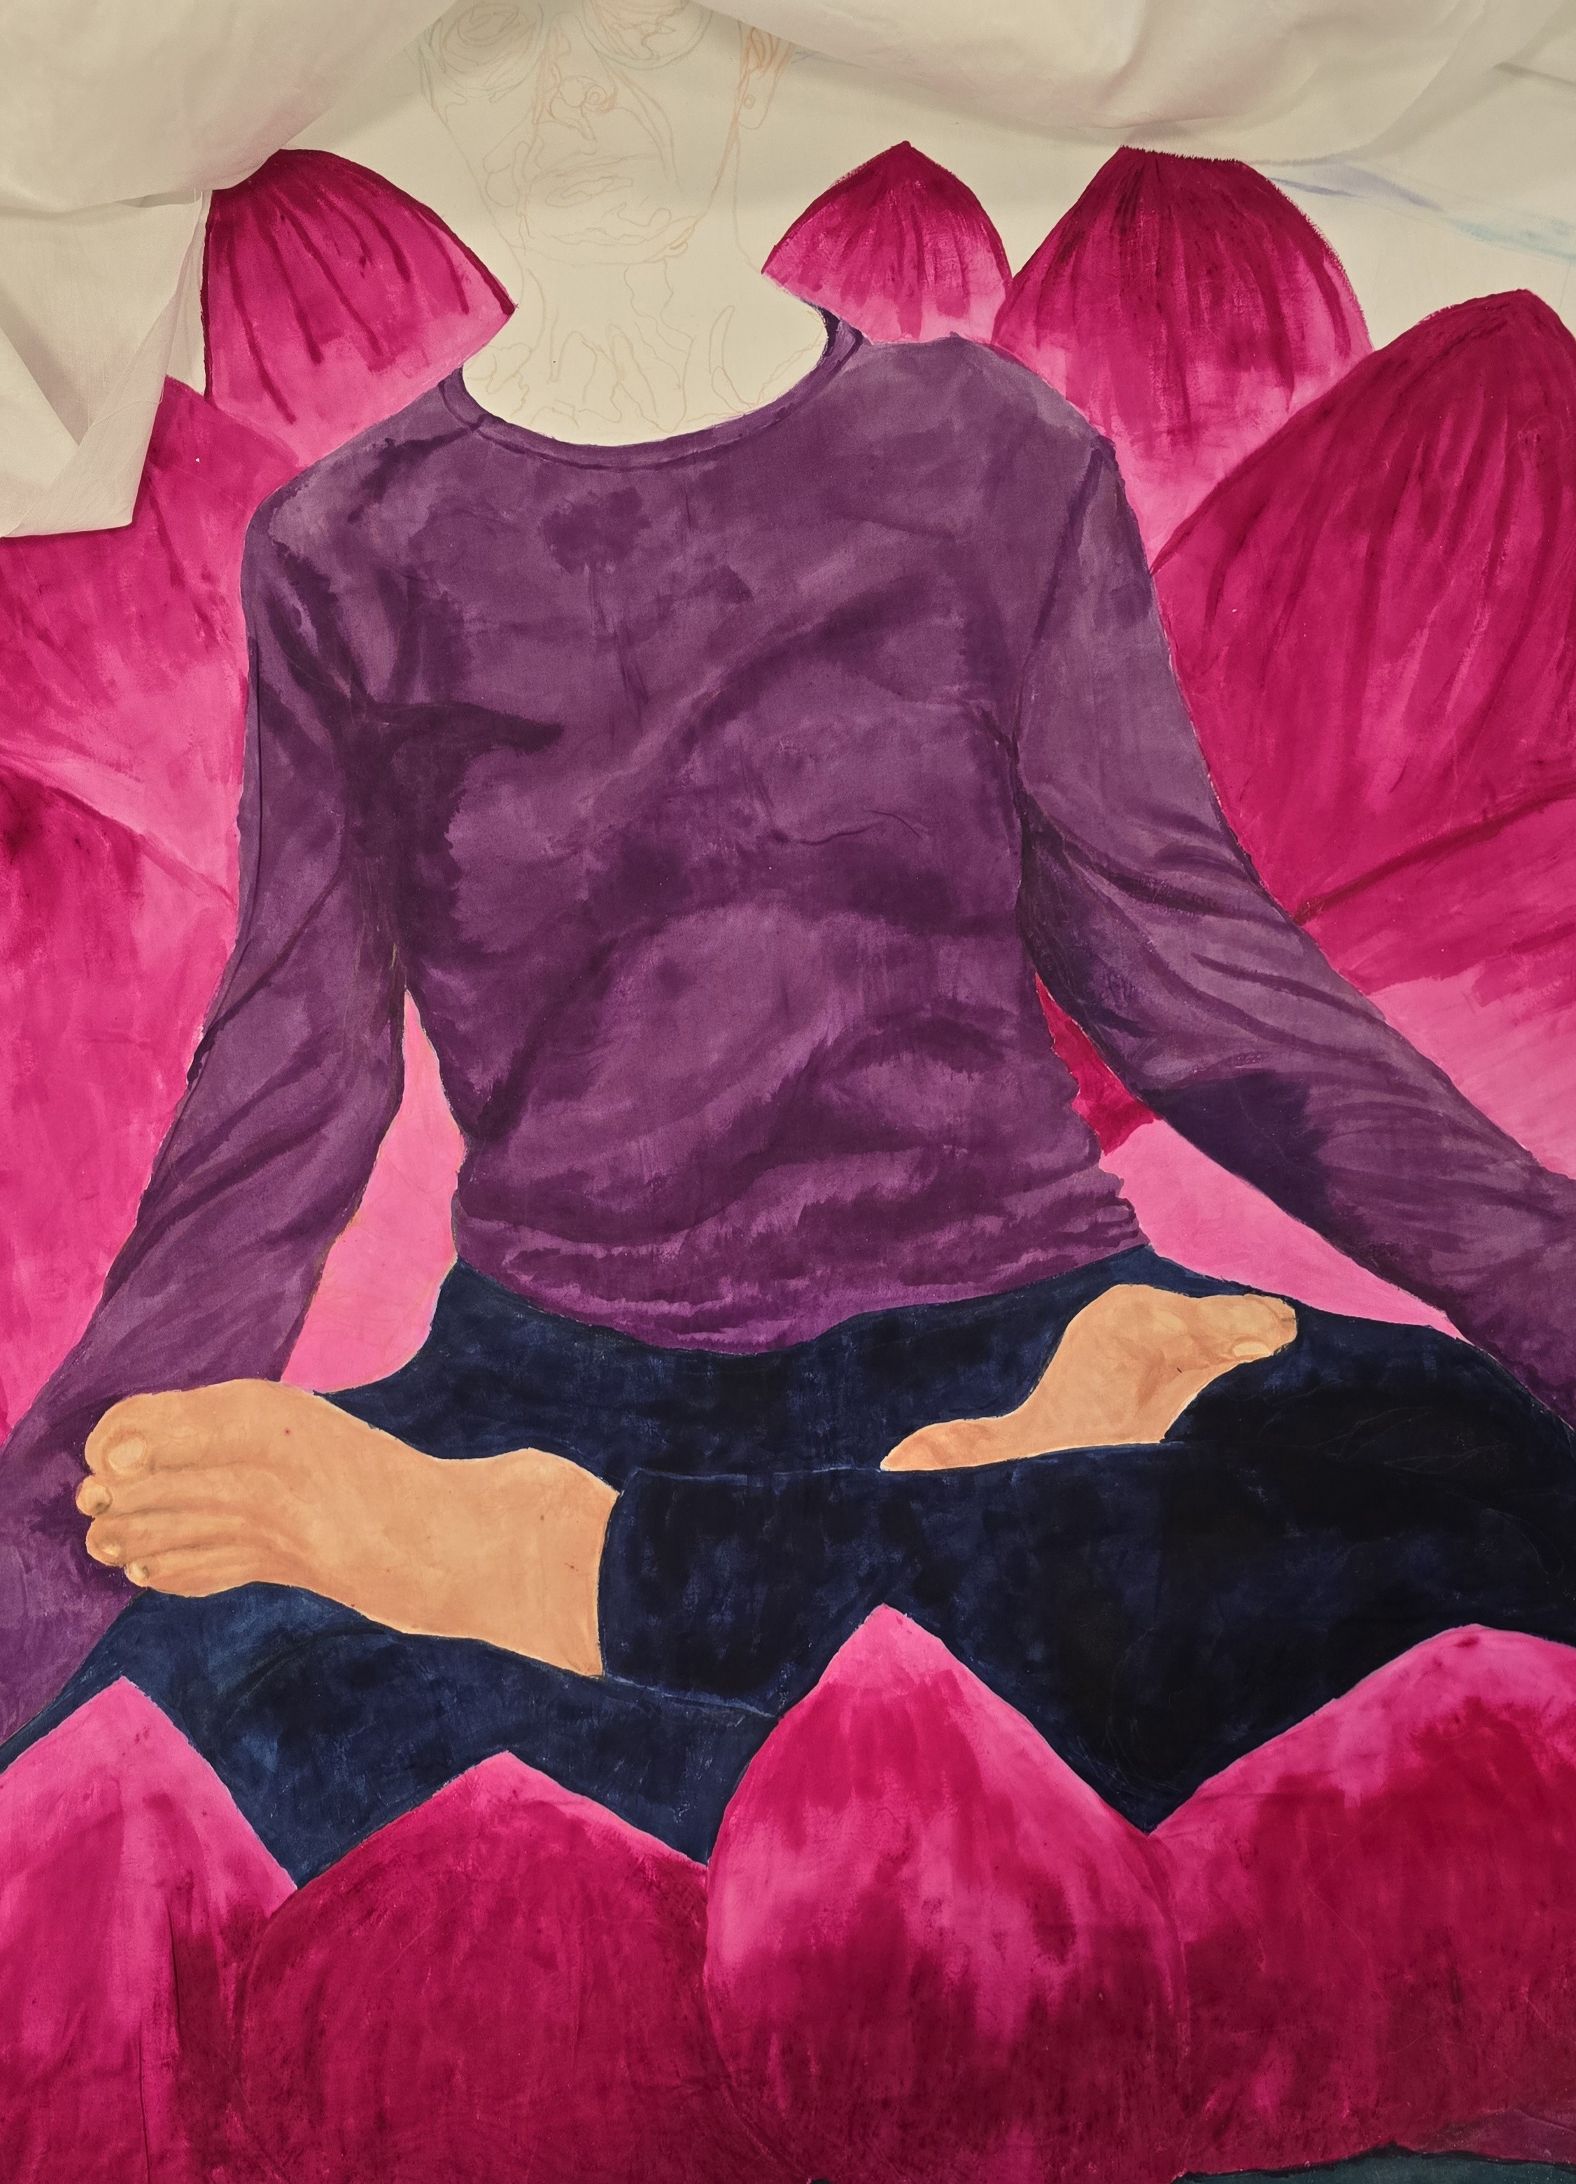
Again the color changed after it is dry.
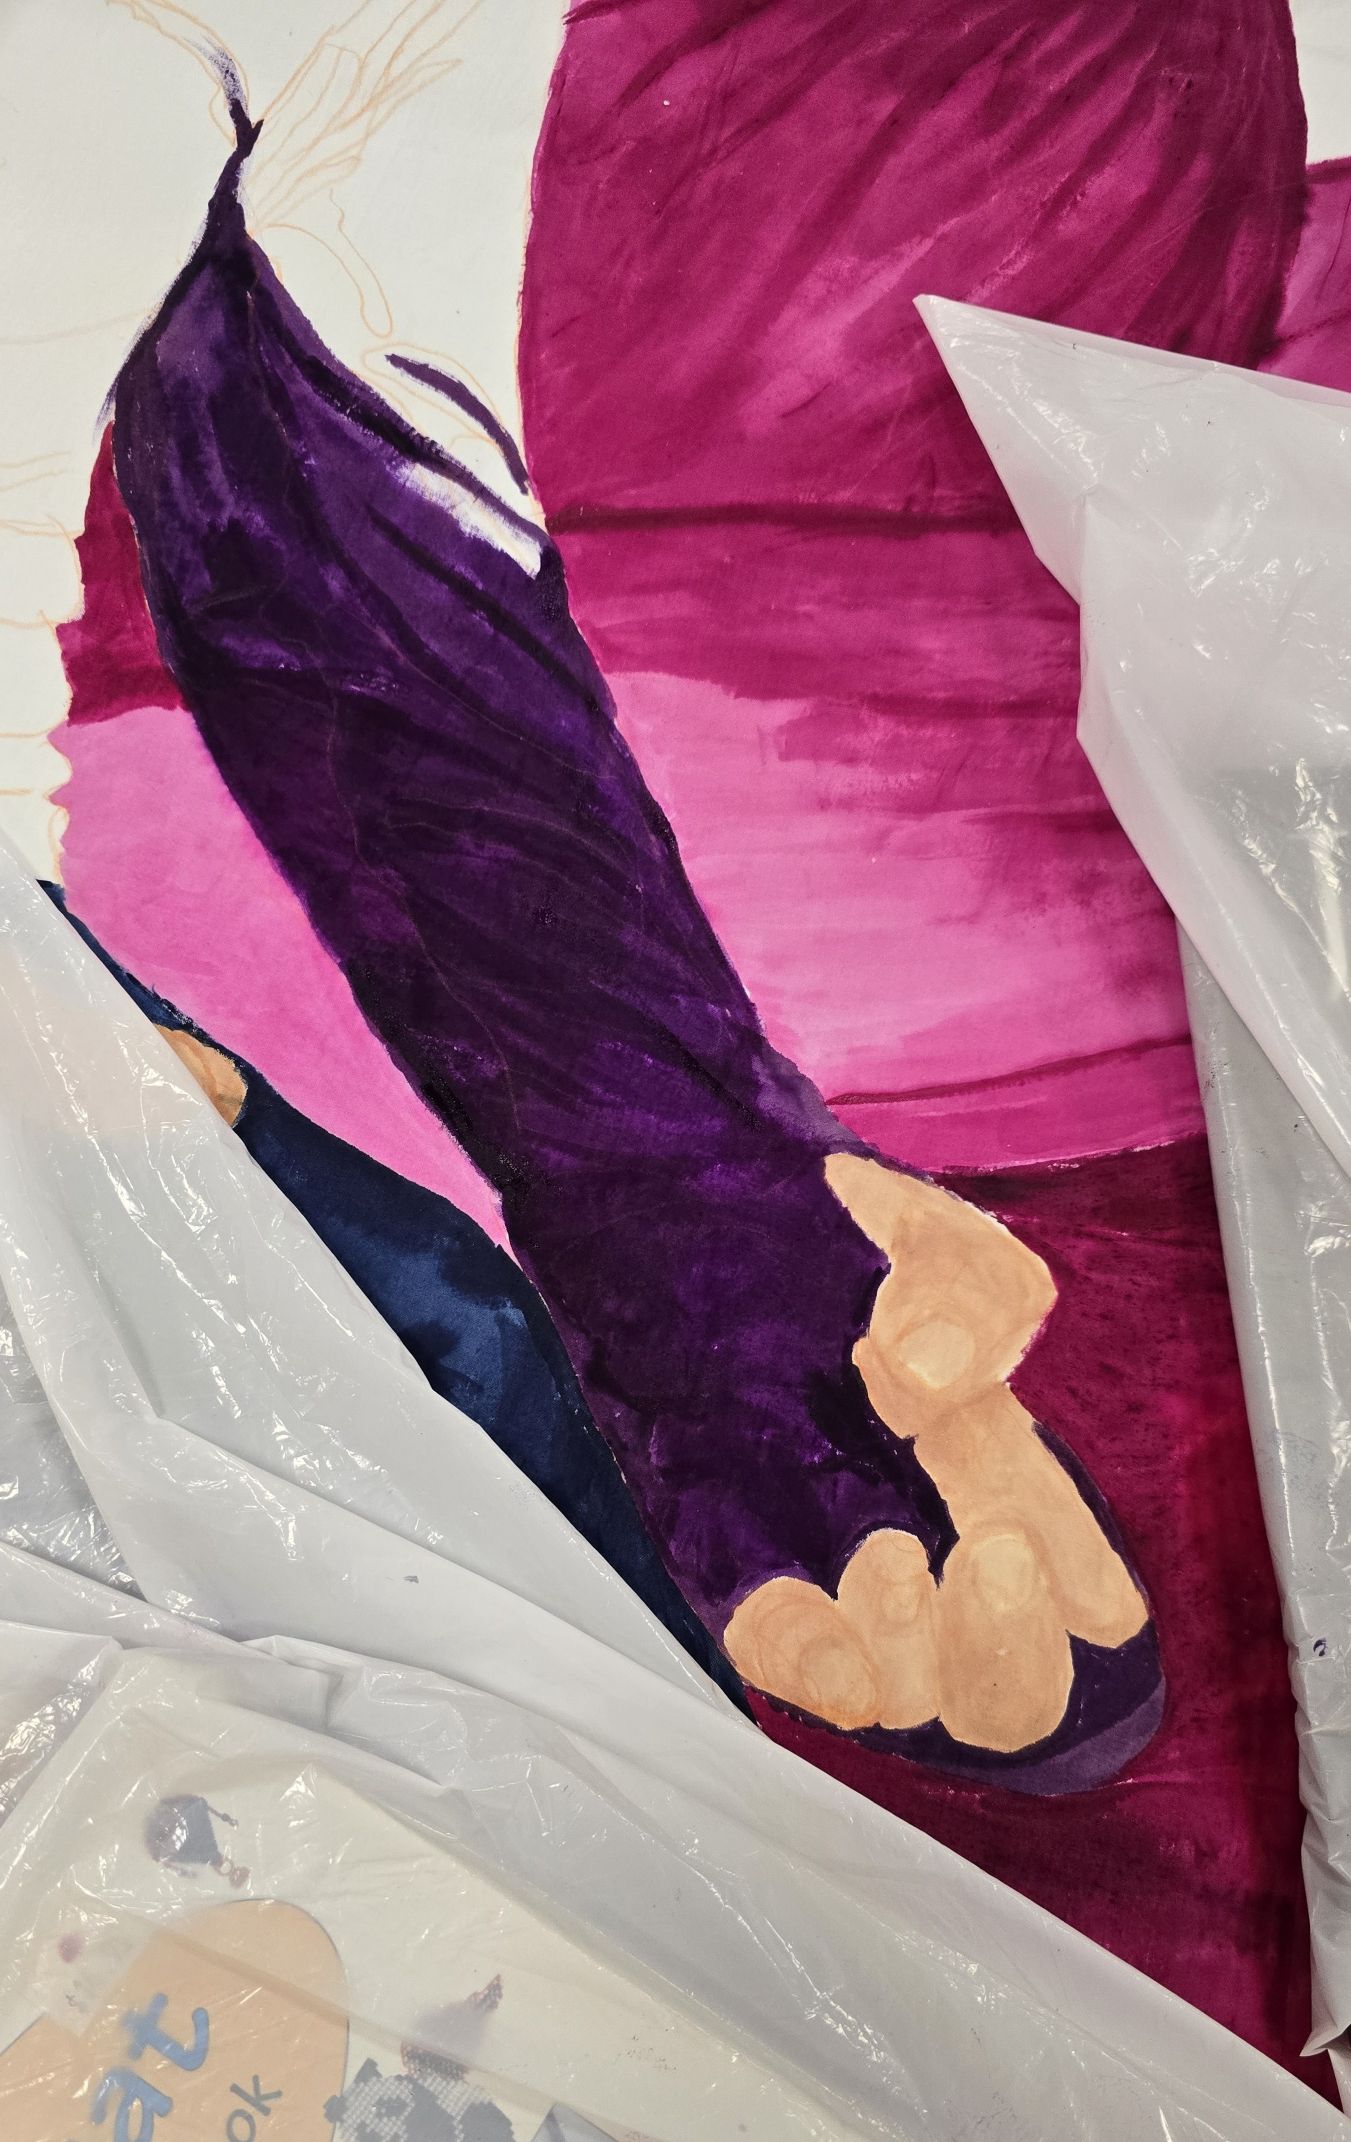
Here is the close up of Michele's sleeve while I was working on it. It was very dark and hard to see my lines on the cloth.
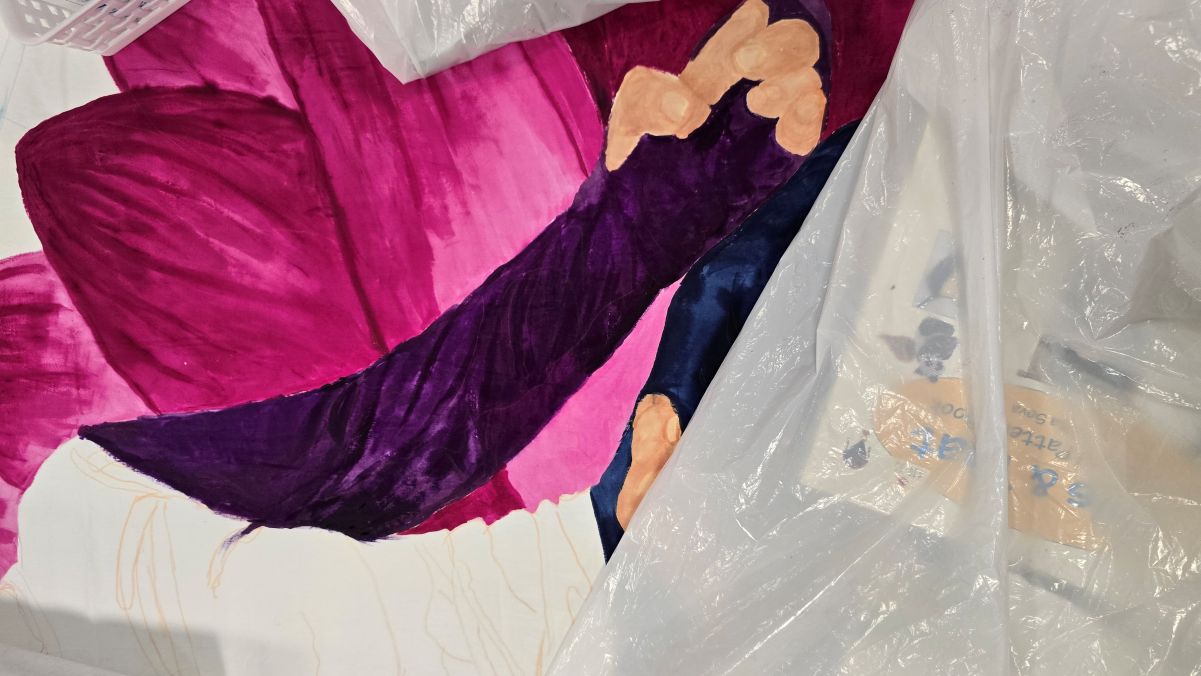
The plastic is covering the pants area while it drys.I actually went back in and put another coat of dye on the pants because the color was not as dark as I wanted it in some places.
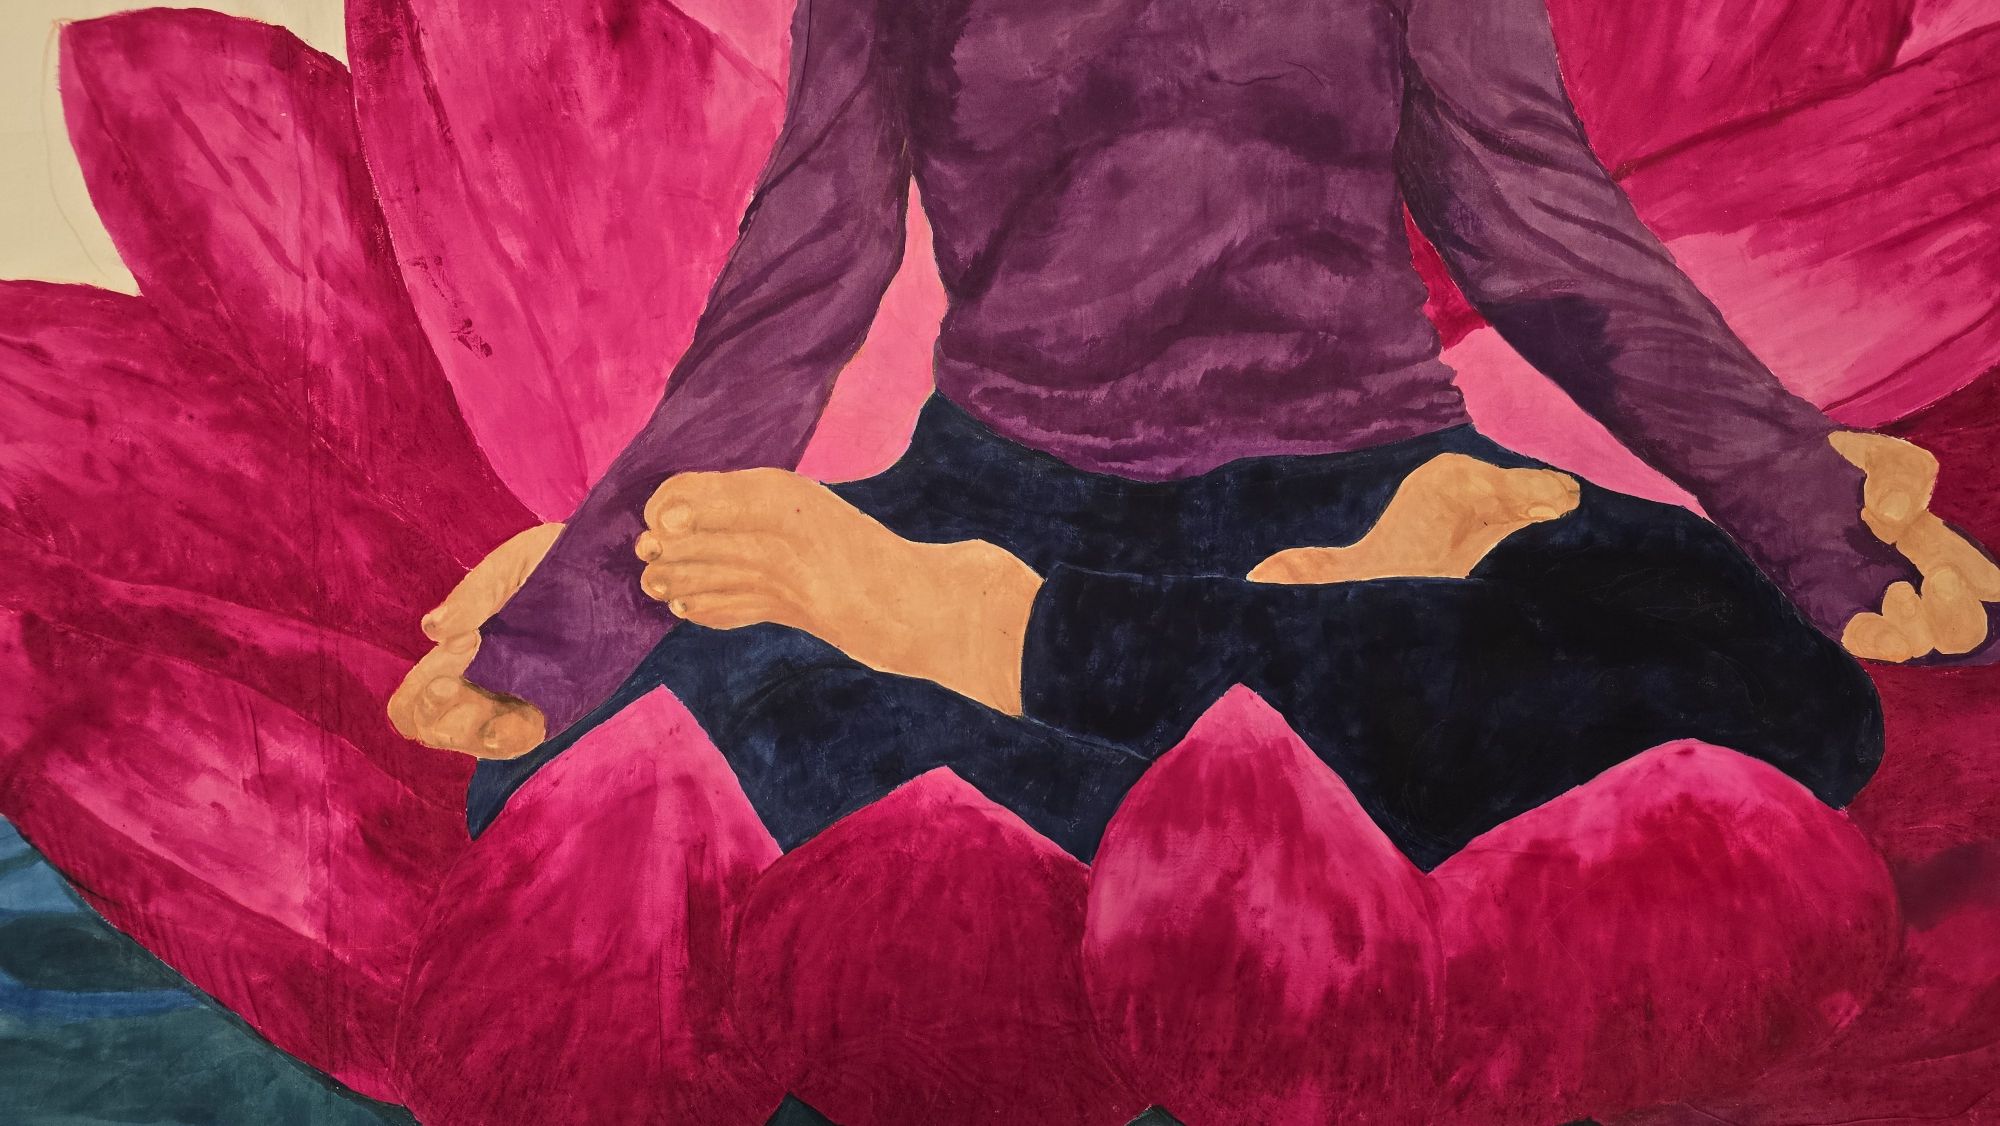
This is the overall picture before I start the face.
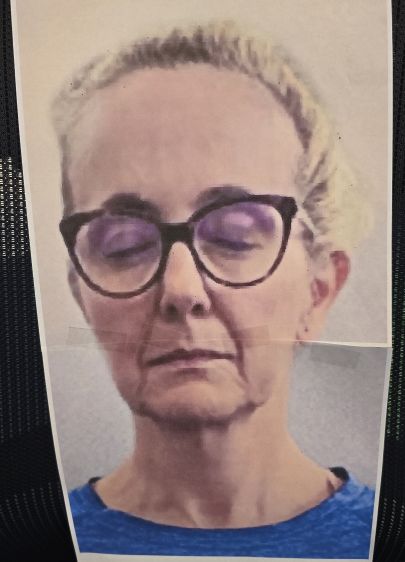
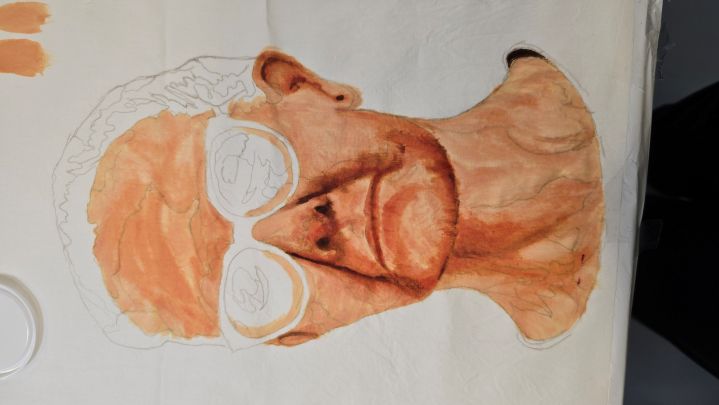
I did a practice face before I did the face on the piece. I didn't want to have problems on the real piece.
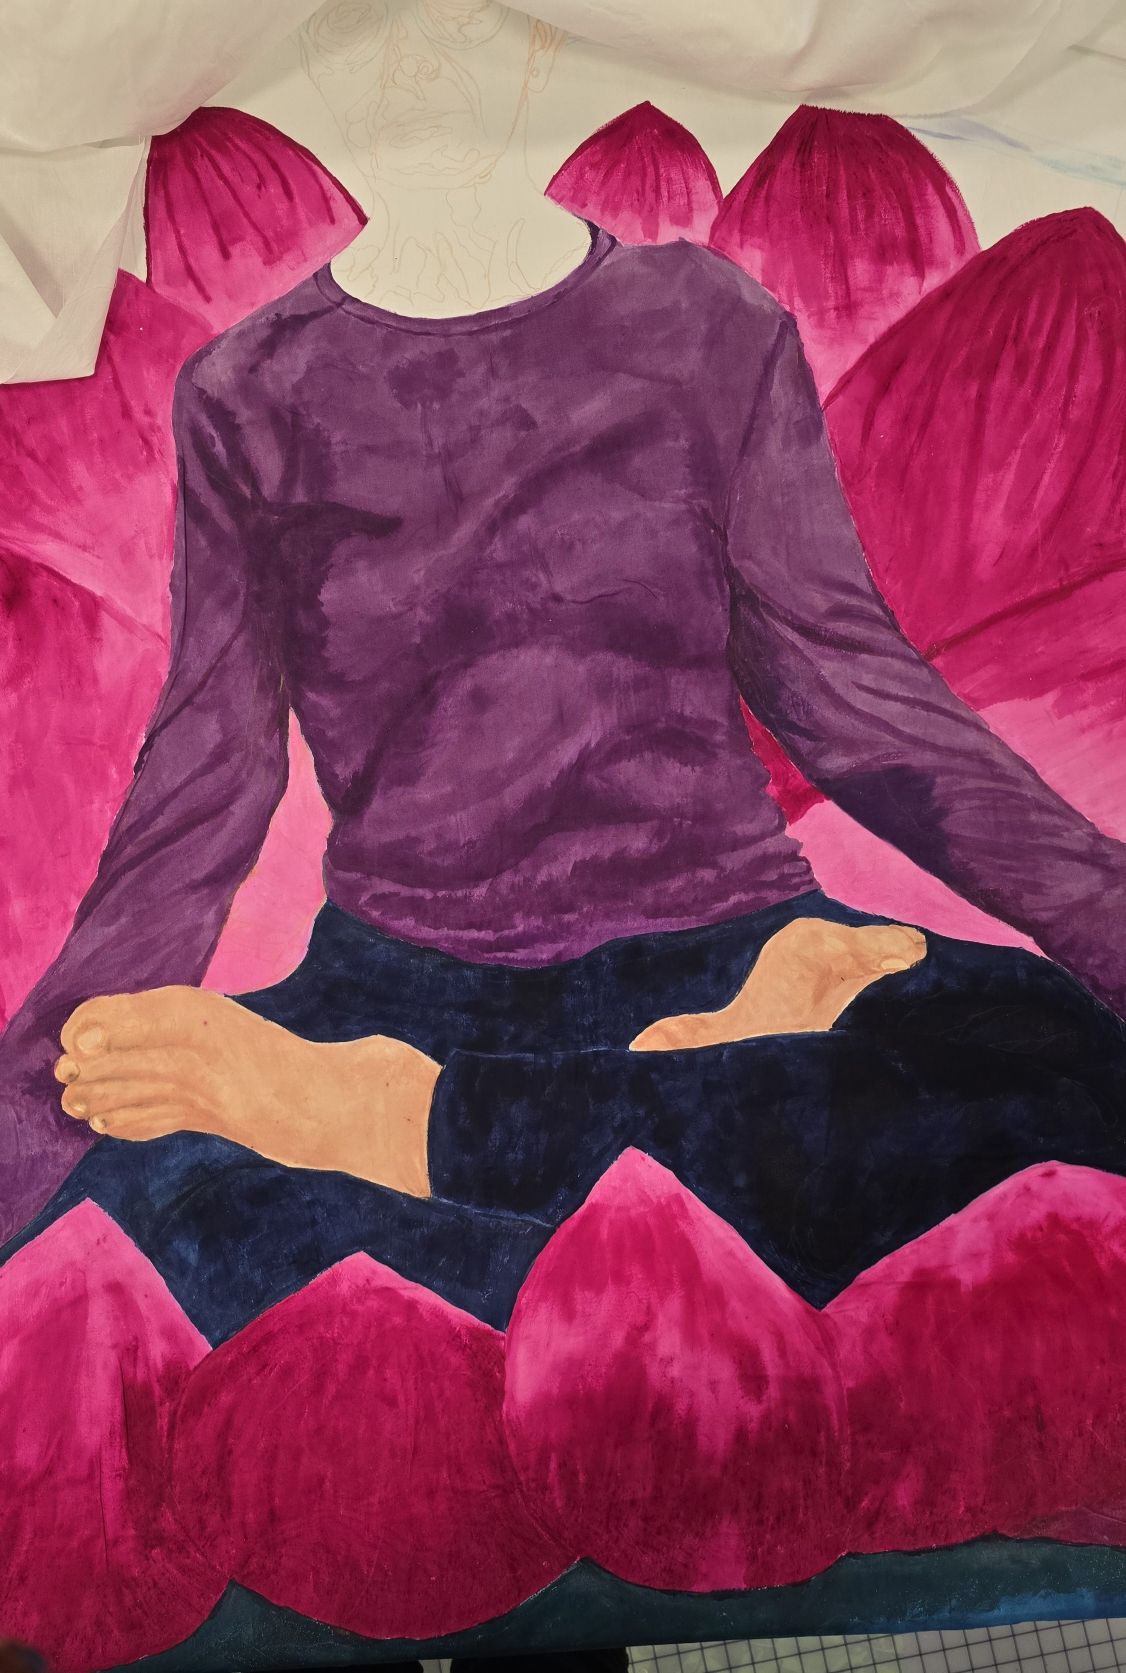
Taking a deep breathe and going to start the sky next.
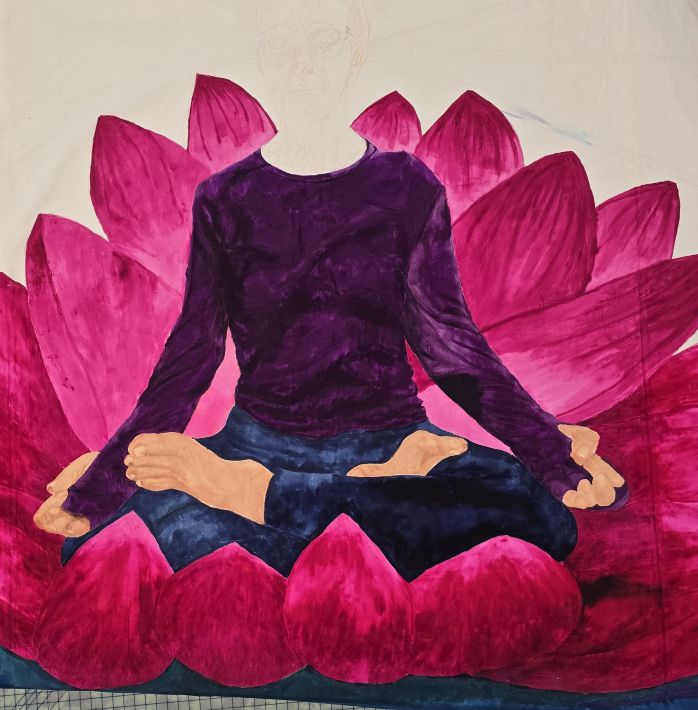
One more breath.
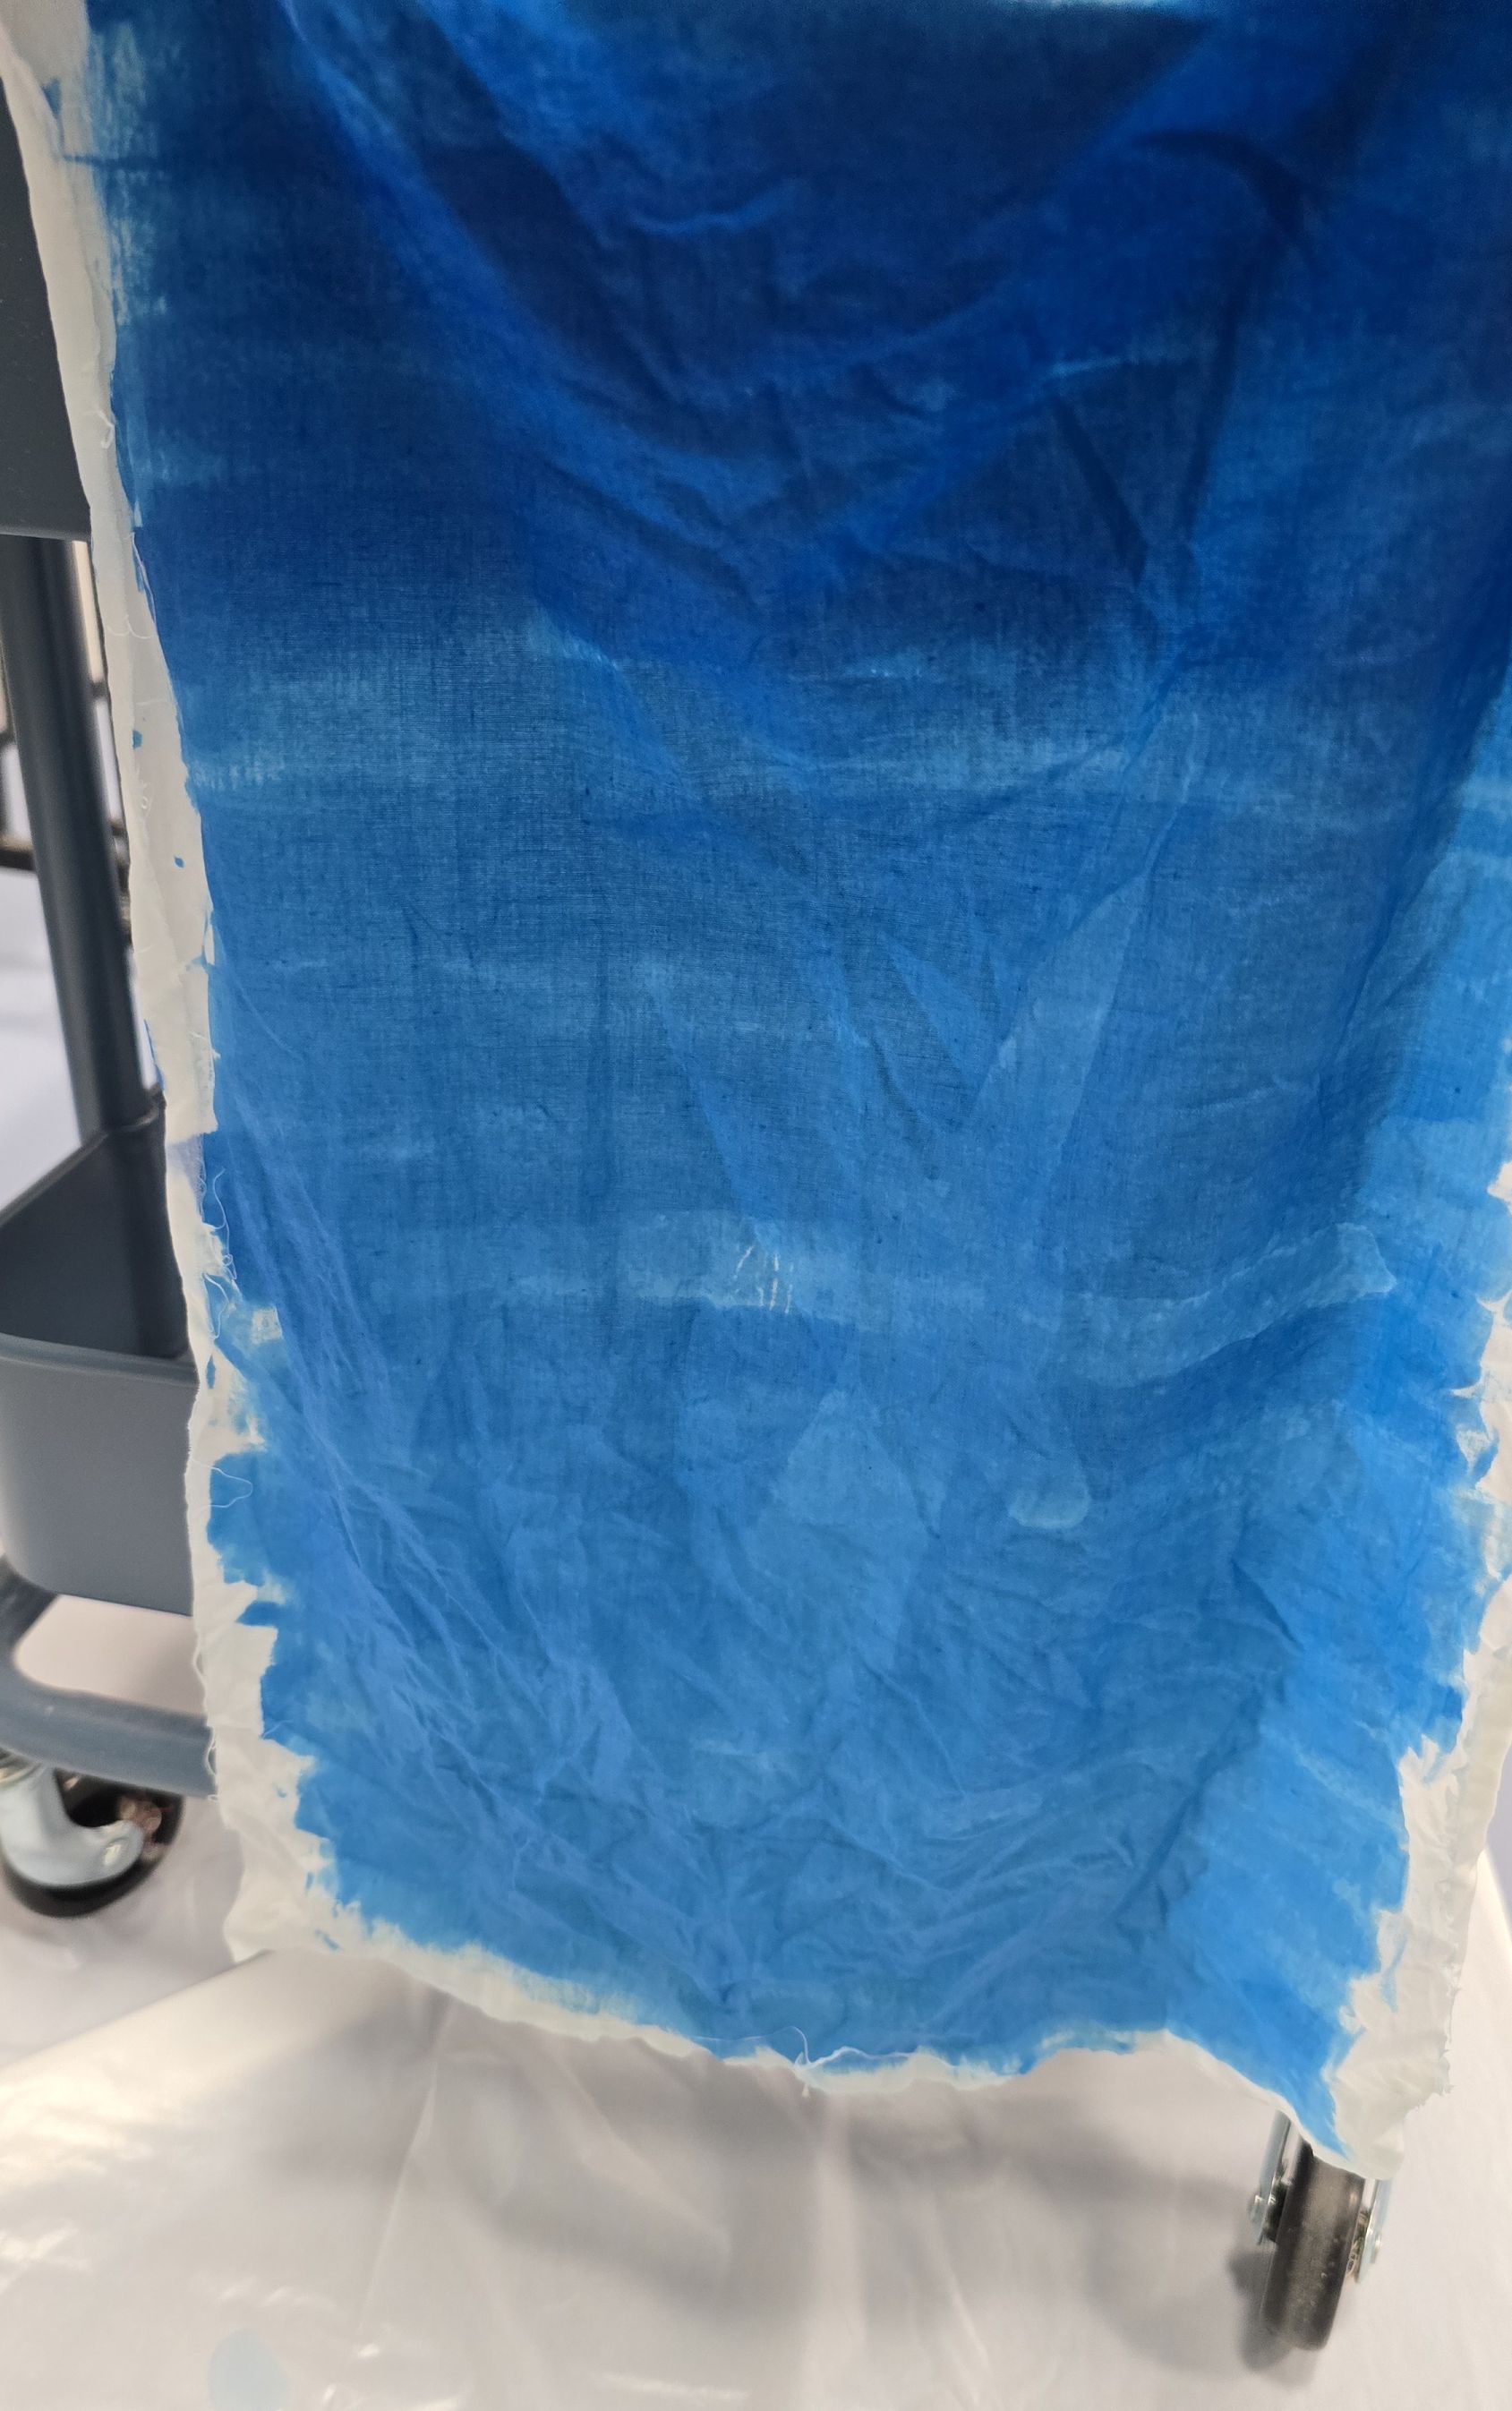
I went to practicing the sky here. I also washed it out to see the different shades of this blue.
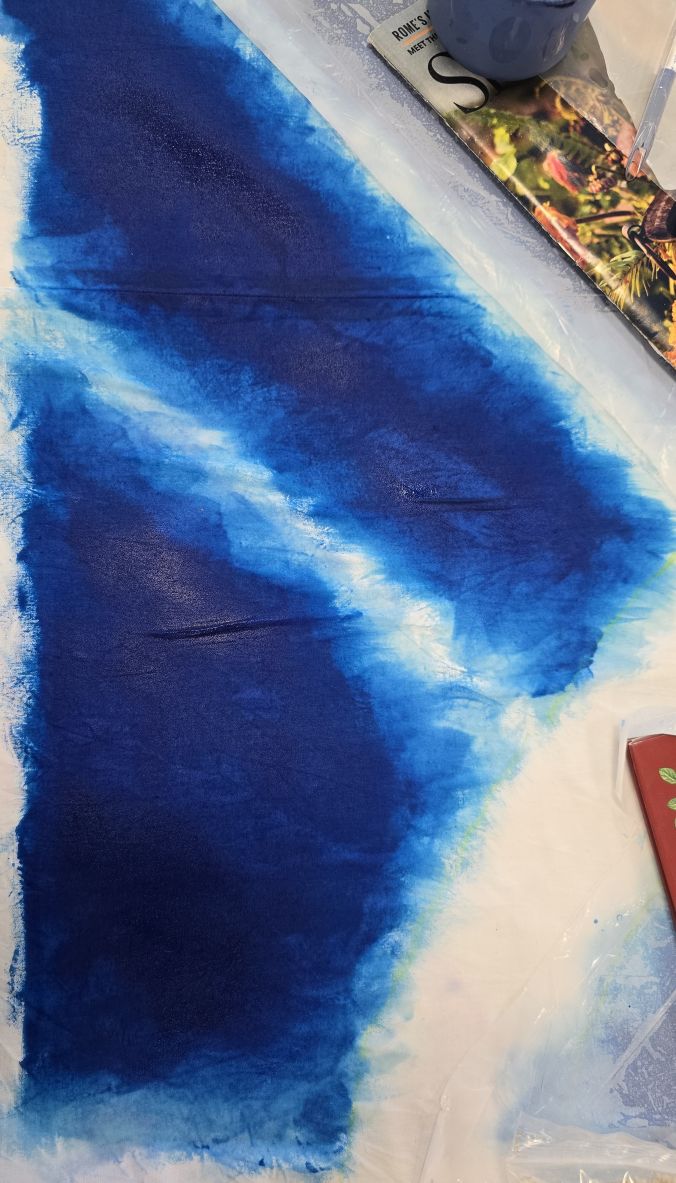
Trying to find out how to make the white areas be what I want it to be was a process.
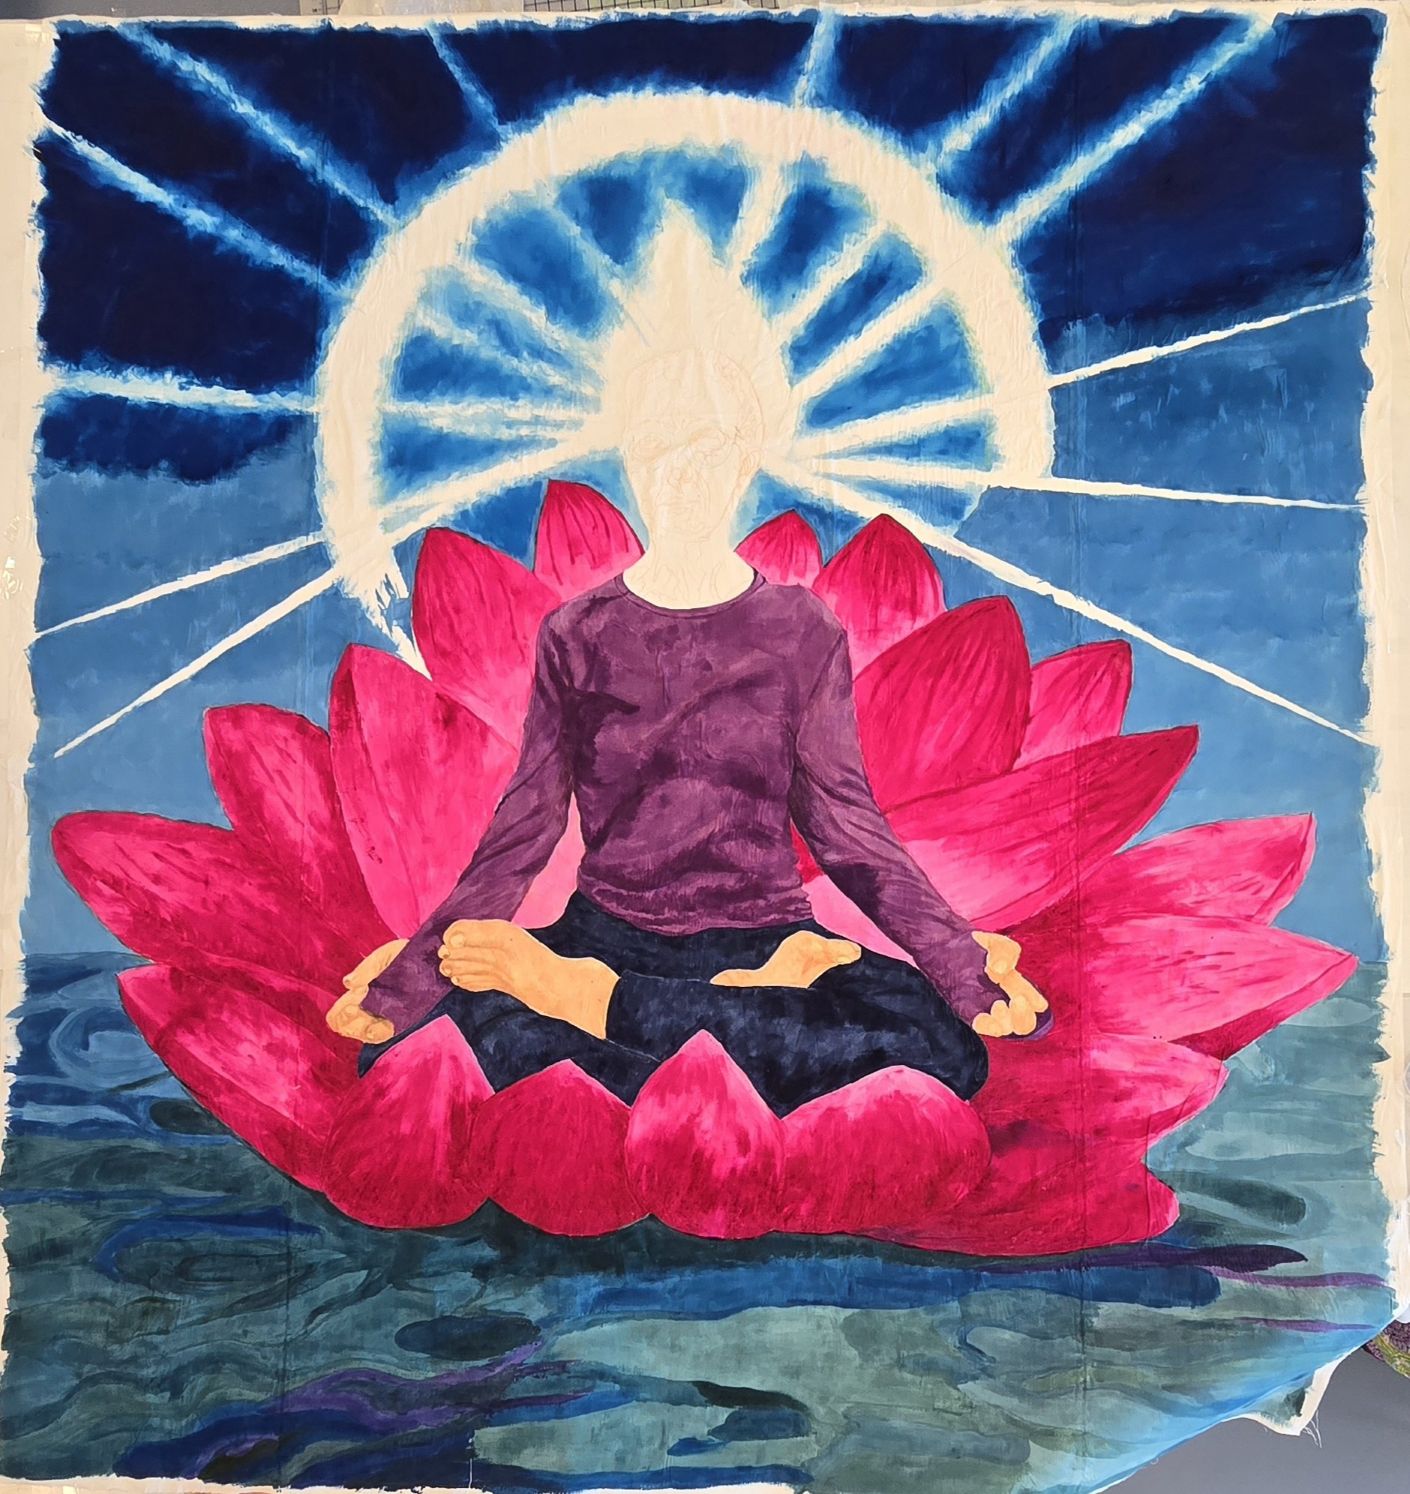
Well oops. I went into some places where I didn't want to go.
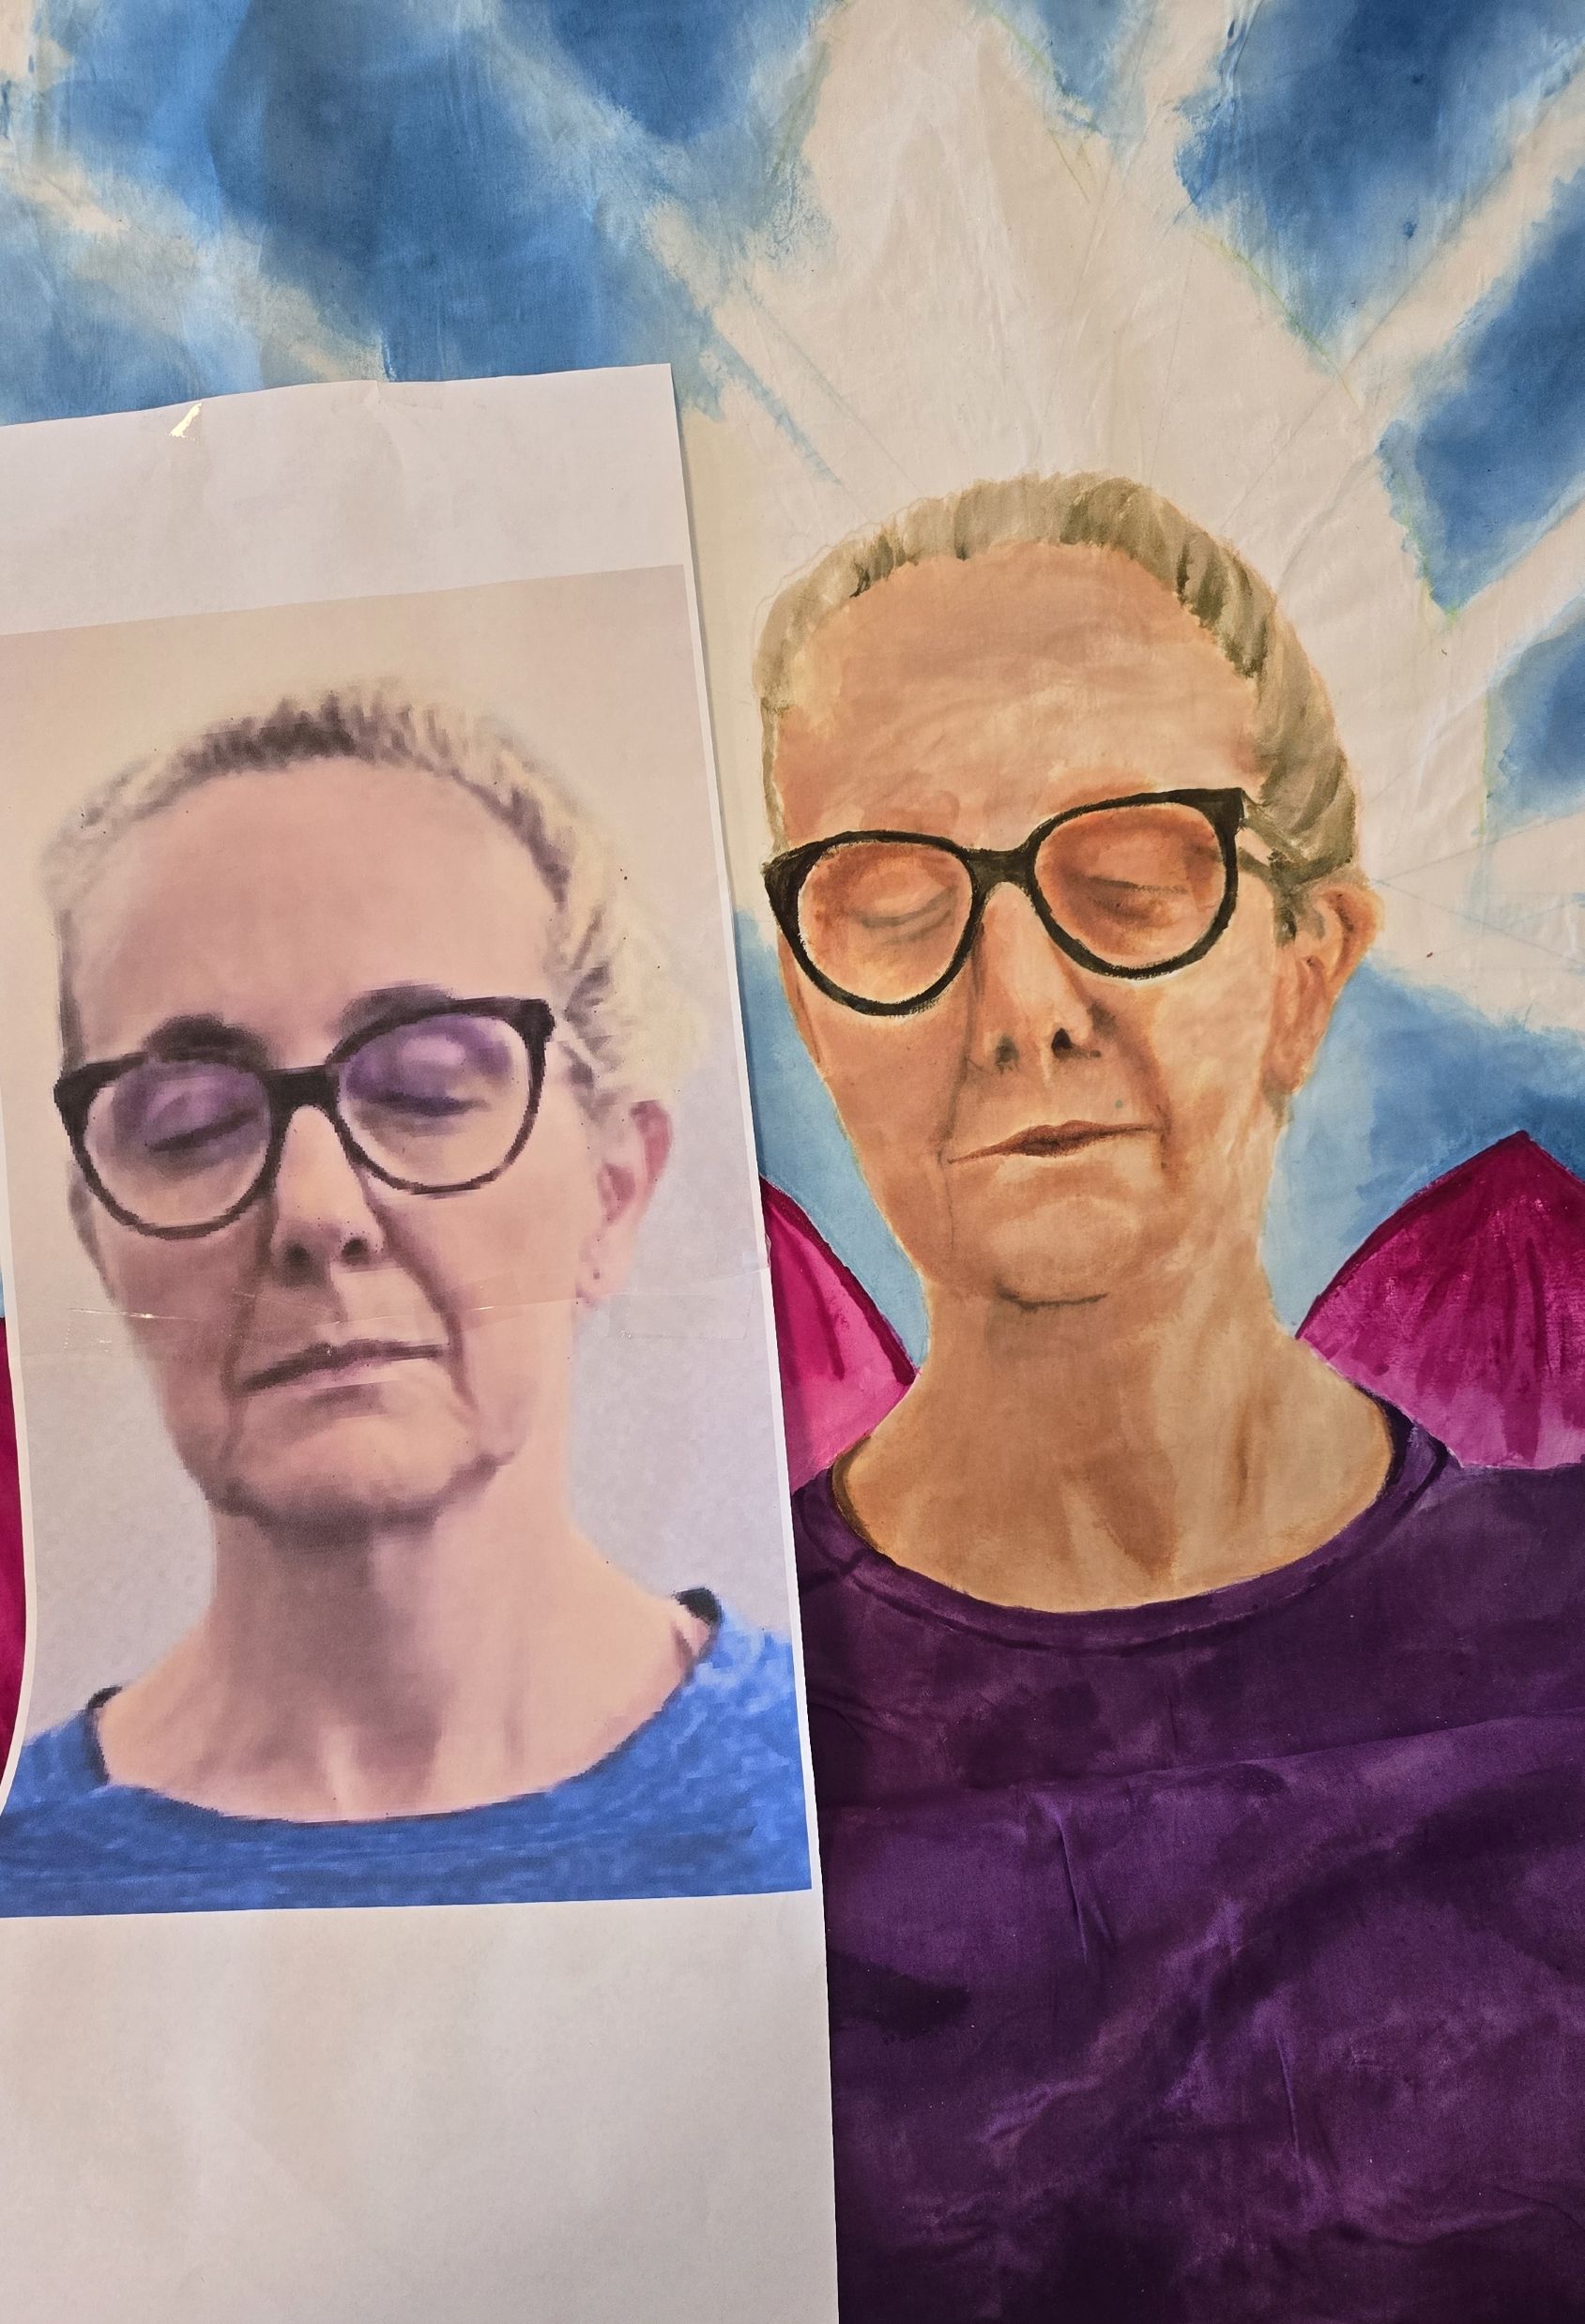
Adding in the face now that I have done the whole piece except that. I took my time and did what I had learned through the first face. It felt dark so I knew it was right for what I was doing.
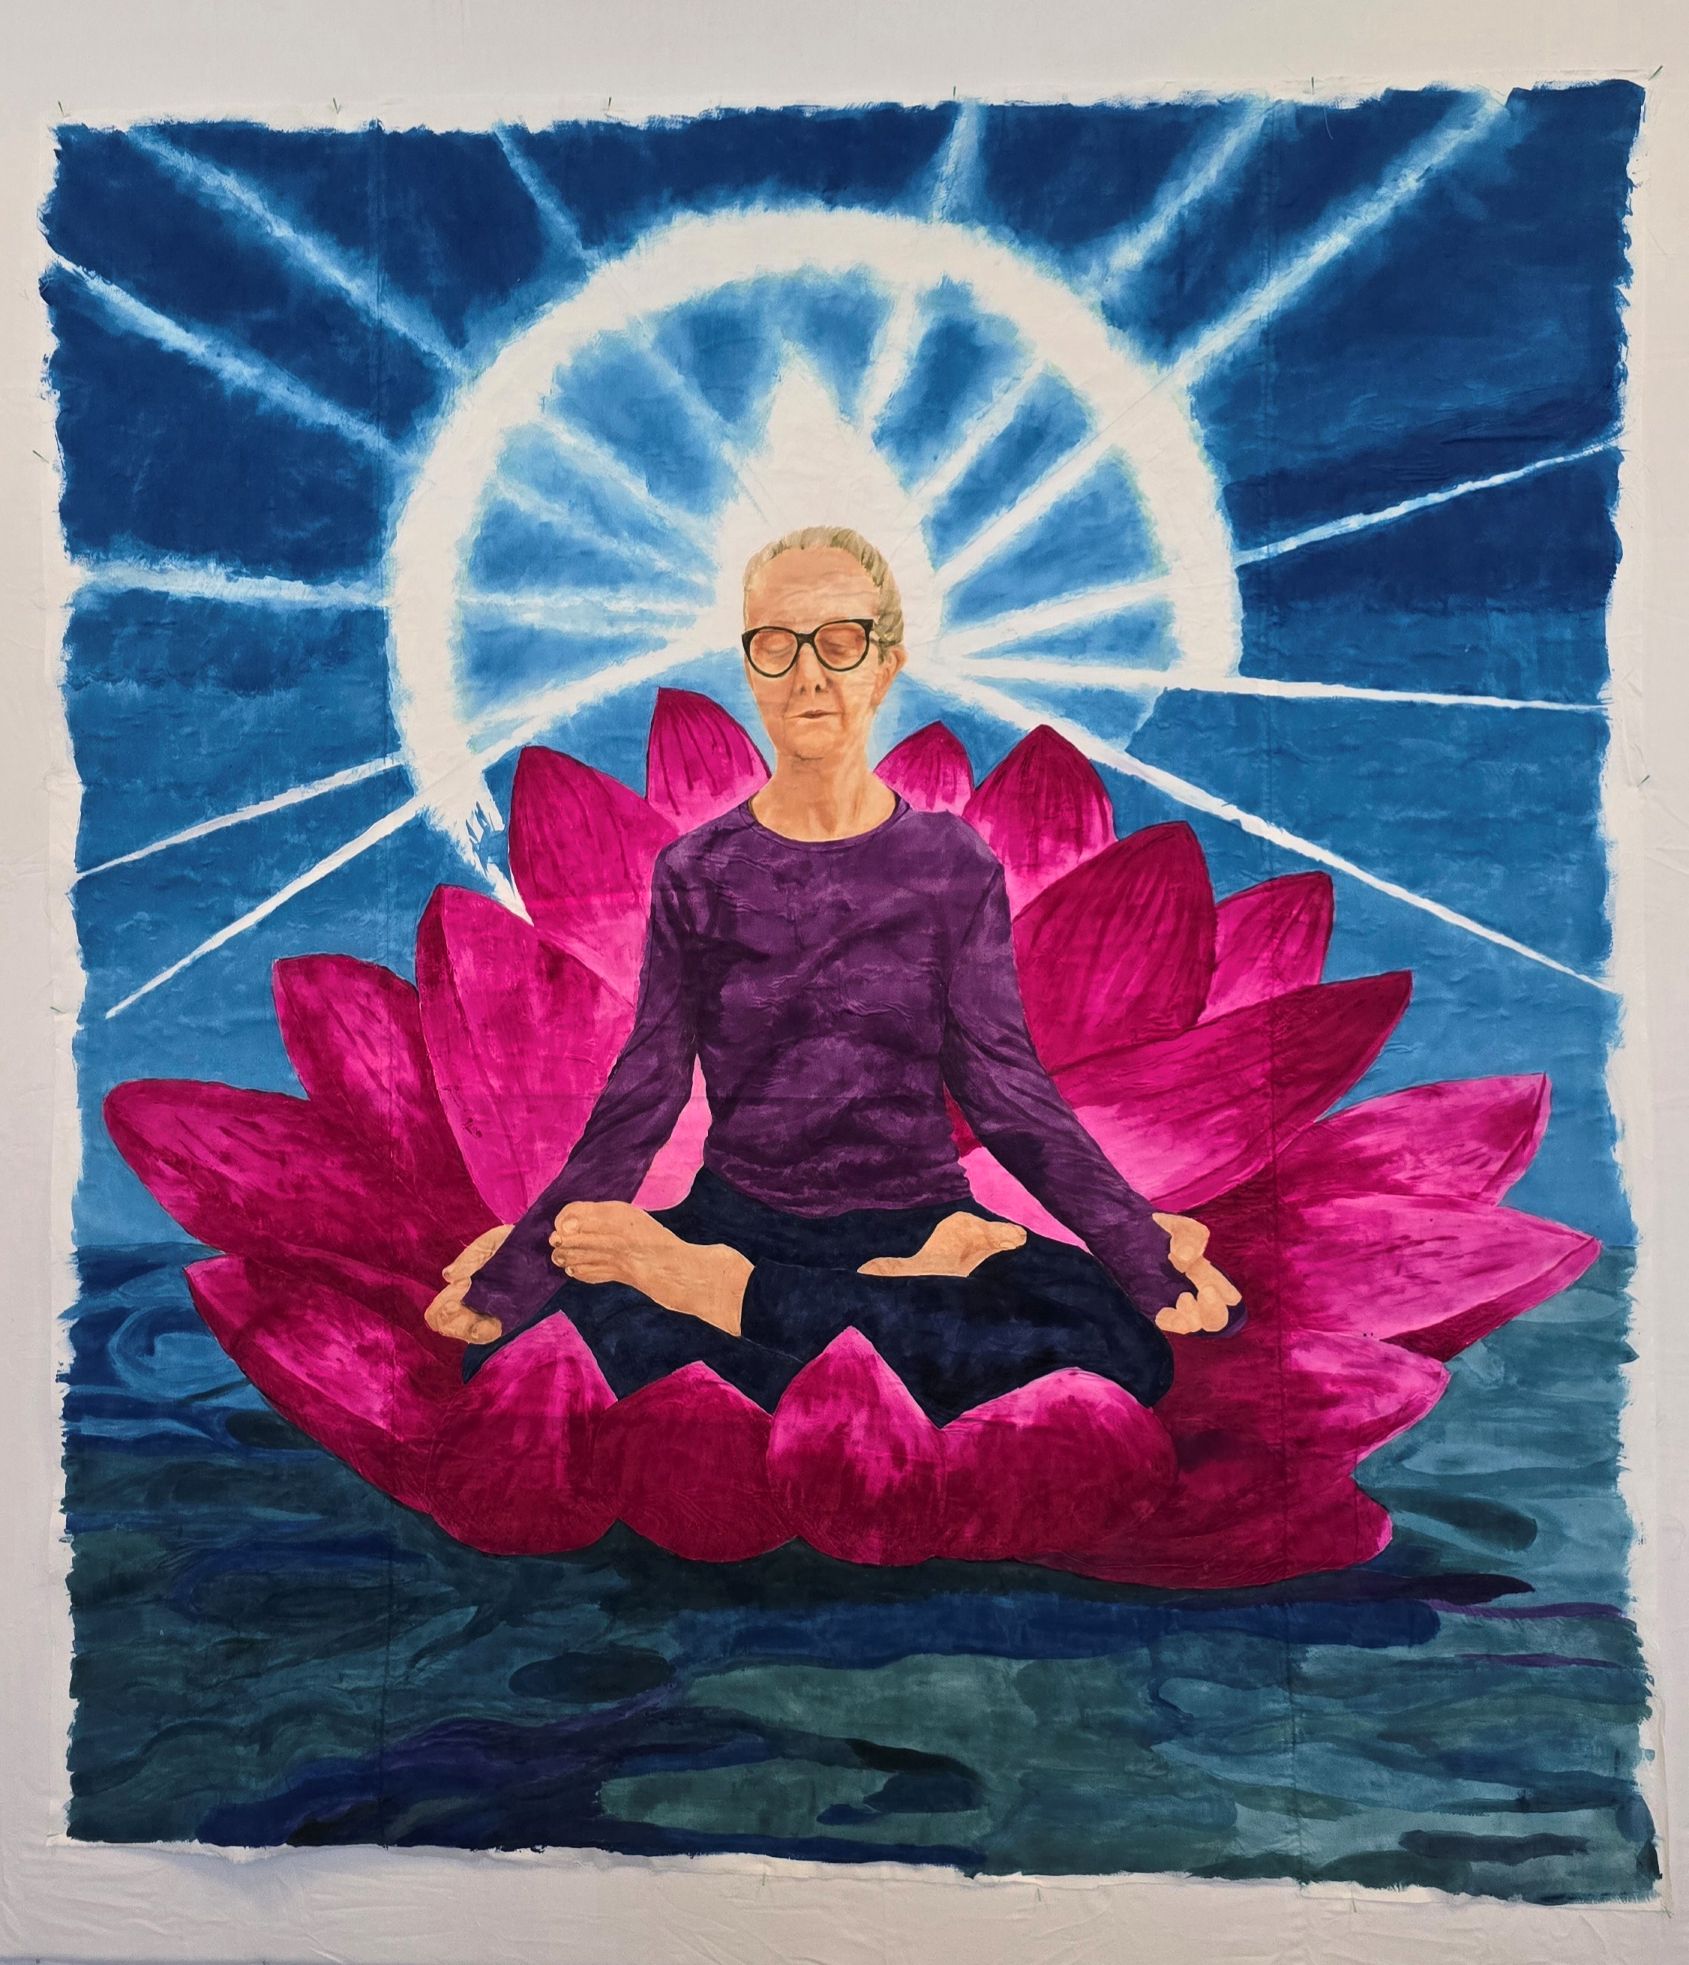
Before I was ready to wash it out I went back and added more blue to both sides to have the correct shading in the sky. All thickened dye painted and ready to wash out.
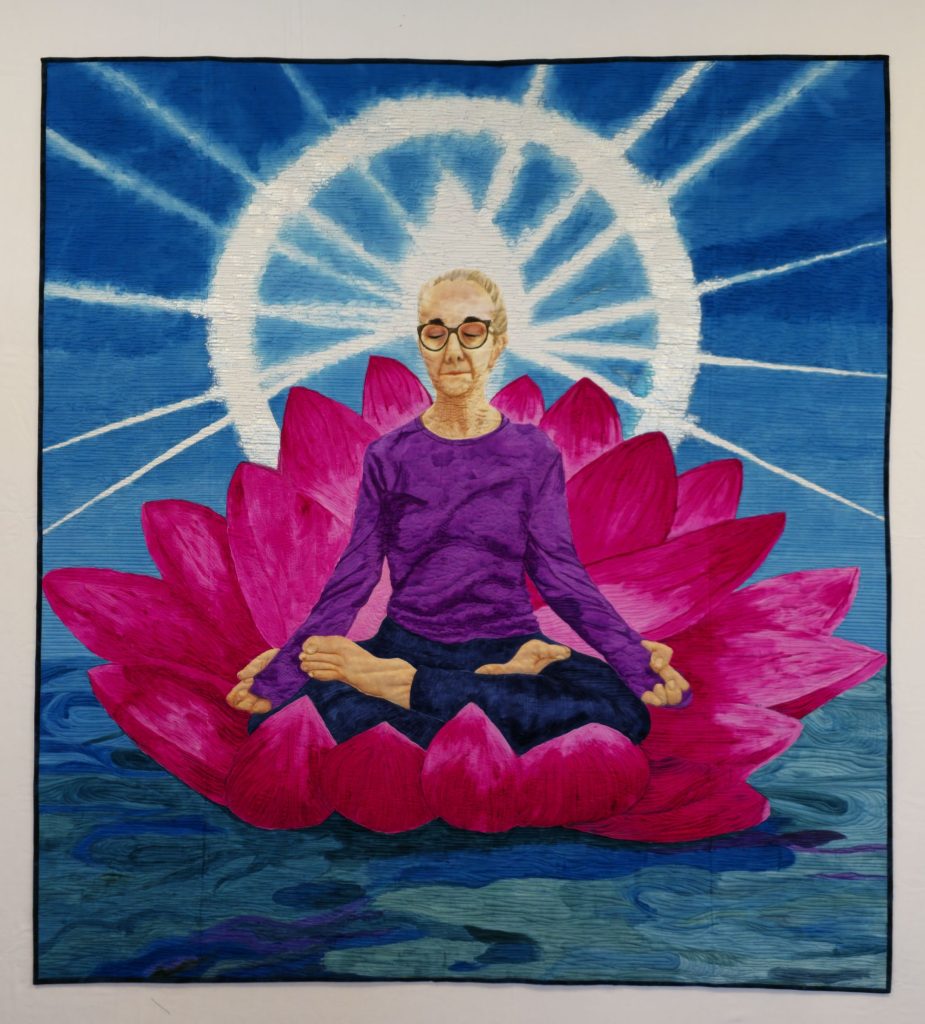
Before I quilted it I painted the white Jacquard Lumiere paint over the dye to have the white where I needed it. After very close quilting it was ready to trim and bind.
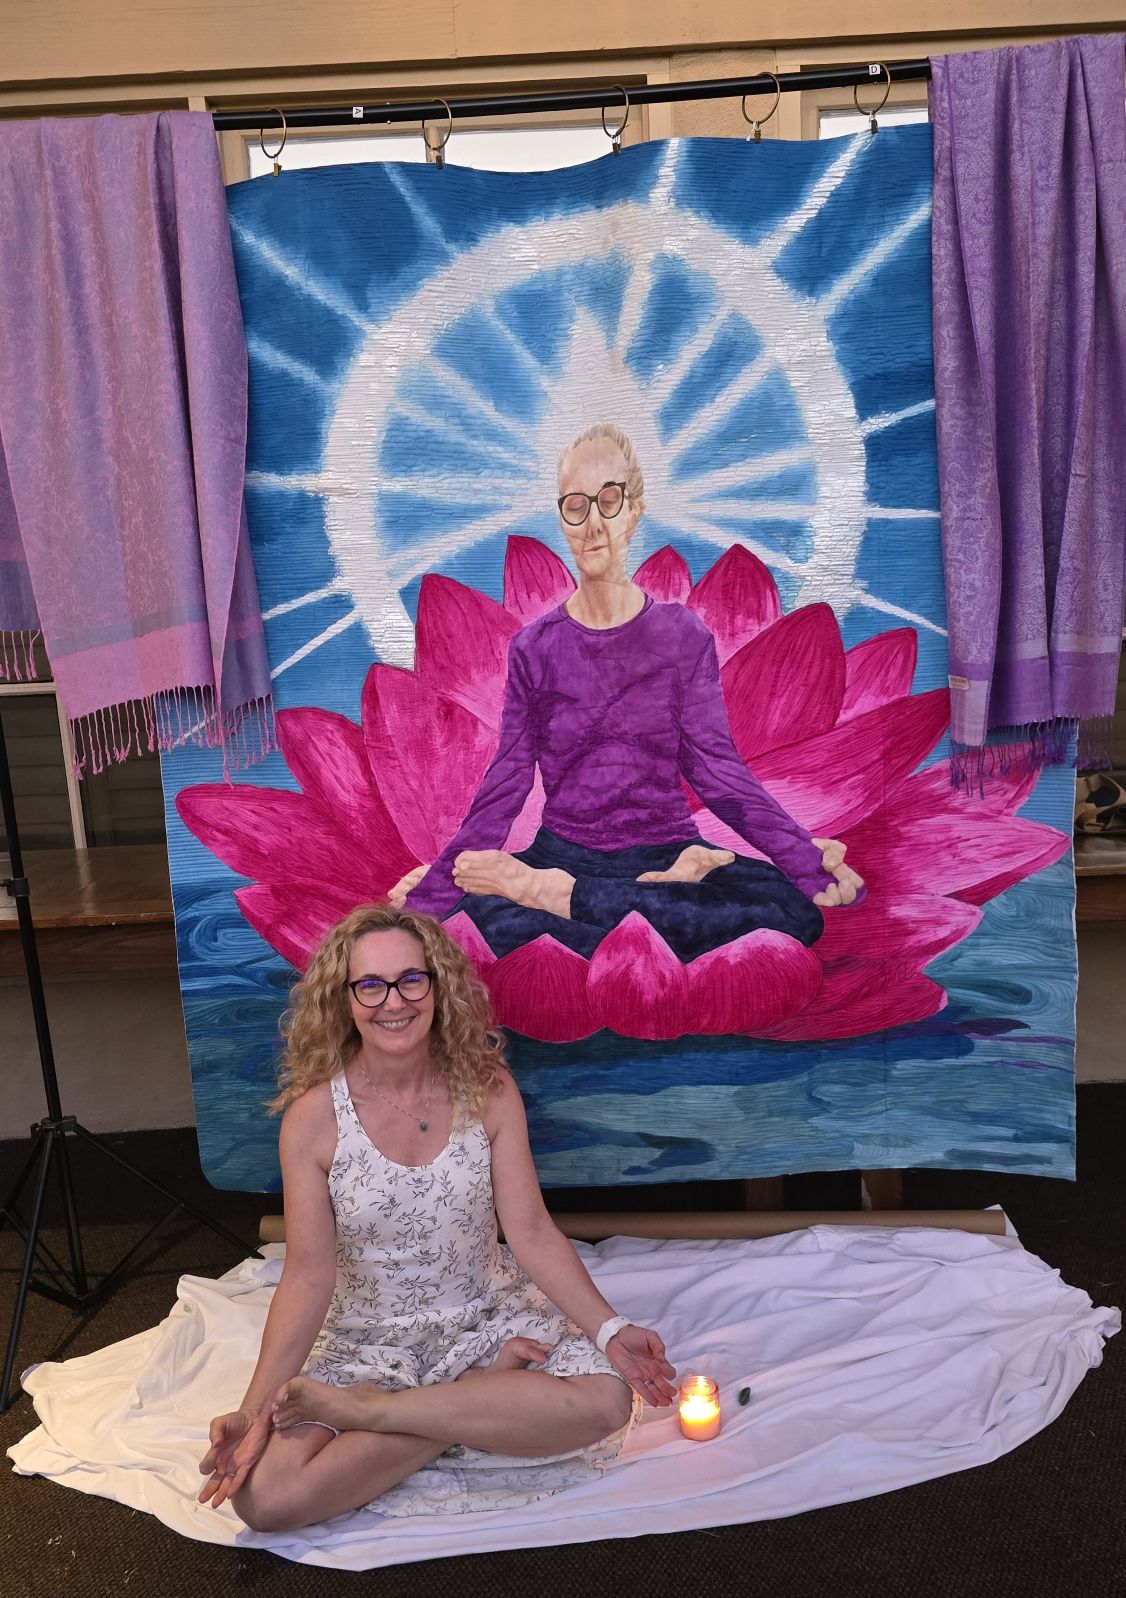
Here is Michele sitting with Wise Woman in the full Lotus position. It is awesome she can still do this. I never able to sit in this position but to see her do this complicated position is amazing.
For Custom Requests..
